Documentation Index
Fetch the complete documentation index at: https://developers.authlete.com/llms.txt
Use this file to discover all available pages before exploring further.
This page is for Authlete 2.x. For current (3.0) documentation, see Getting Started.
Try “OAuth 2.0 Authorization Flow” Using Authlete.
1. Create Your Account.
Fill in the registration page and click Sign Up.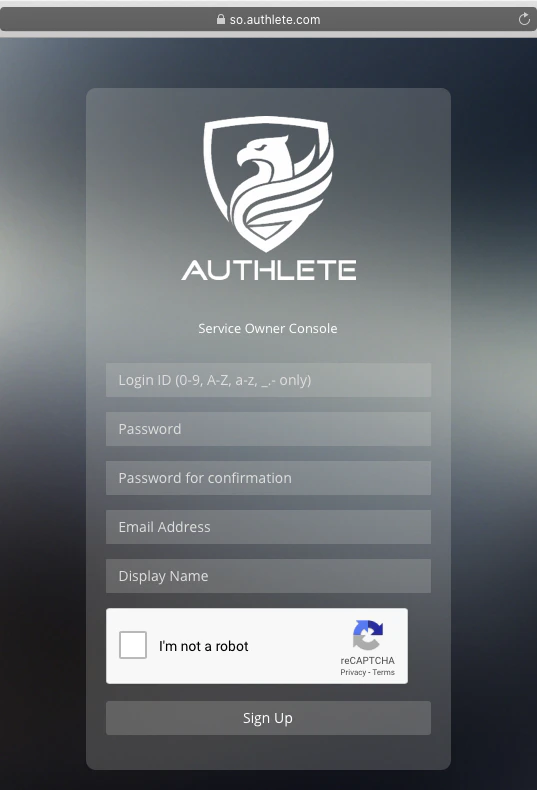
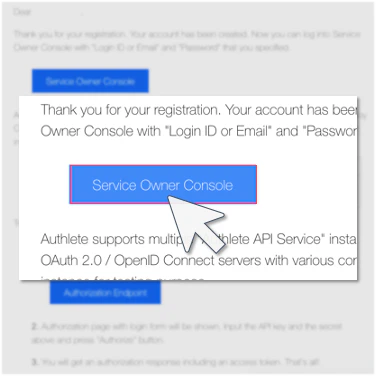
2. Check Your Inbox.
You will get an email from Authlete, describing instructions on how to try the OAuth 2.0 flow.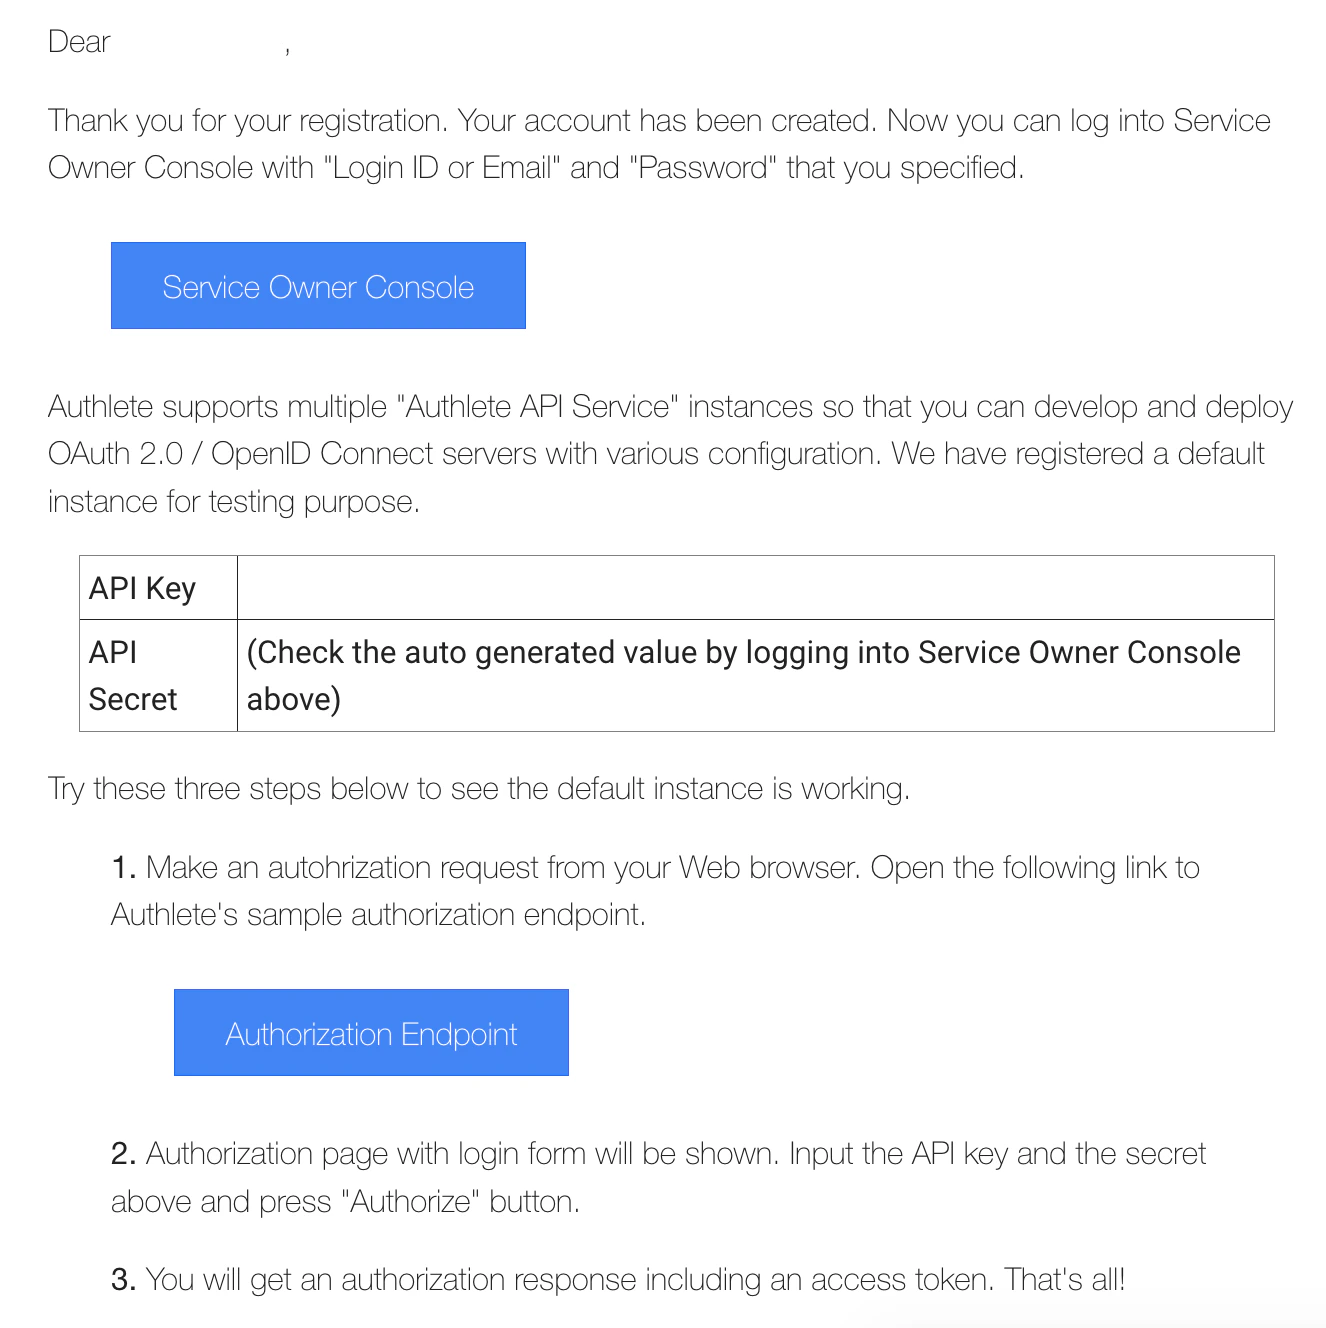
💡
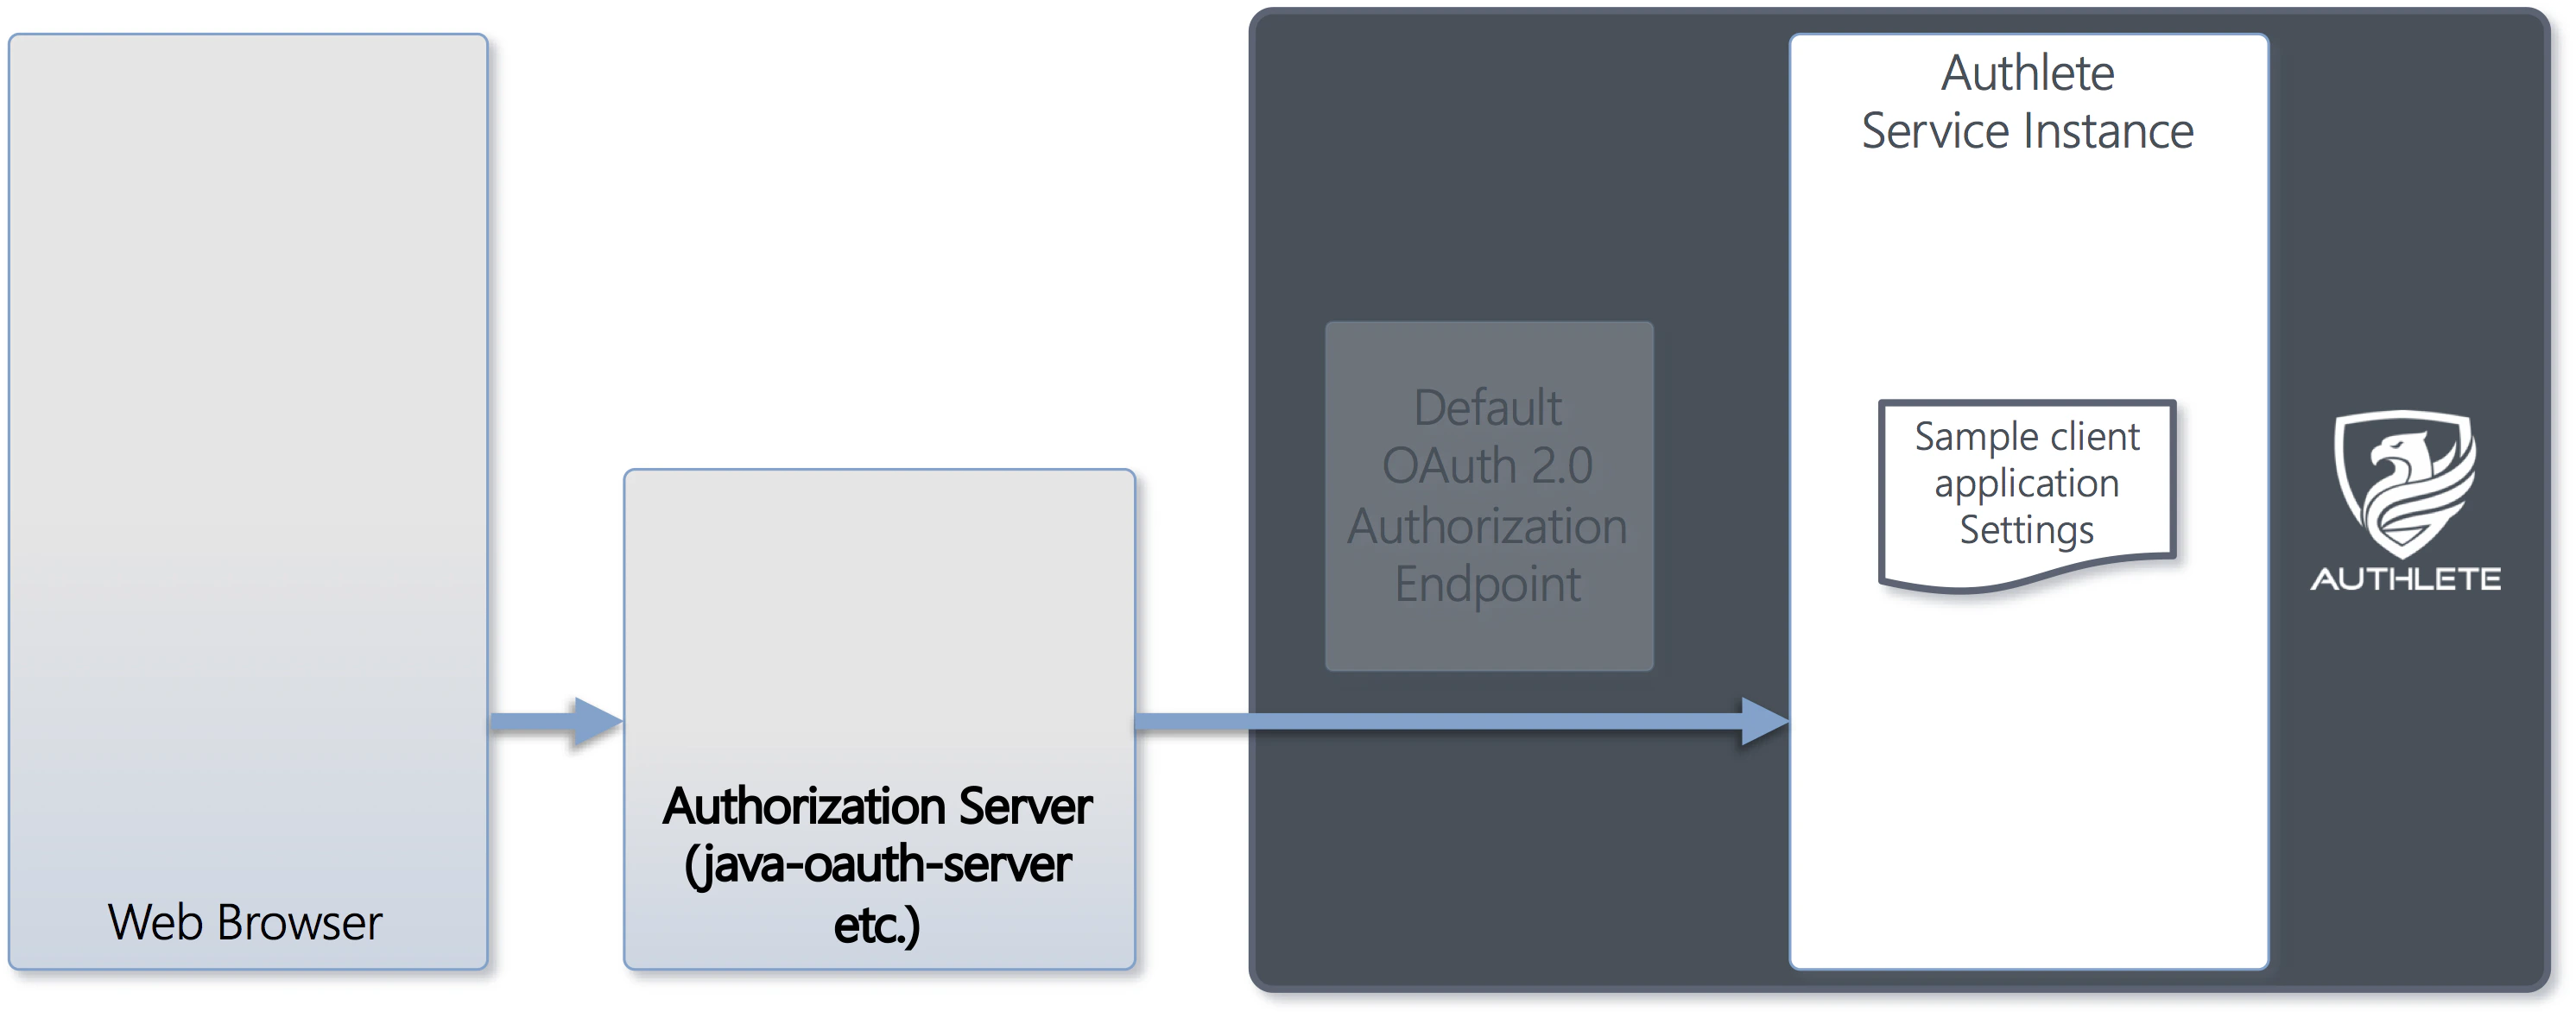
You can try OAuth 2.0 flow right after the signup. The following settings have been configured:
- An Authlete service instance
- A default OAuth 2.0 authorization endpoint
- Sample client application settings
3. Click “Authorization Endpoint” Button.
You will be navigated to a login page for authentication and authorization.
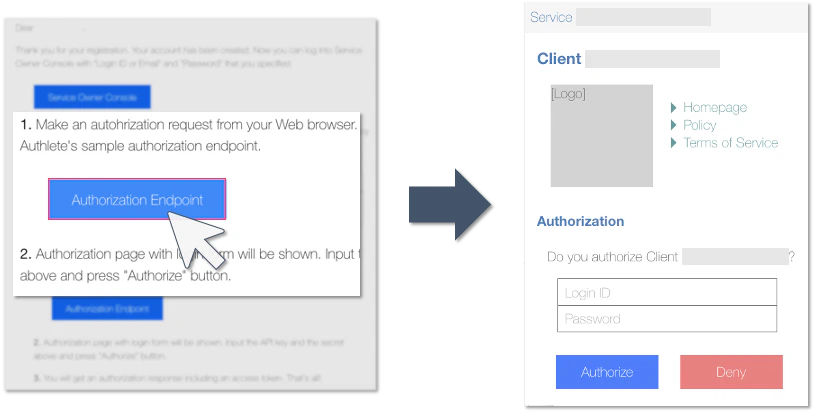
💡
The “Authorization Endpoint” button in the email will invoke an authorization request (implicit grant flow) from your Web browser to Authlete’s default authorization endpoint. The actual URL of the request is:
https://api.authlete.com/api/auth/authorization/direct/<SERVICE_API_KEY>?response_type=token&client_id=<SAMPLE_APP_CLIENT_ID>4. Enter Login Information.
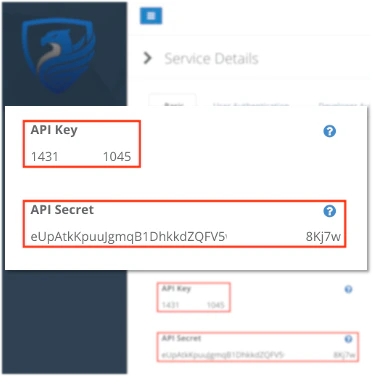
Use the API key and secret of your Authlete service instance.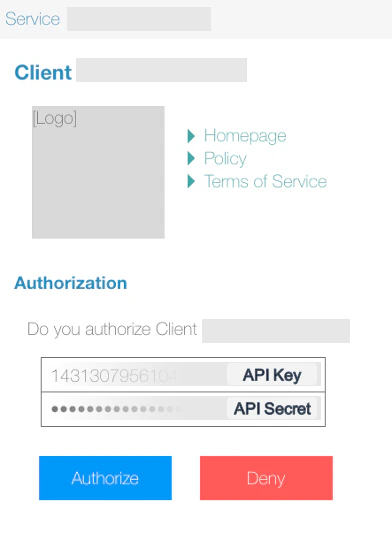
You can see the API key and secret by logging in to “Service Owner Console.”
- Click the button in the email.
- Check the API key and secret.
💡
For testing purposes, the default authorization endpoint authenticates a user with the API key and secret.
5. Click “Authorize” Button.
Your browser will be redirected to the client’s redirection endpoint that shows an issued access token.You can find the same access token in the fragment part of the destination URL.
https://api.authlete.com/api/mock/redirection/<SERVICE_API_KEY>#access_token=SNqzo...&token_type=Bearer&expires_in=86400&scope=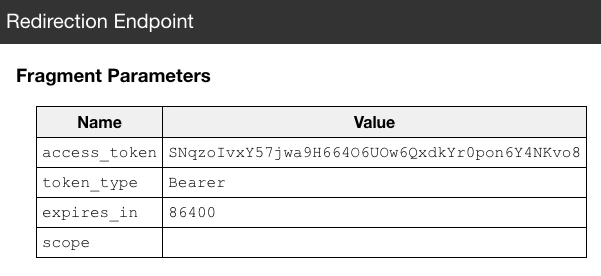
Try “Authorization Code Grant Flow”
Try “Authorization Code Grant Flow” in addition to Implicit Grant Flow in the previous section.1. Enter the following URL (authorization request) to your Web browser and submit it.
https://api.authlete.com/api/auth/authorization/direct/<SERVICE_API_KEY>?response_type=code&client_id=<SAMPLE_APP_CLIENT_ID>This request is the same as the previous one except
response_type=code.
Replace
<SERVICE_API_KEY> / <SAMPLE_APP_CLIENT_ID> to the appropriate values in your environment.2. You will be navigated to the login page.
Enter the API key and the secret.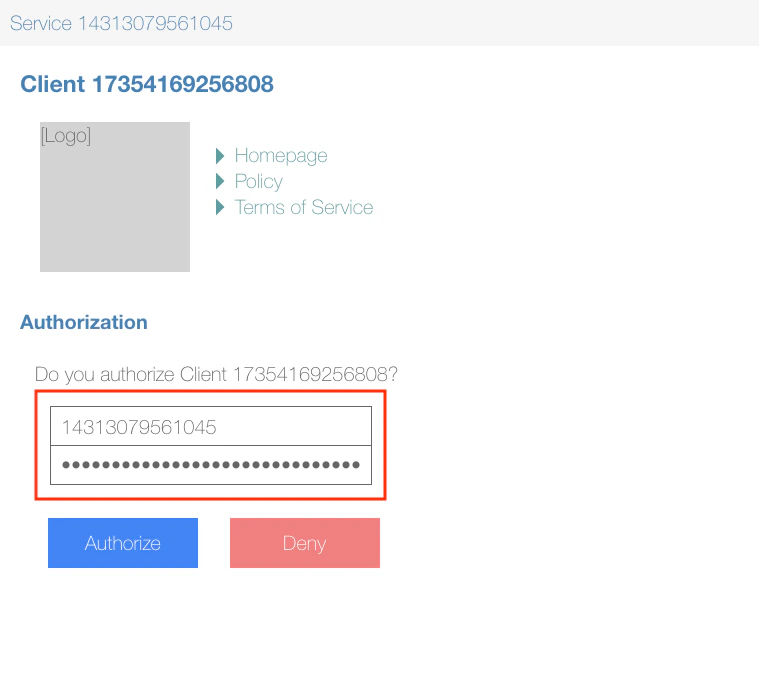
3. Your browser will be redirected to the client’s redirection endpoint.
Enter the value of 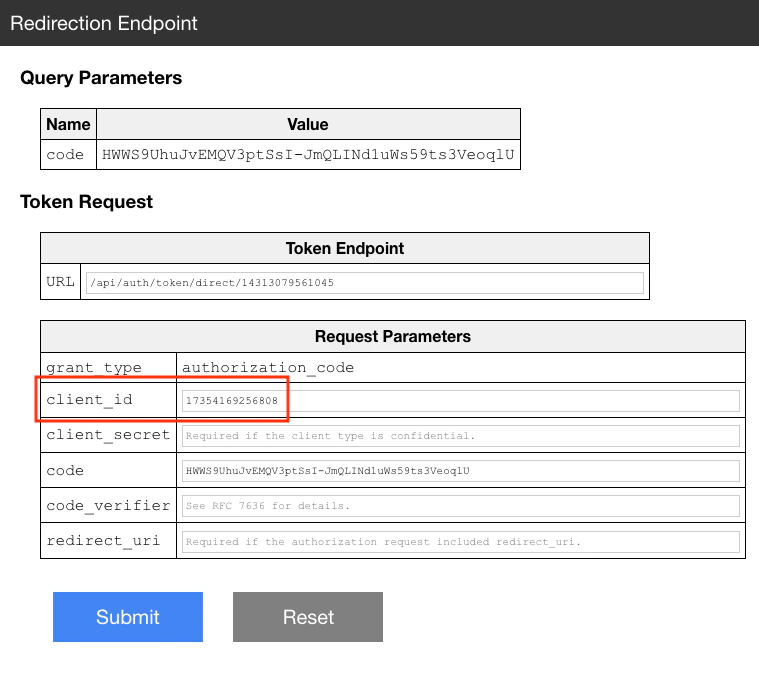
SAMPLE_APP_CLIENT_ID to client_id field and click “Submit” button to make a token request.4. Token response (JSON formatted) will be displayed.
There should be values for 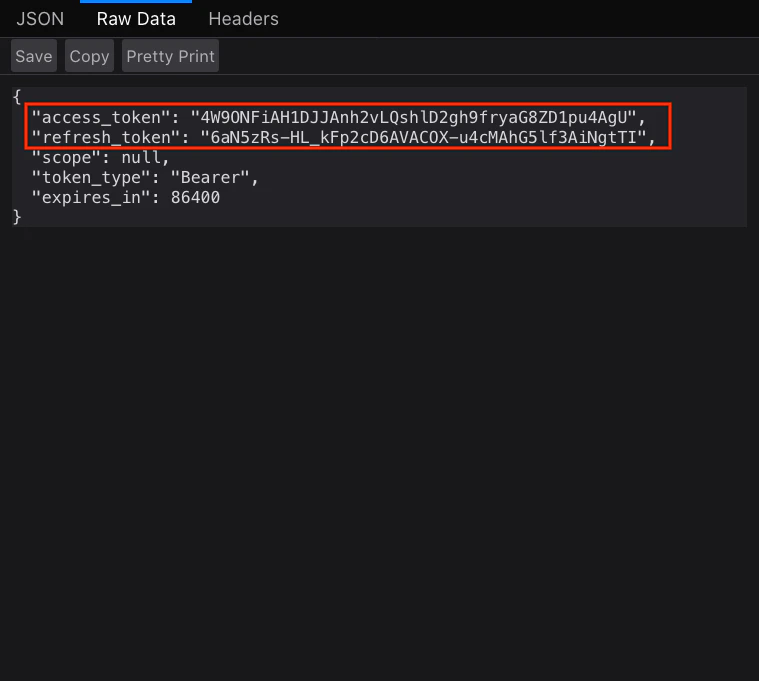
"access_token" and "refresh_token".Authorization Server Implementations
In the previous section, you tried the flow using the default implementation of authorization endpoint. For real deployments, you have freedom of choice to implement your own authorization server using Authlete Web APIs.java-oauth-server is an open-source authorization server written using Authlete Web APIs. It is the reference implementation in Java and a good starting point for your own authorization server implementation.
Please check the documents at java-oauth-server for details.
Please check the documents at spring-oauth-server for details.
Please check the documents at csharp-oauth-server for details.
Please check the documents at authlete-php-laravel for details.
Useful Links
- Authlete API Tutorials
- Authlete API Tutorials explain how Authlete APIs work.
- Service Owner Console
- Service Owner Console is a Web console for you to manage services.
- Developer Console
- Developer Console is a Web console for developer to manage client applications.
- Protected Resource
- The main purpose to implement OAuth 2.0 is to protect Web APIs by access tokens.