This page is for Authlete 3.0. For 2.x, see Getting Started (2.x).
1. Create an Authlete Account
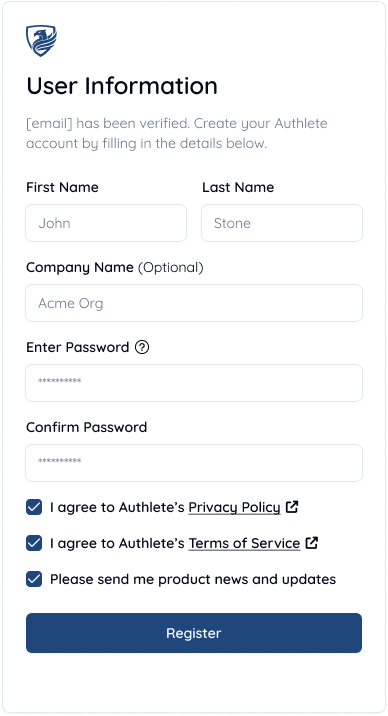
To use Authlete, you need an account. Once registered, you can configure all features through the management console. Visit the Authlete website and click Free Trial in the upper-right corner.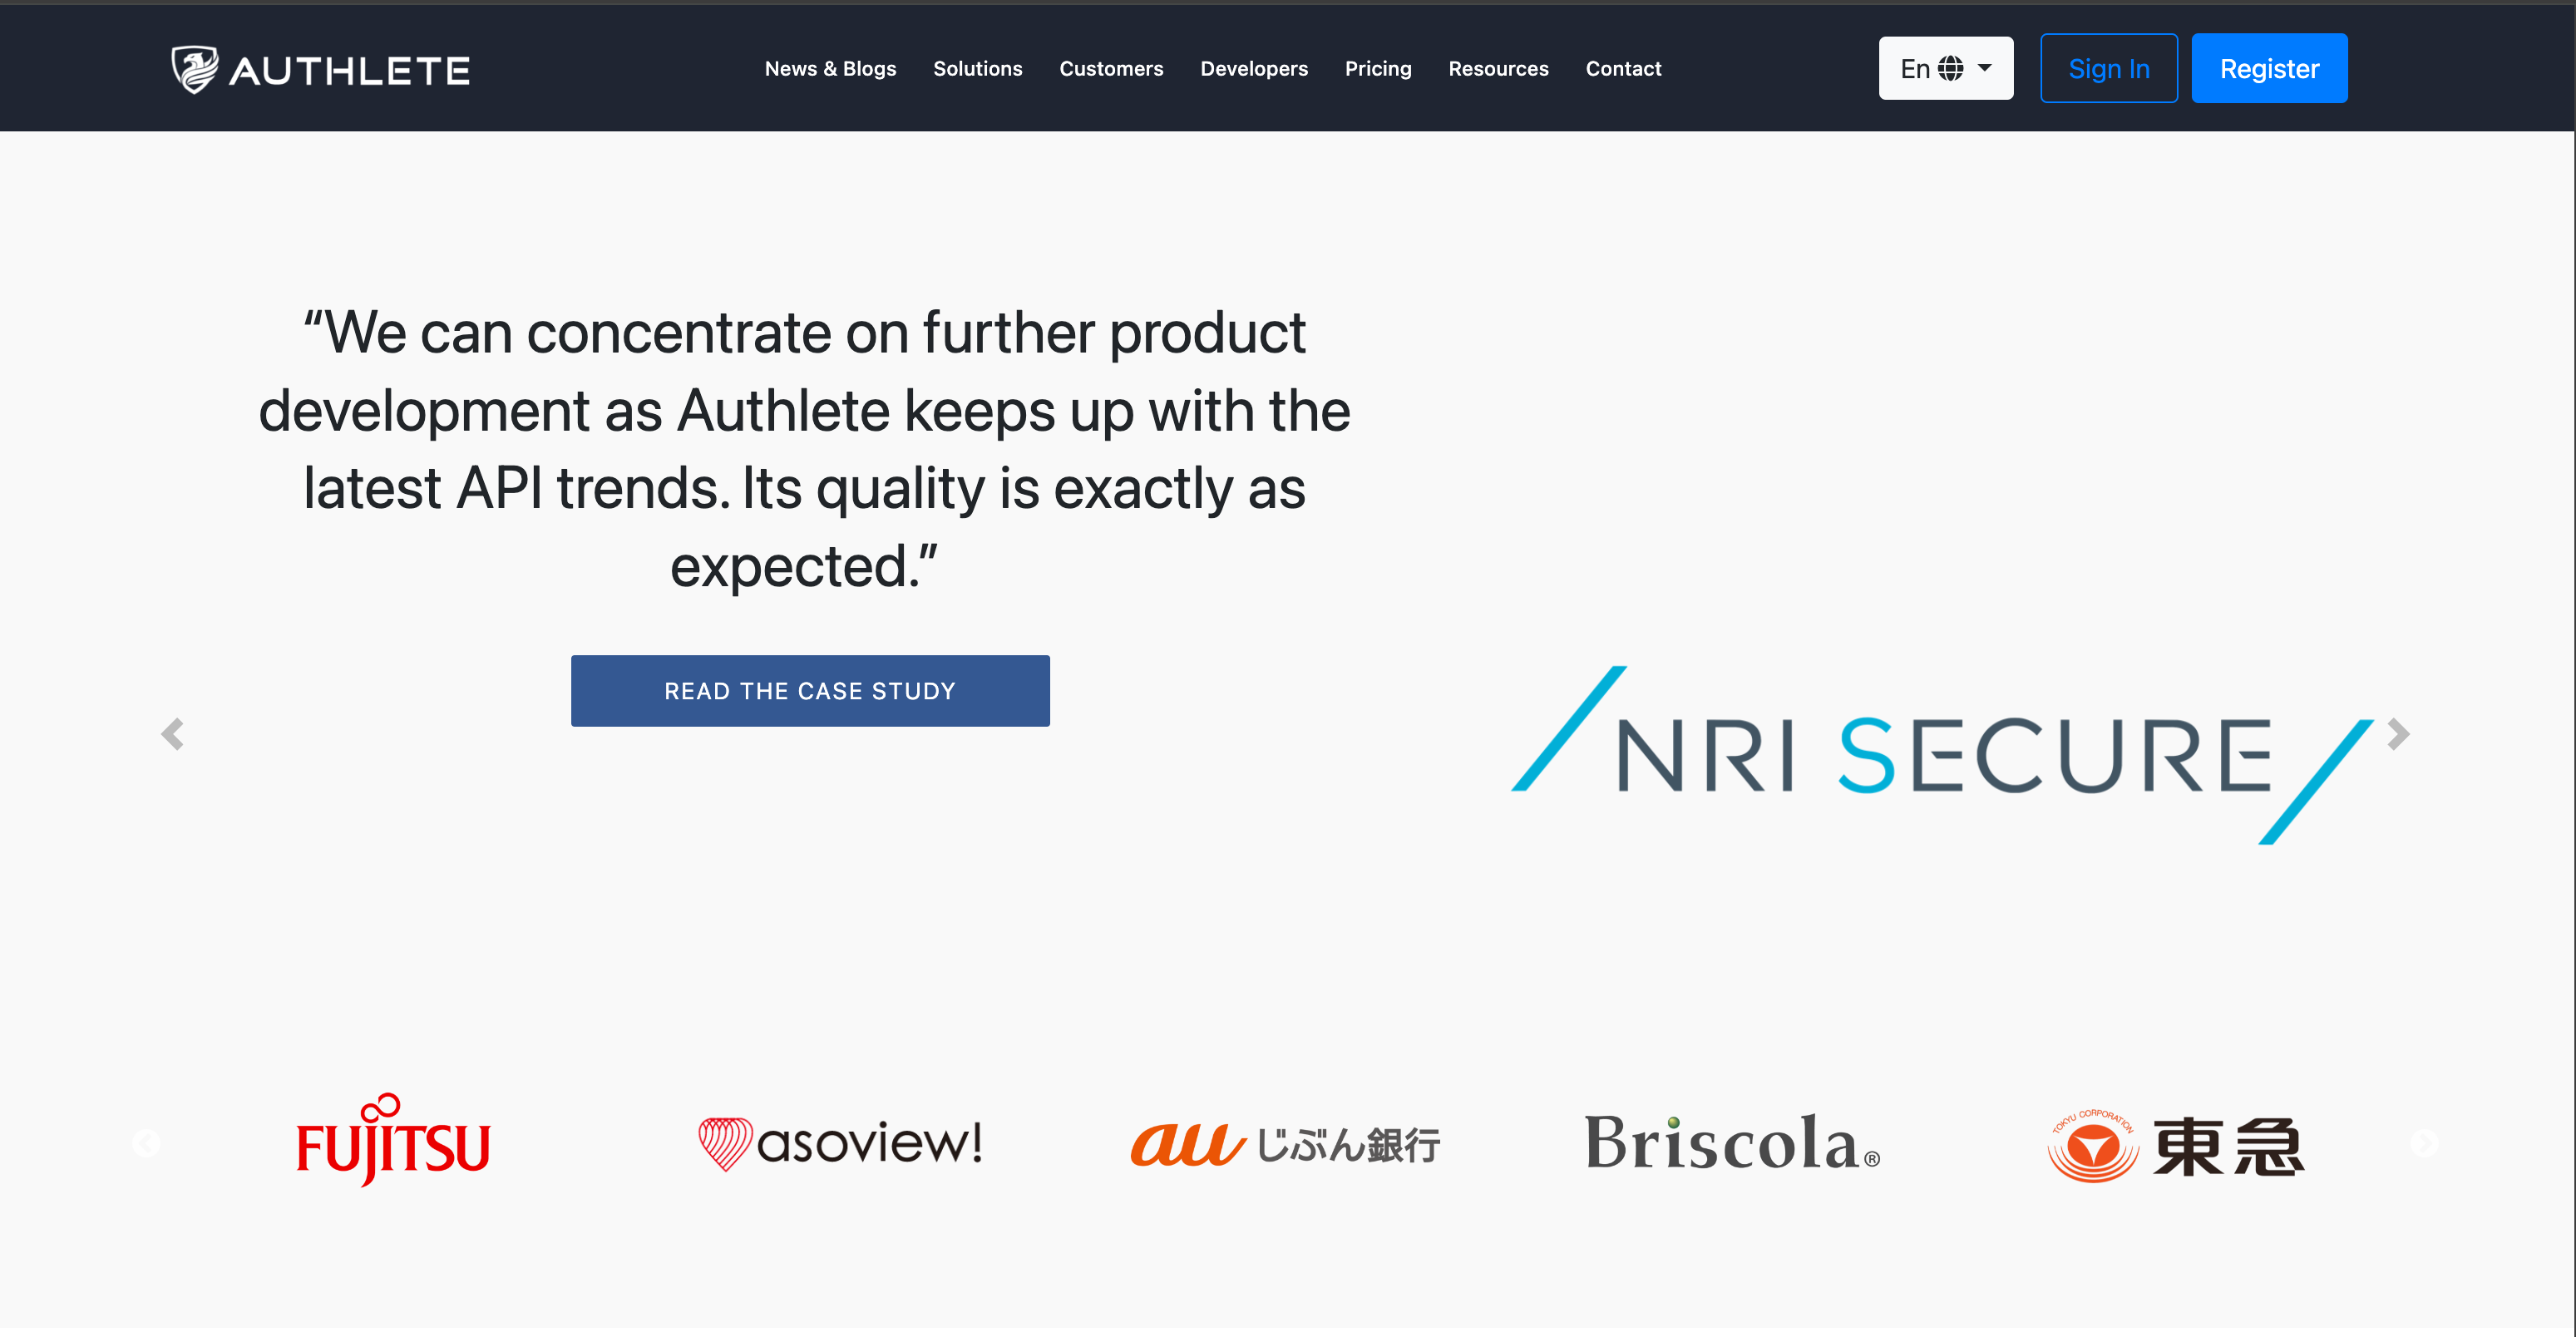
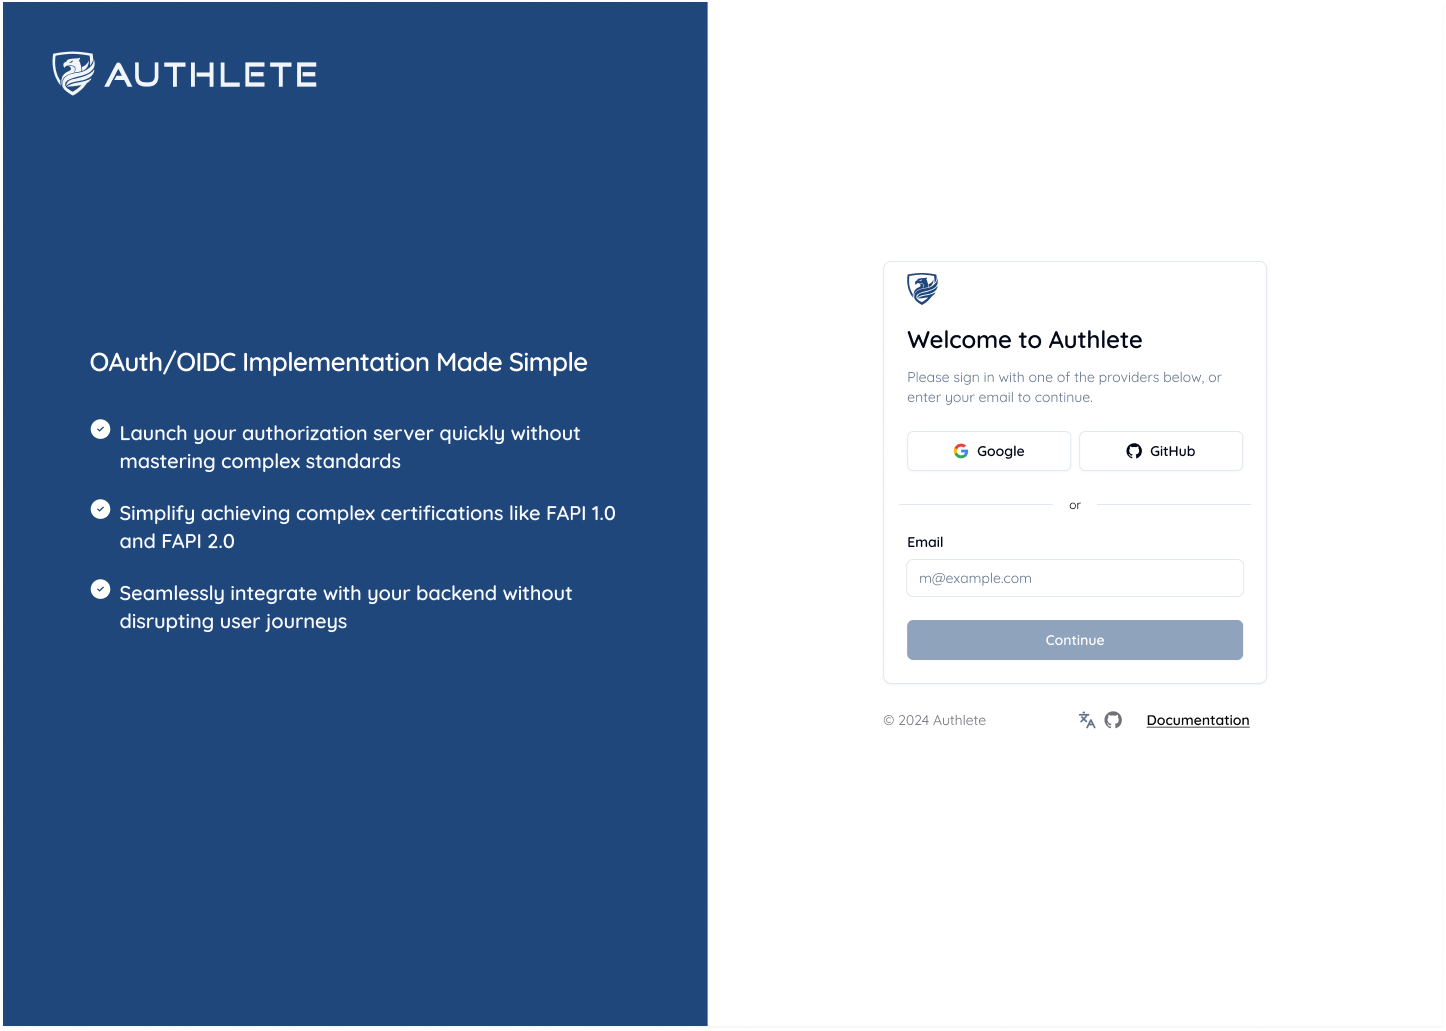
2. Create a Service
Immediately after signing up, you will be directed to the Services page. This page displays all services under your organization (which was created during the signup process). A Service represents the backend of your Authorization Server. It contains all the configurations required to operate a production-grade authorization server, including OAuth/OIDC settings, token management, and security policies. Click Create Service to add a new Authlete service to your organization.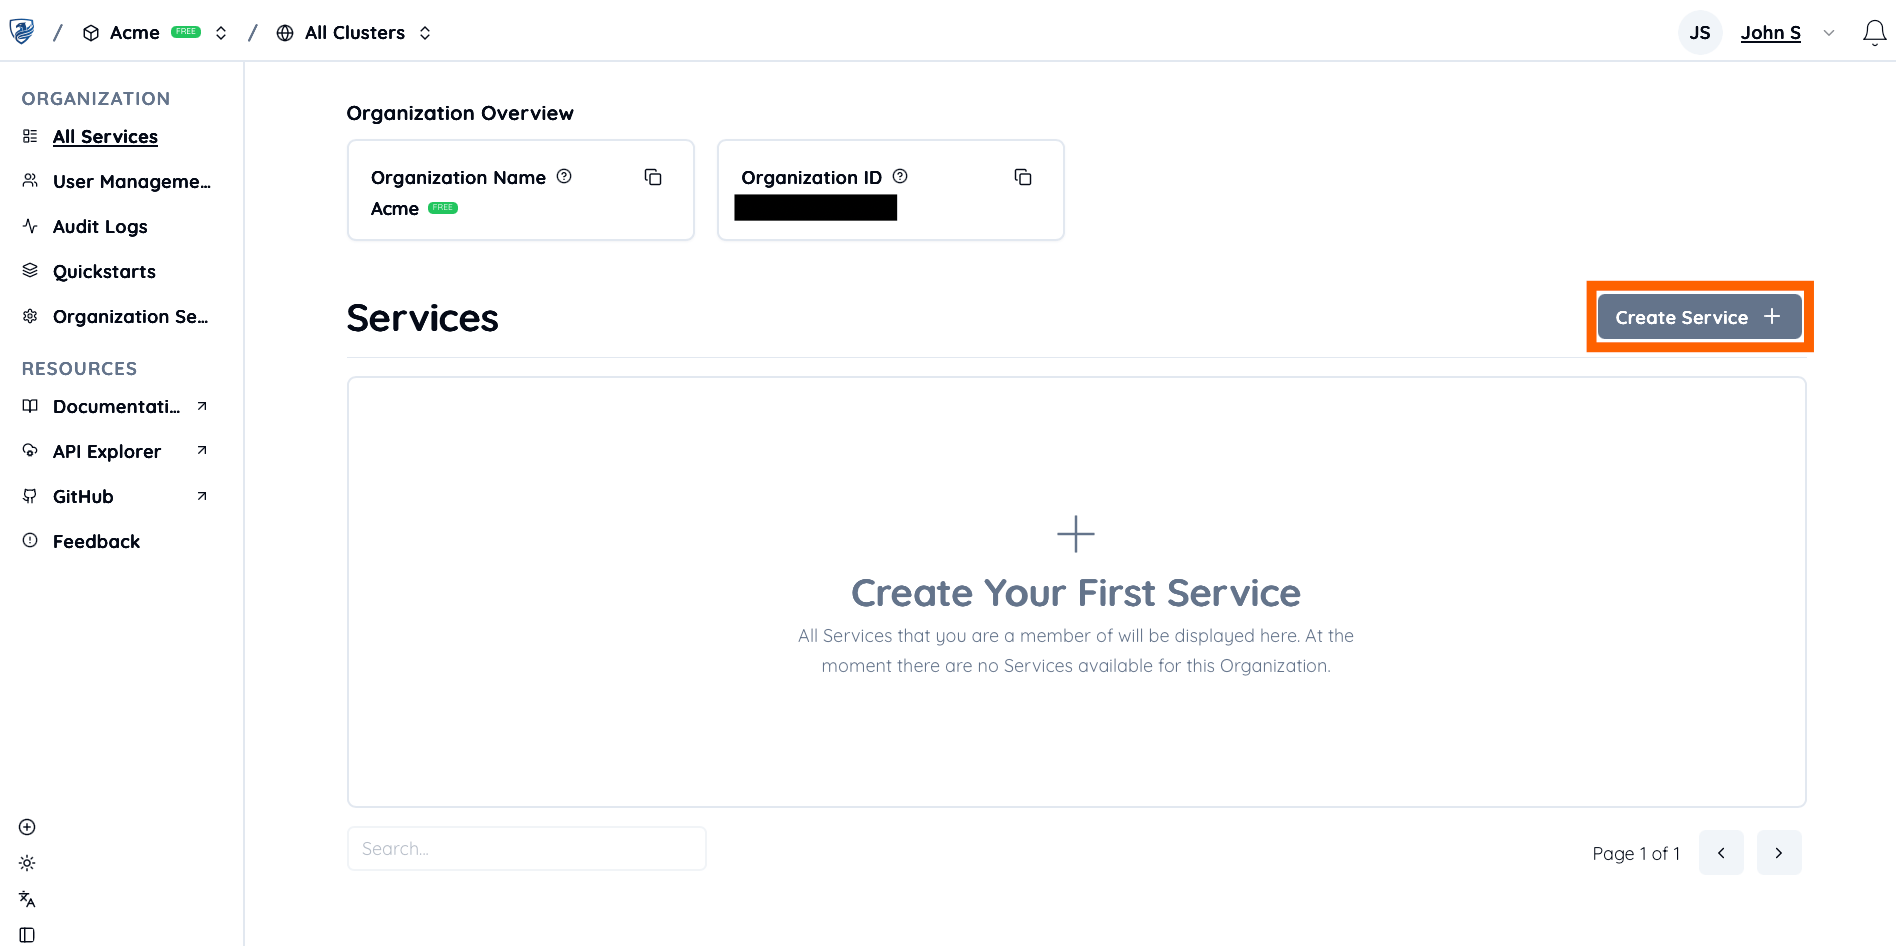
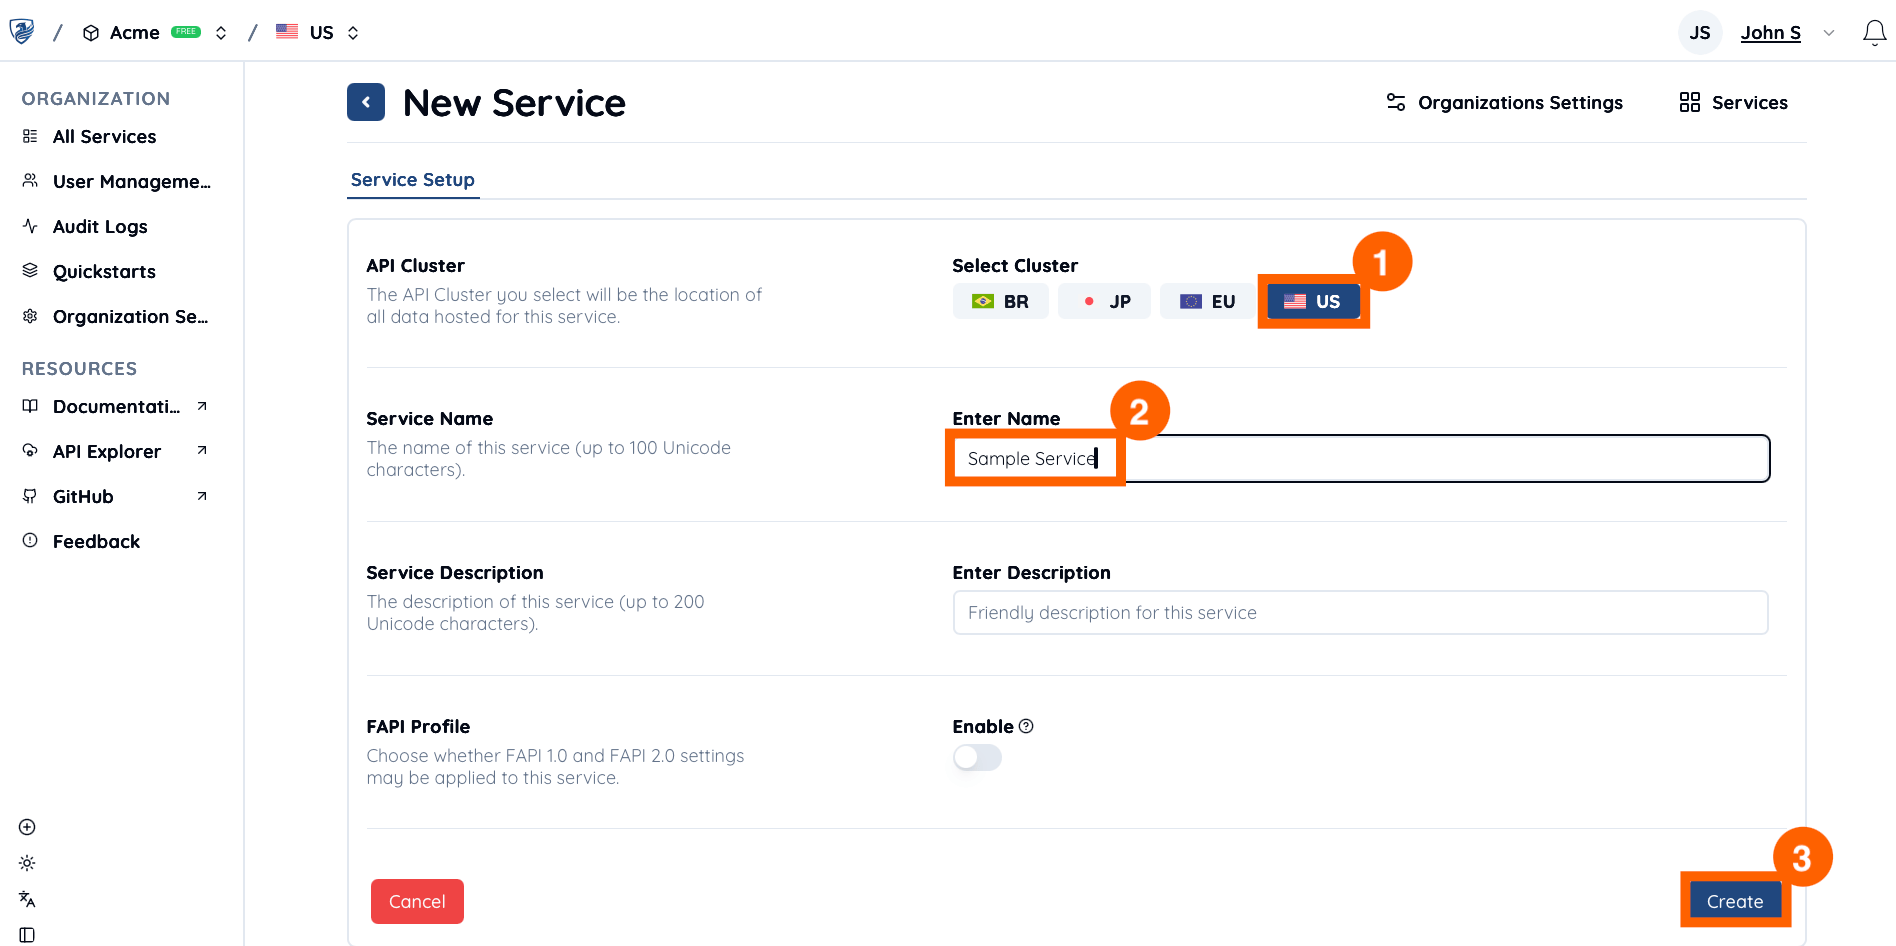
- Select your preferred API Cluster location (e.g.,
US). All service data will be stored in this selected cluster. Choose the cluster based on your data residency and environment isolation requirements. - Enter a Service Name (e.g.,
Sample Service). - Click Create to complete the setup.
3. Create a Service Access Token
You will need a Service Access Token to authenticate your Authlete API calls. Click Service Settings for your newly created service.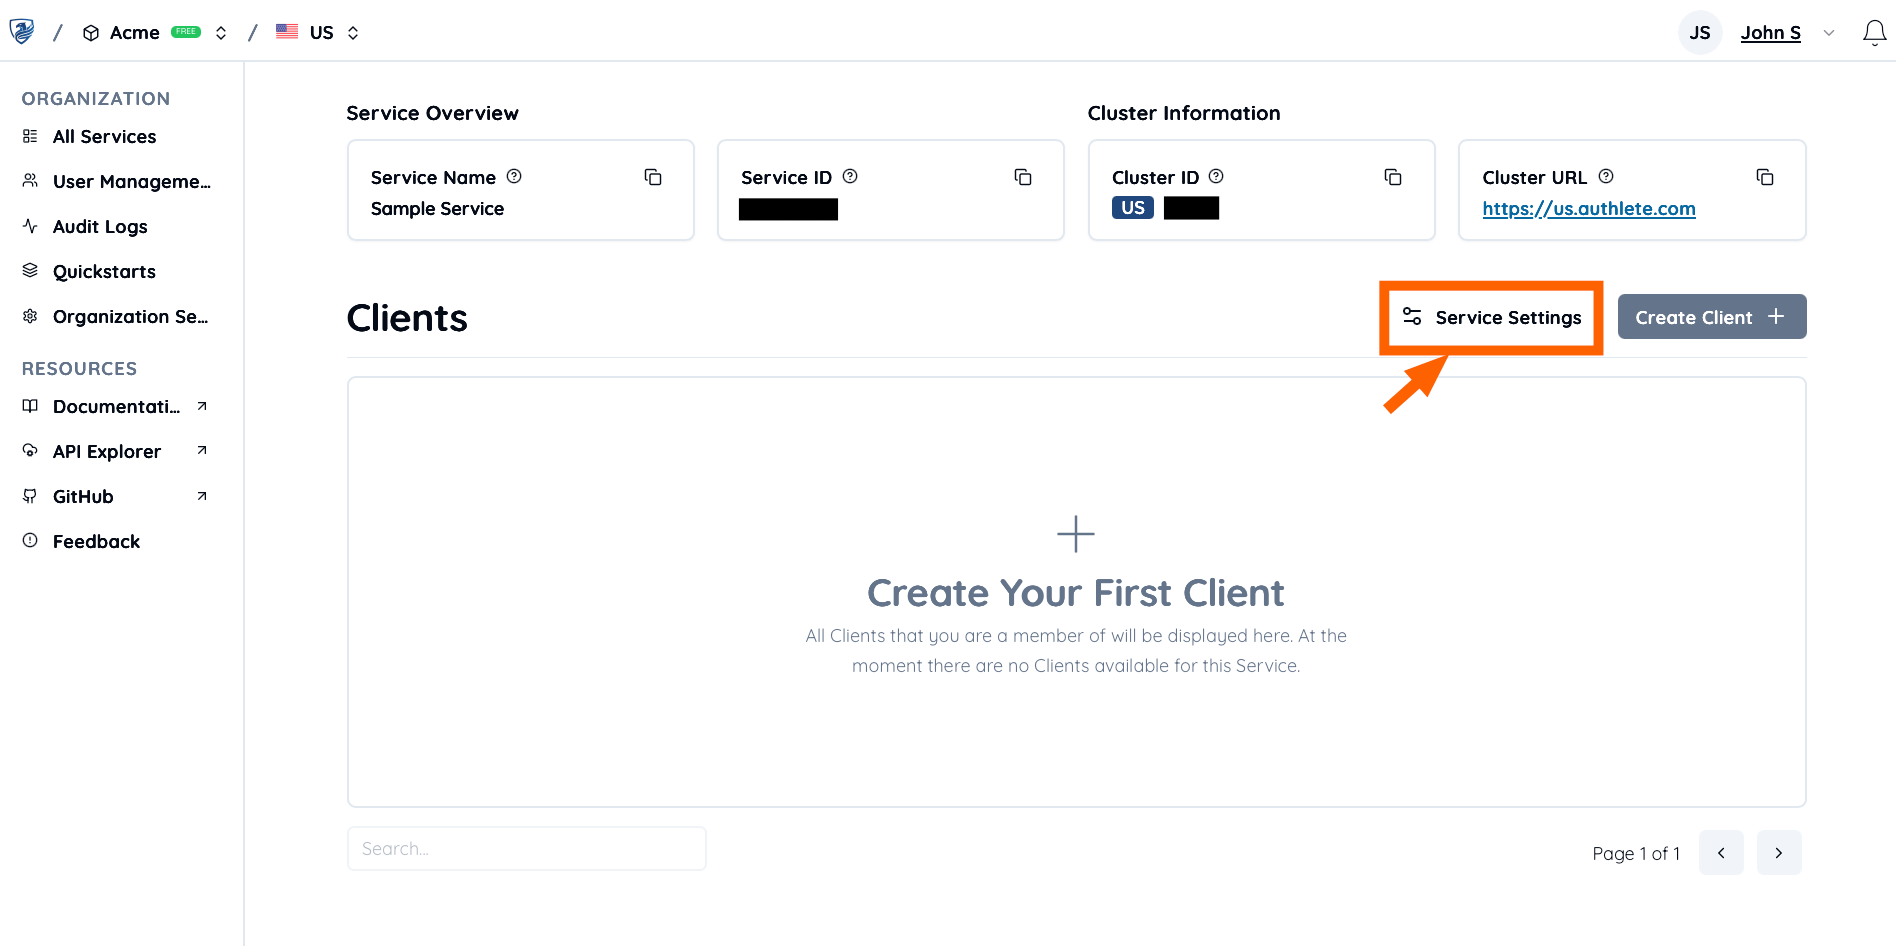
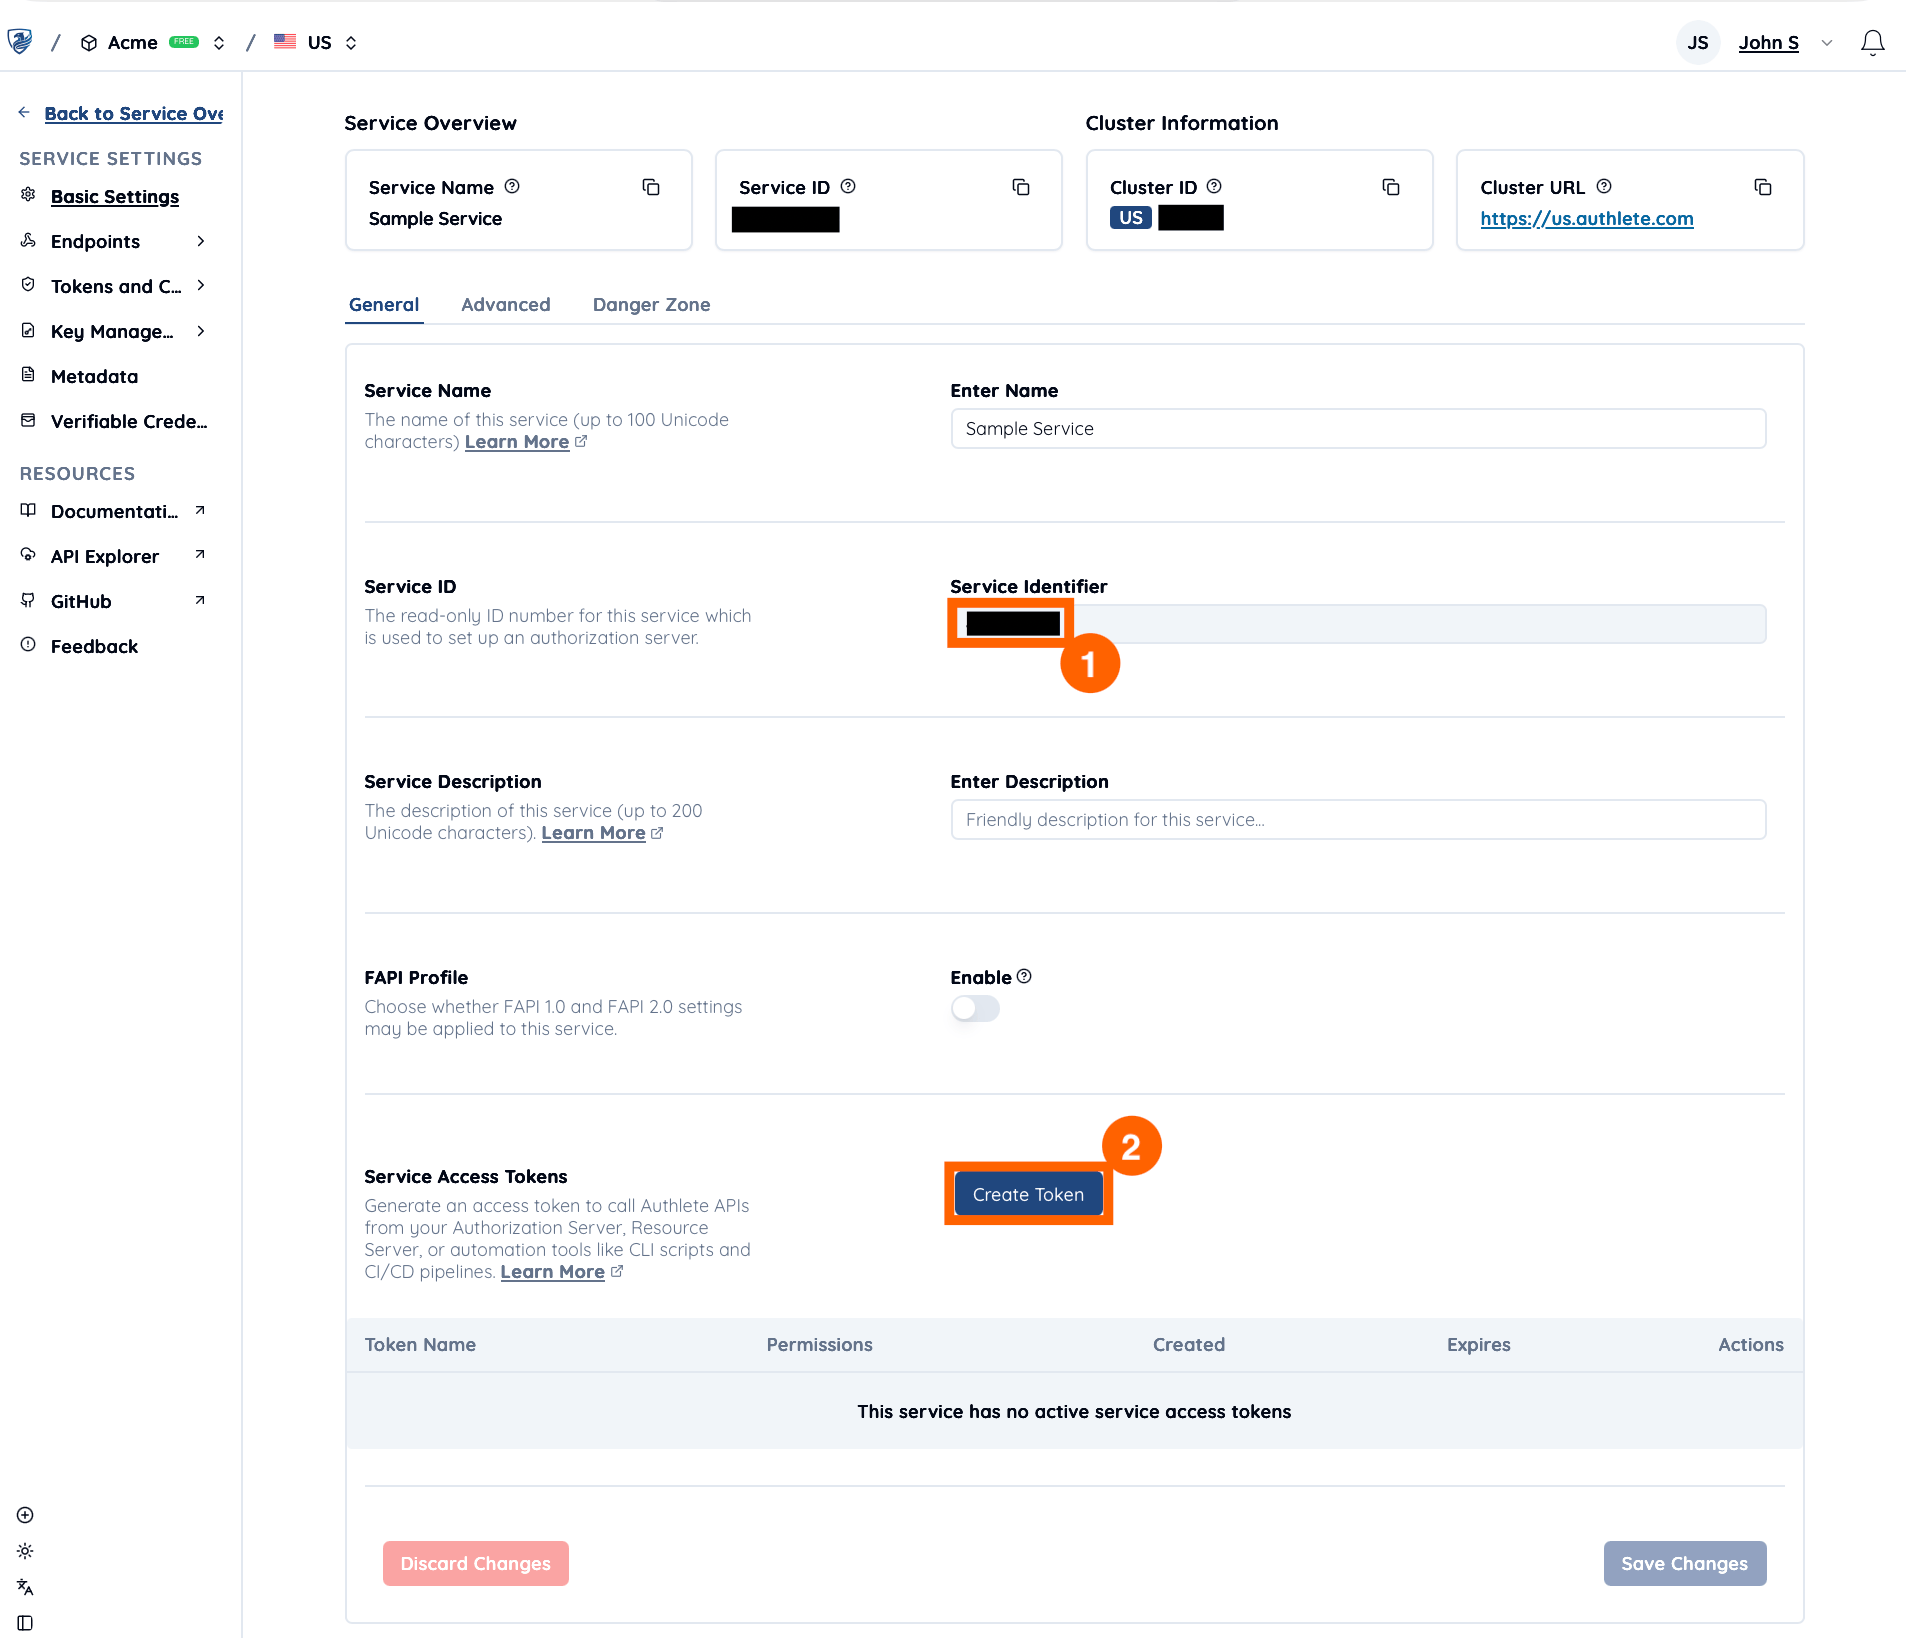
- Note down the Service Identifier value (e.g.,
21653835348762), which is required when making requests in many Authlete APIs. - Click Create Token to create a new Service Access Token.
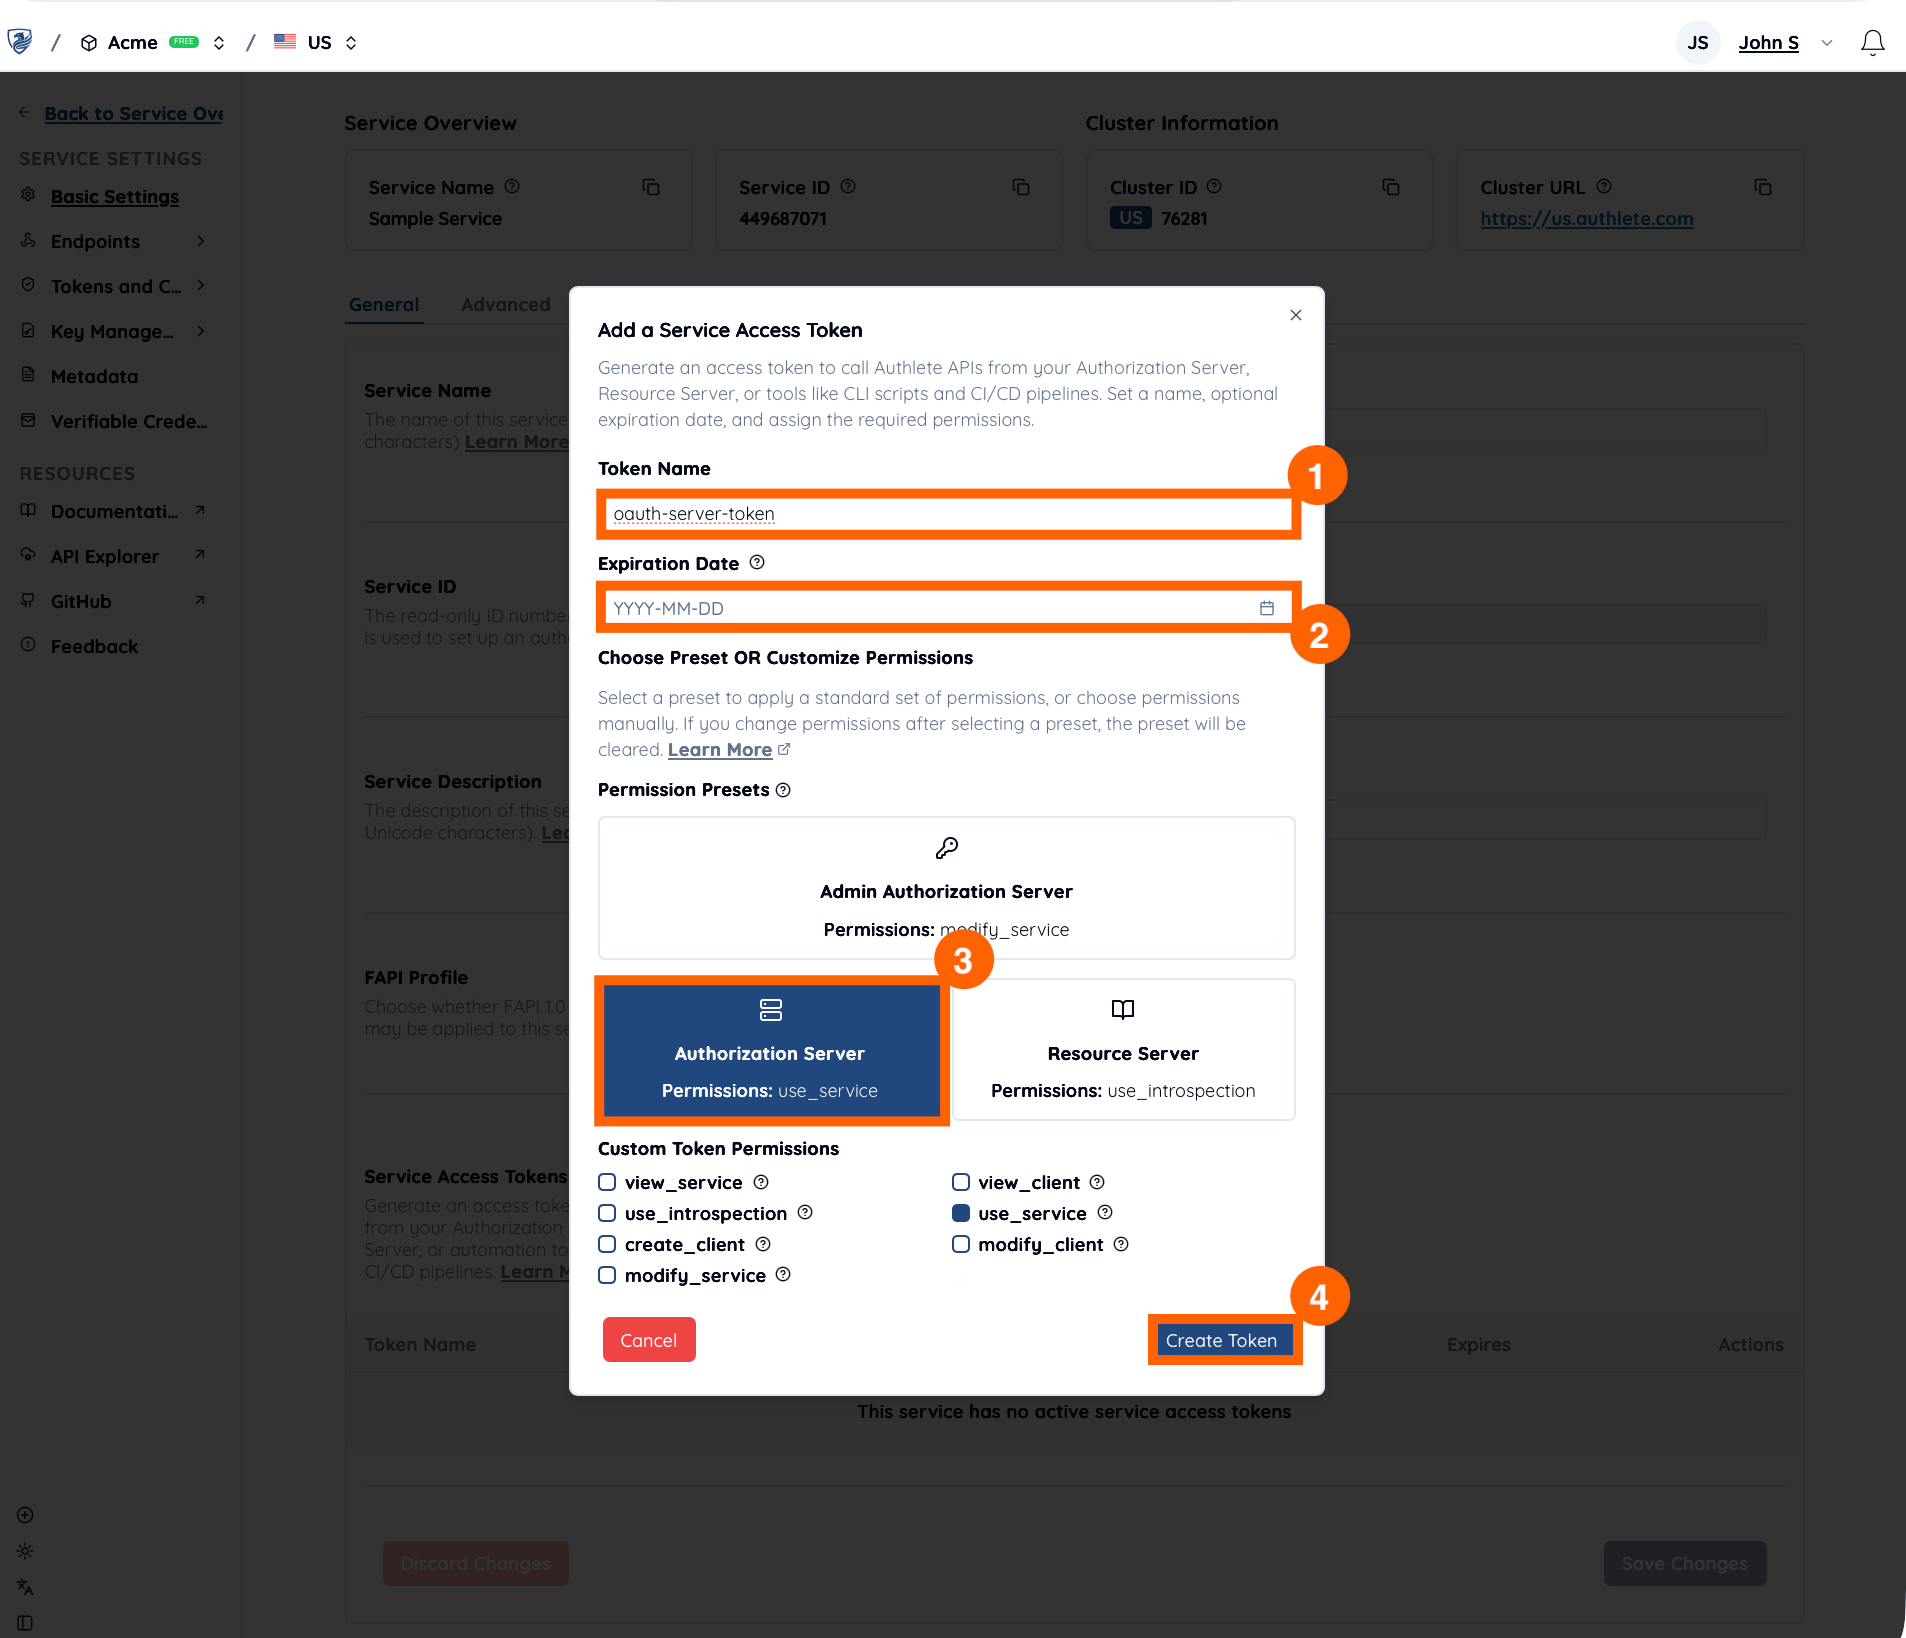
- Enter a token Name (e.g.,
oauth-server-token). - Specify the Expiration Date.
- Select the appropriate Permissions (e.g., Authorization Server preset).
- Click Create Token.
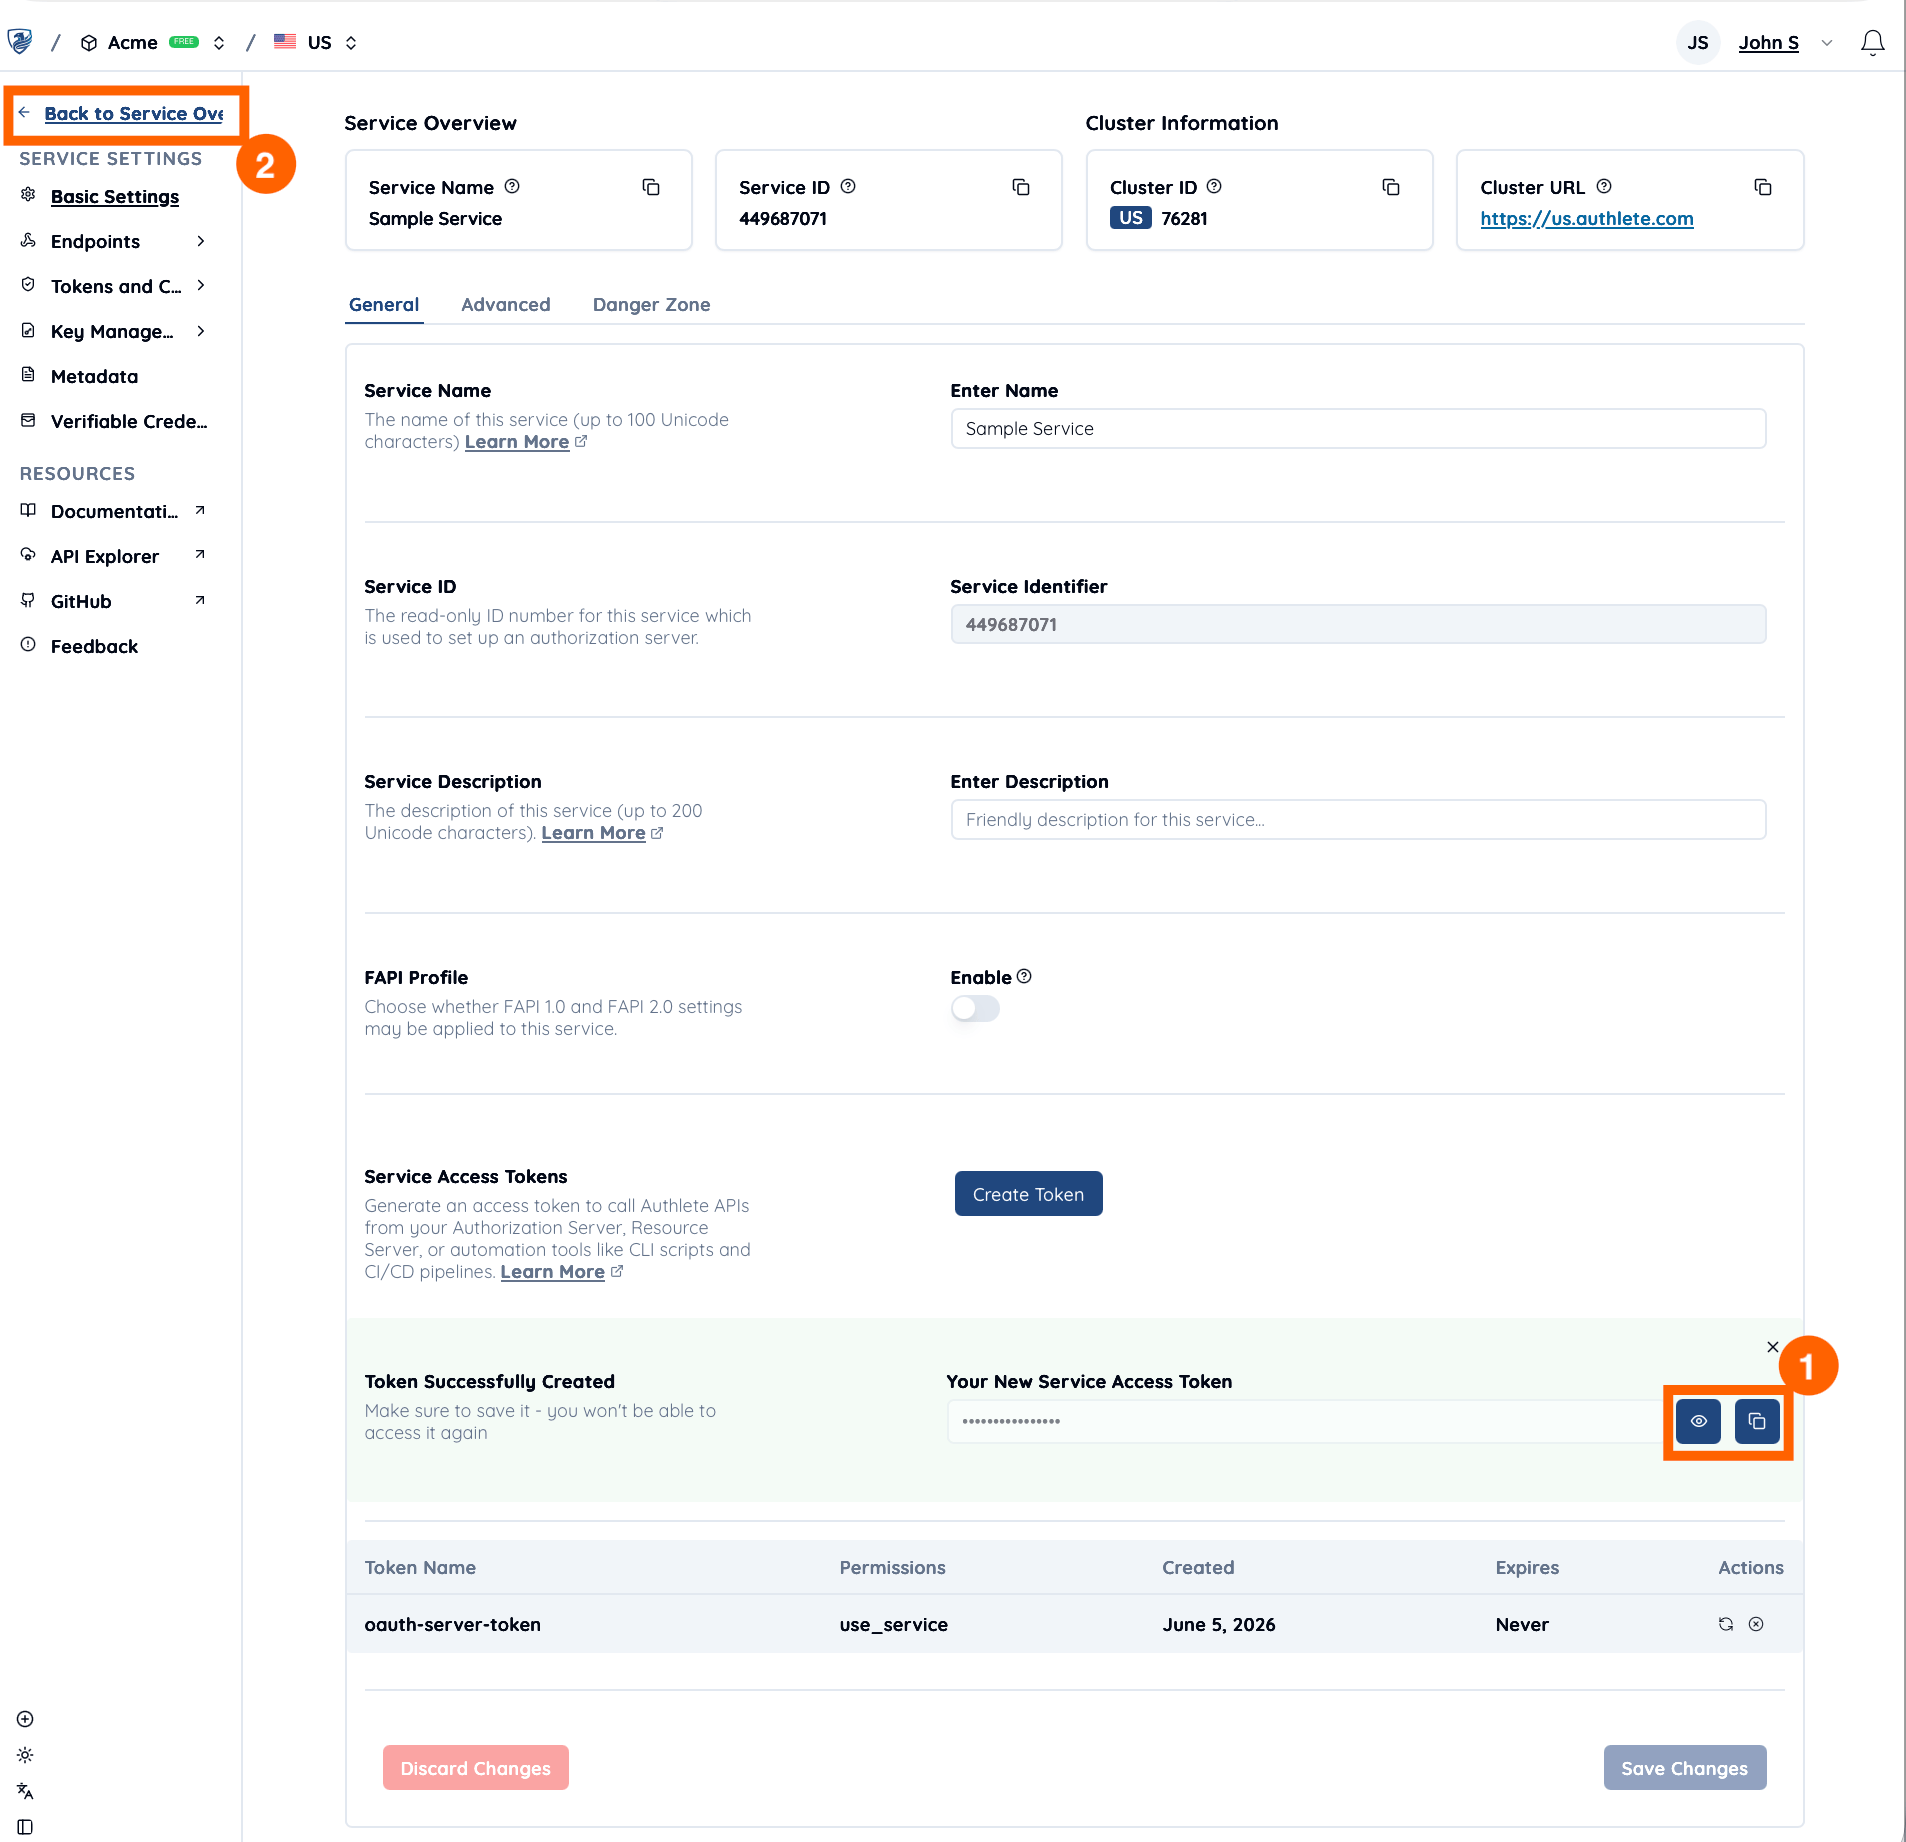
- Click the Copy or Show icon to retrieve the token value, as it is required for most Authlete API requests. Please note that this value is only displayed once upon creation.
- Click Back to Service Overview to return to the main Service page.
4. Call the Authlete API
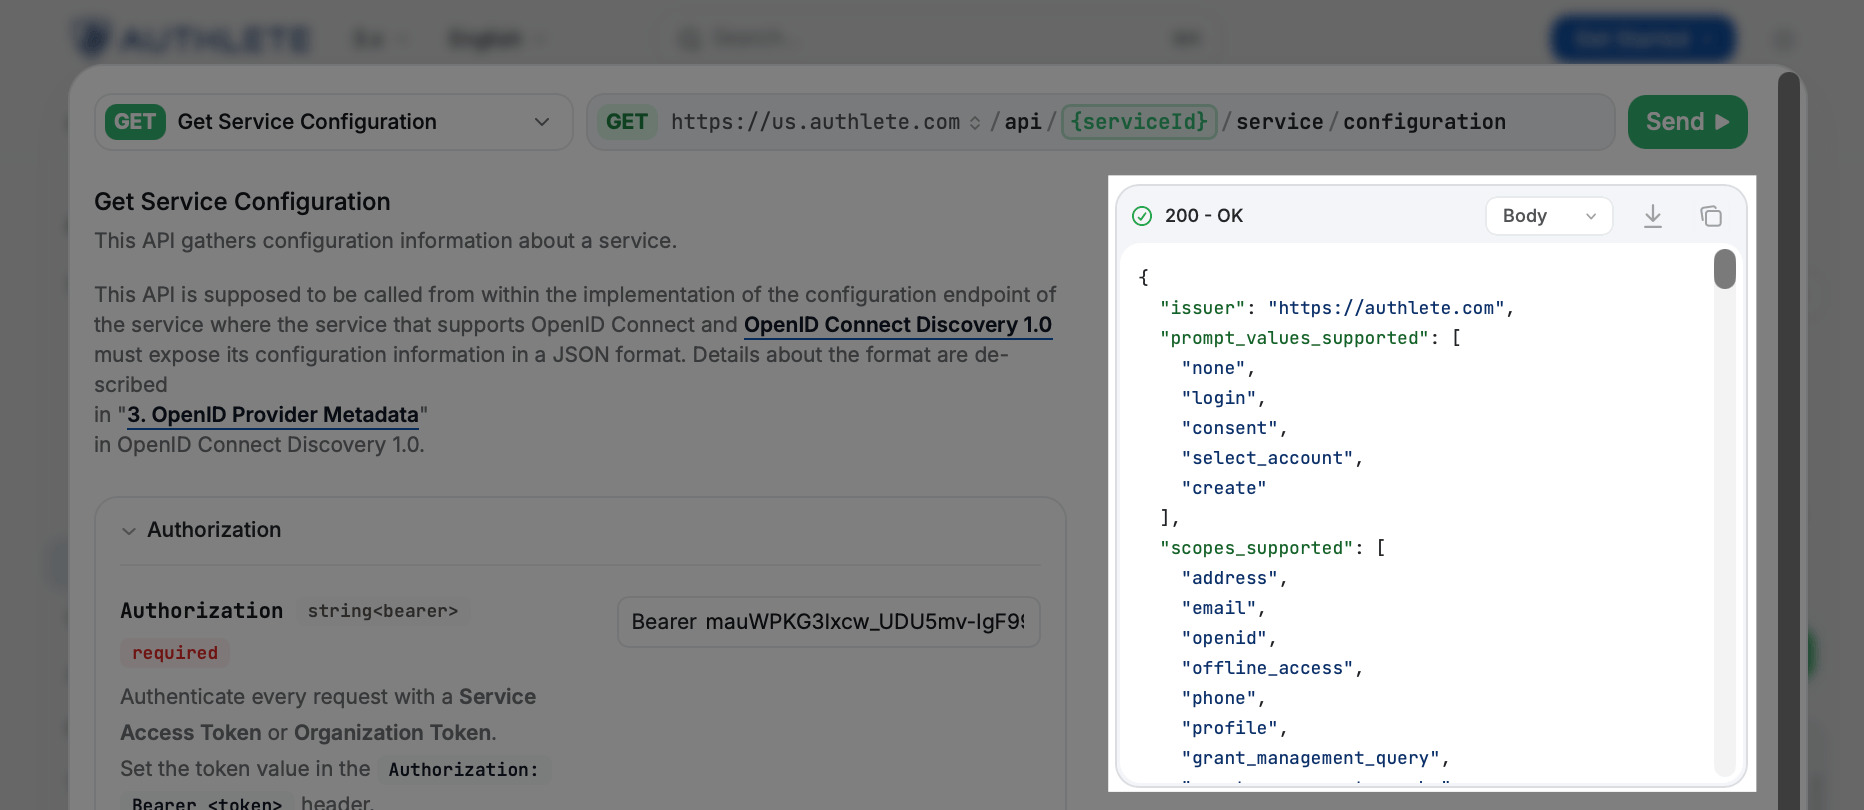
Let’s make your first API request to Authlete’s /service/configuration API, which acts as the backend for the OIDC discovery endpoint, generating OpenID provider metadata so that the endpoint can return in response to requests from clients (OIDC relying parties). Below are examples using curl and the API Explorer. Please replace the placeholder values with your actual environment details.Using curl
Run the following command in your terminal to send an HTTP GET request:Using API Explorer
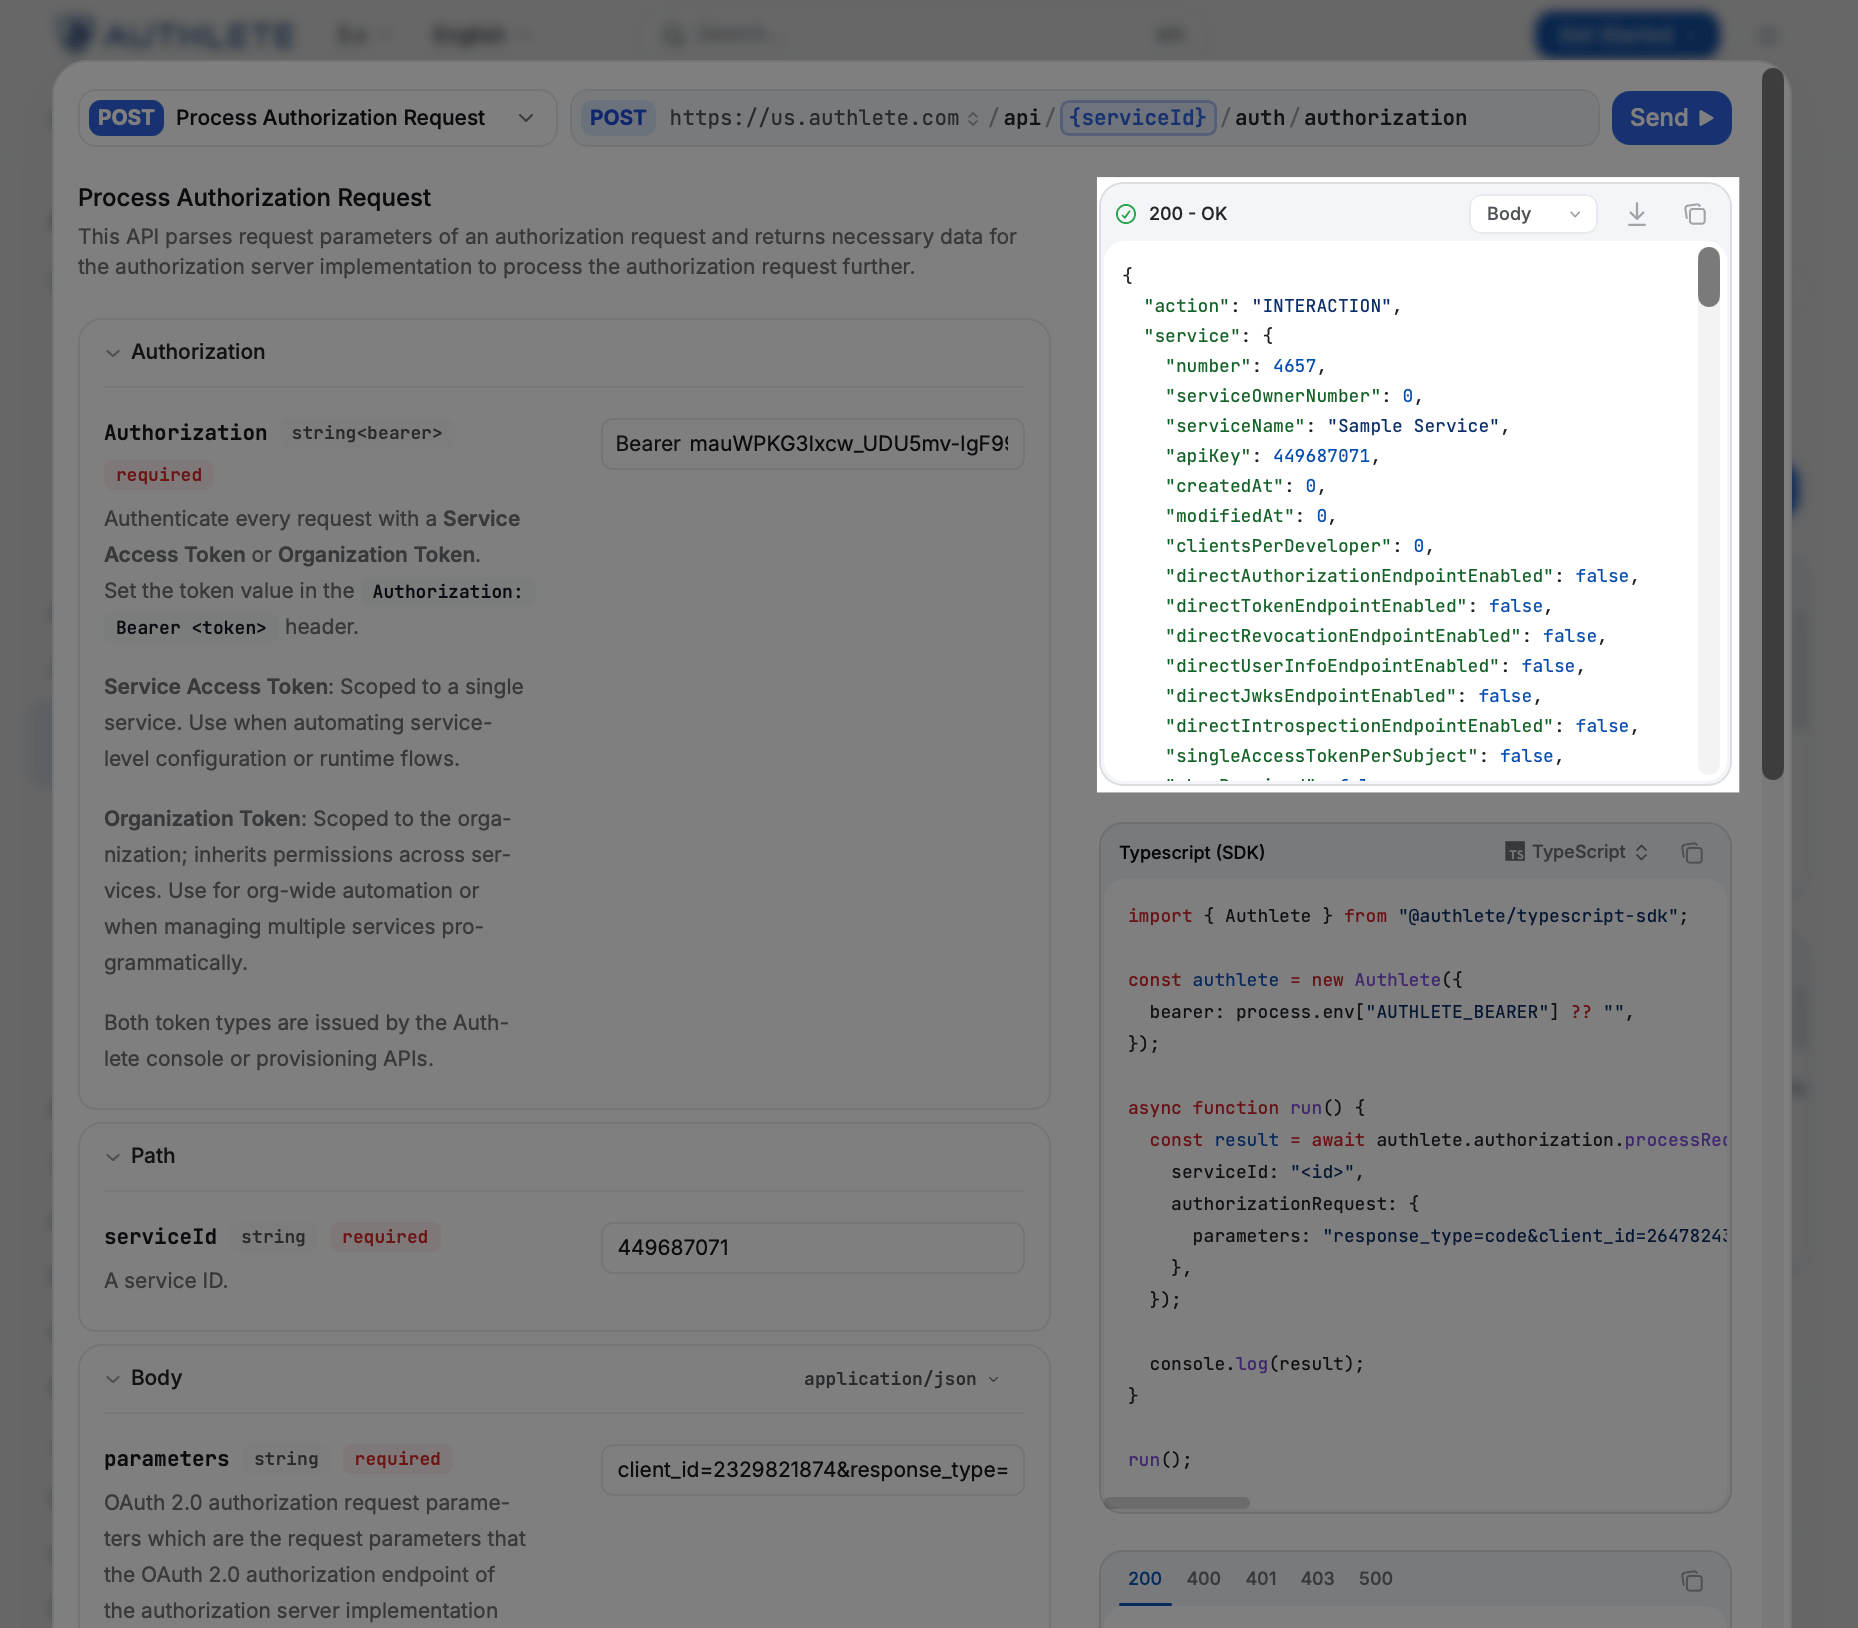
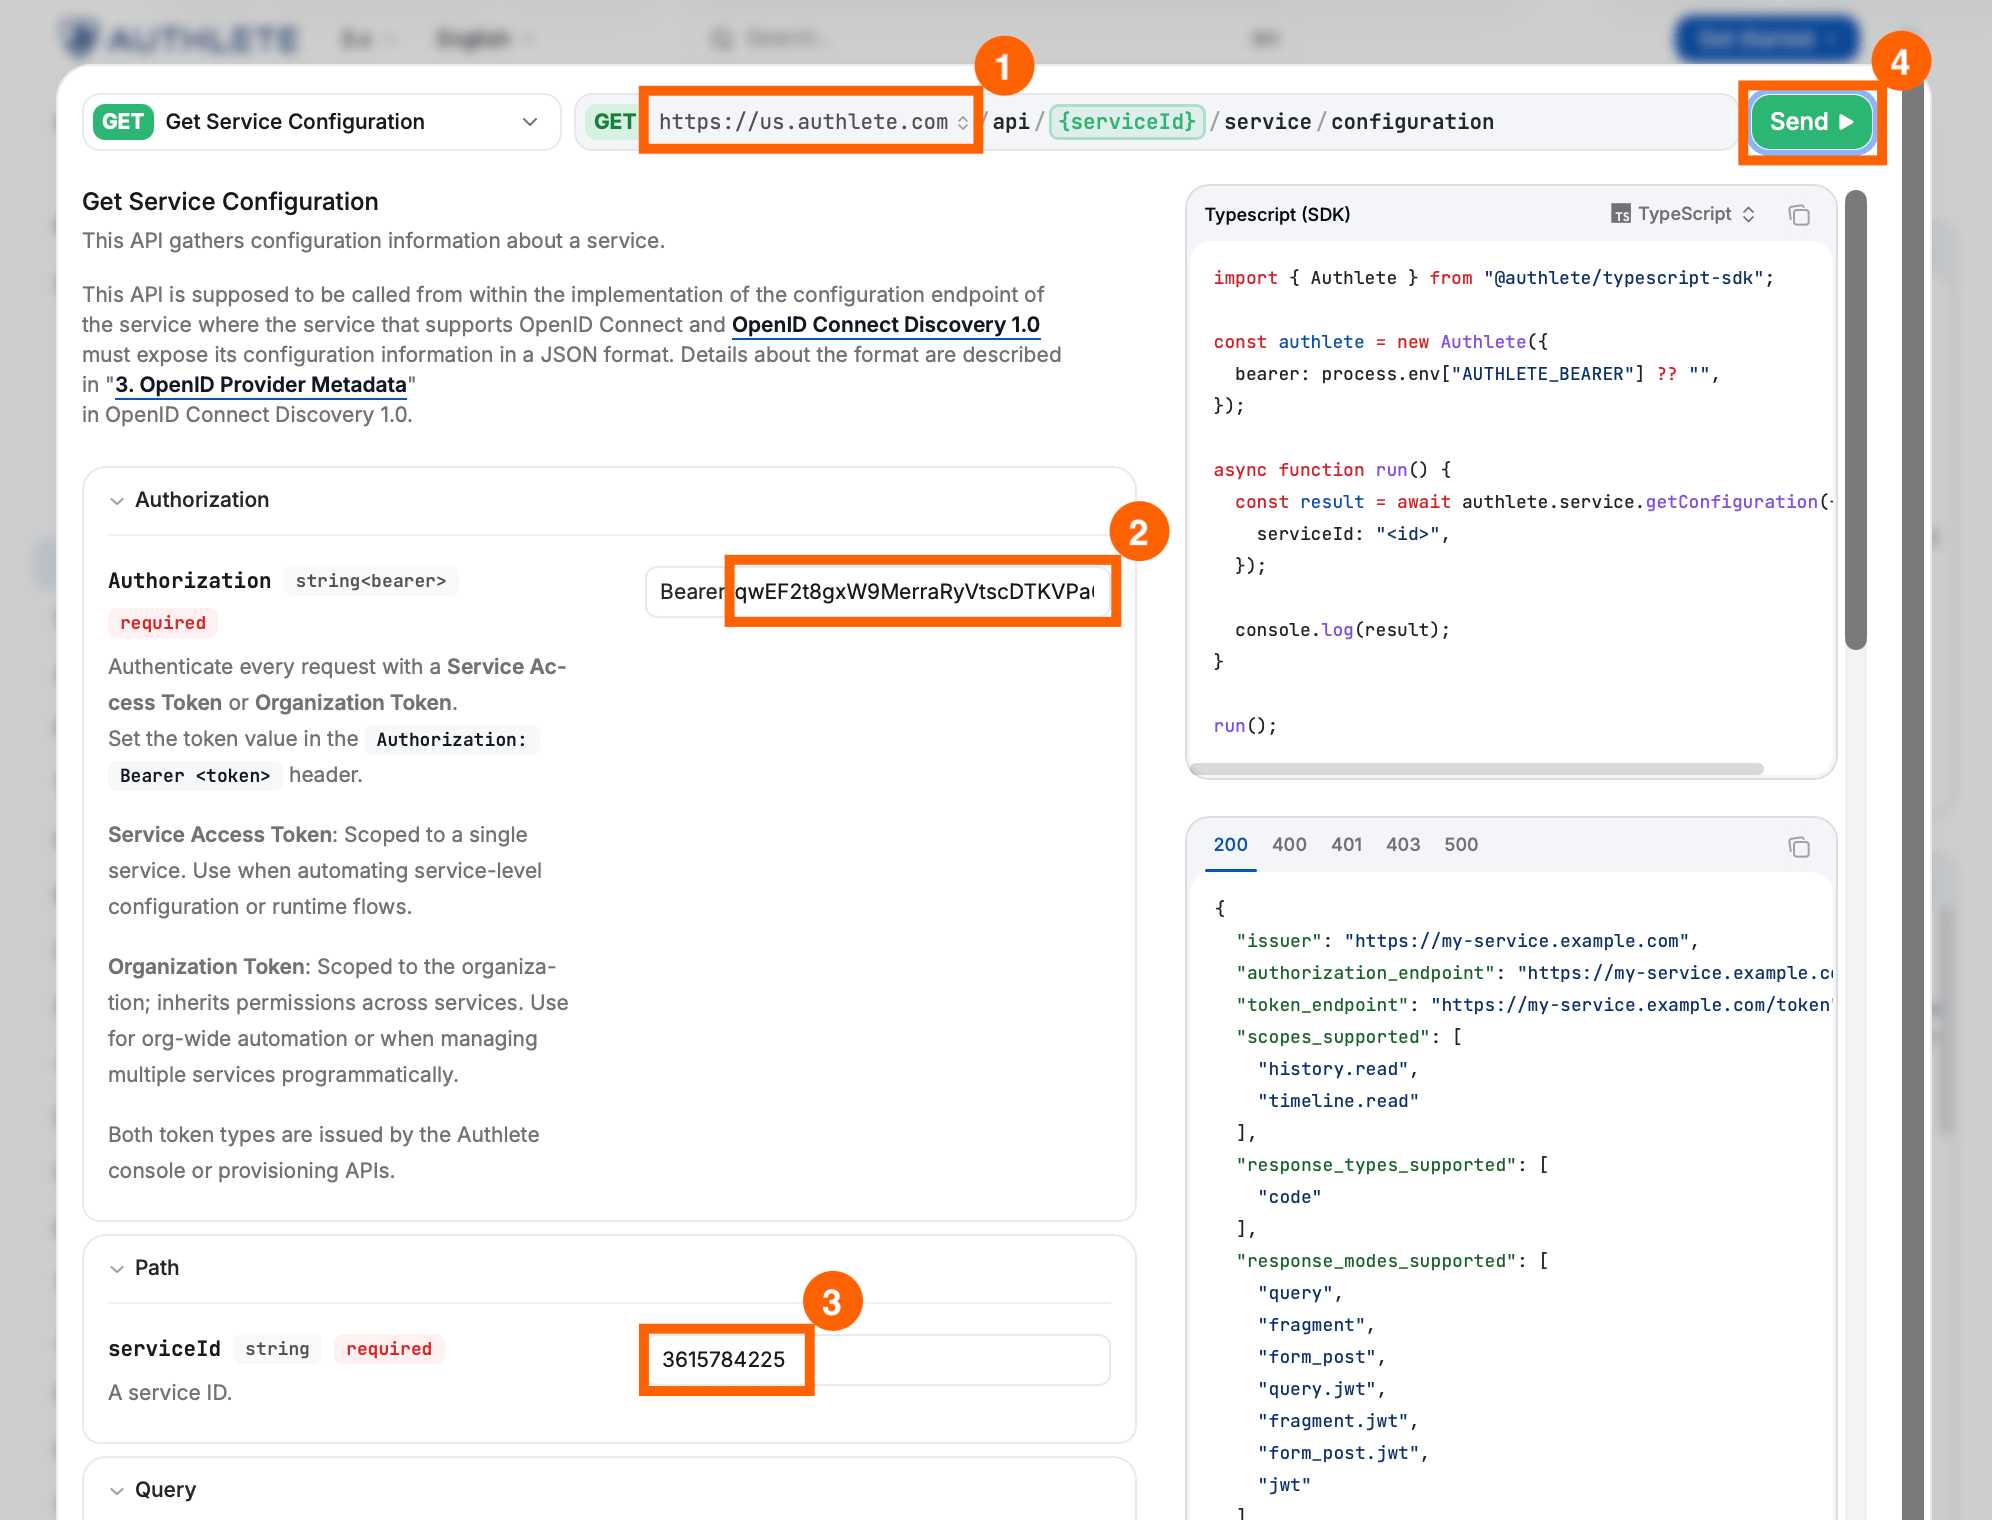
Open the /service/configuration API reference page and click the Try it button.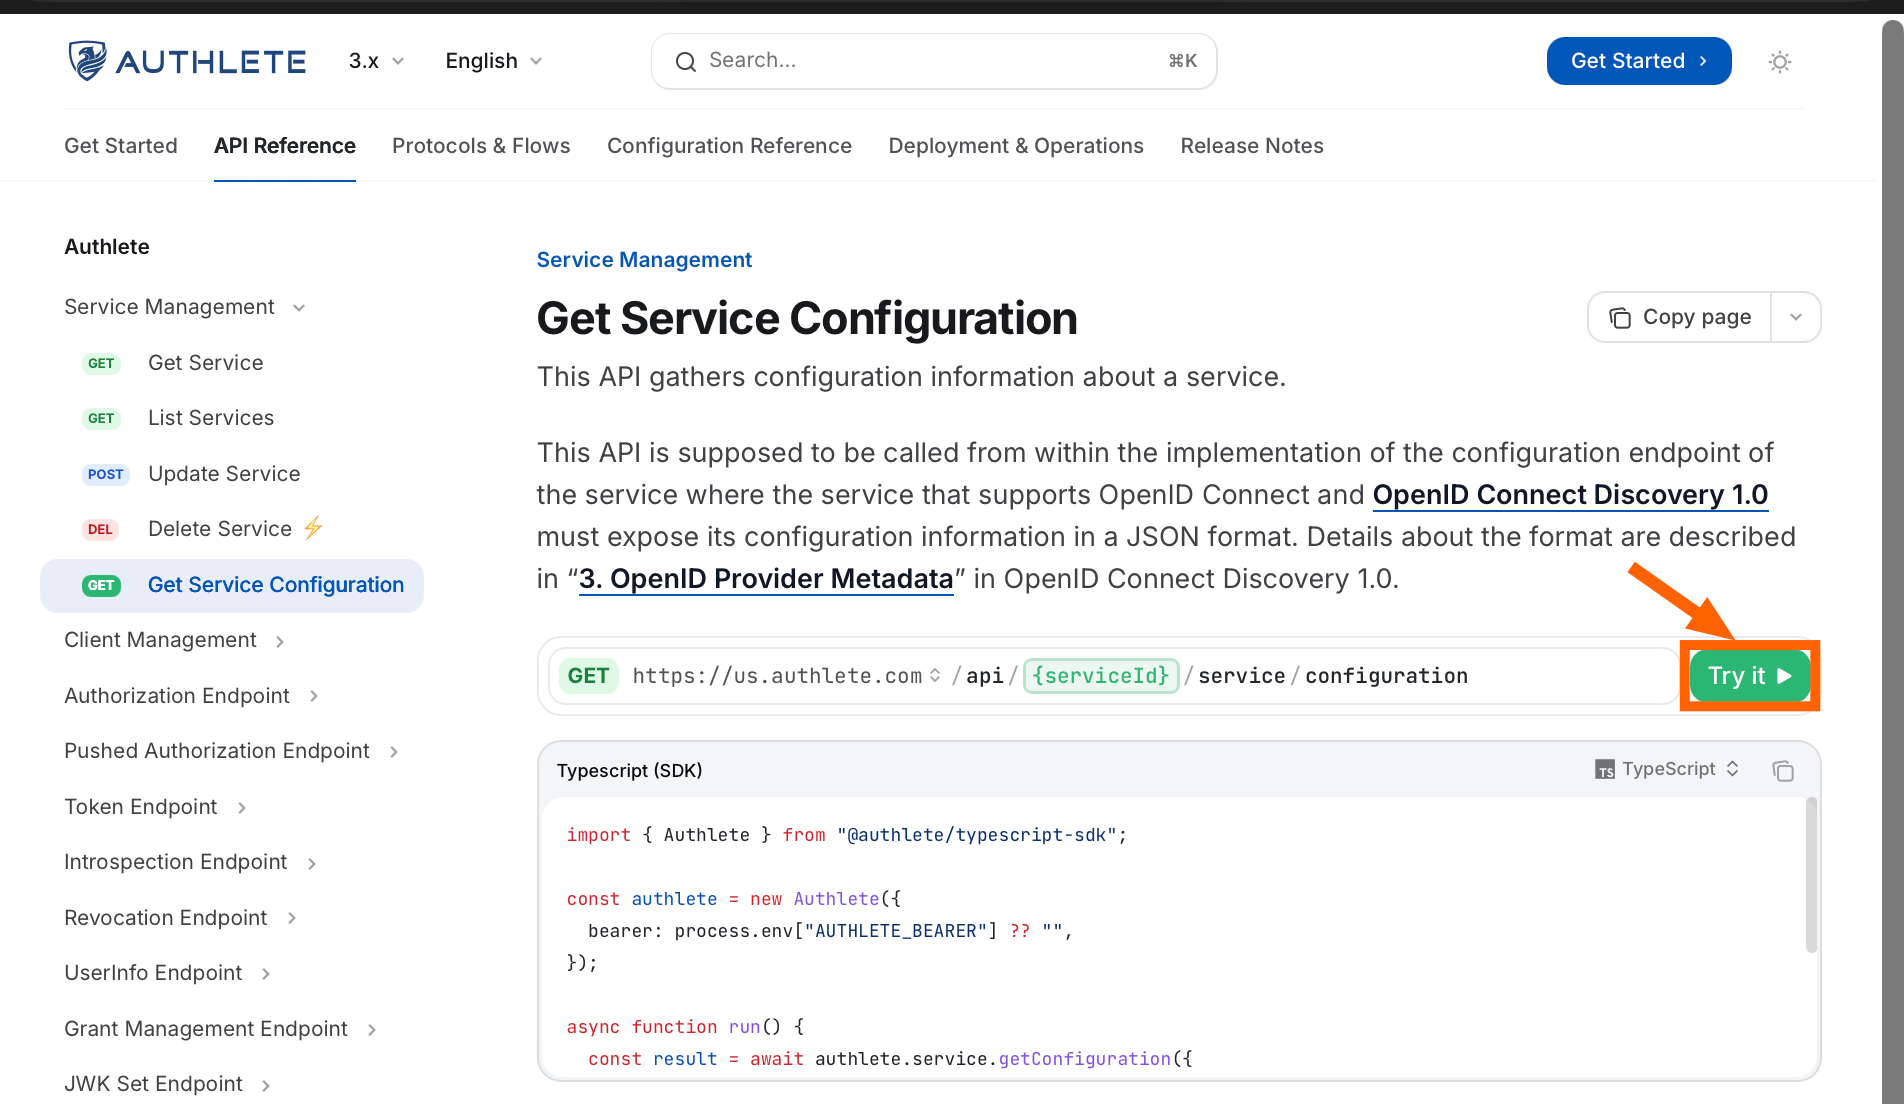
- Choose the API Cluster Hostname.
- Enter the Service Access Token.
- Enter the Service ID.
- Click Send.
Next Steps
Now that your Authlete account is set up and your service is configured, it’s time to explore further:- OAuth 2.0 Basics - API Tutorials: Learn how Authlete works under the hood by calling the APIs directly using curl and other tools.
- Using Demo Authorization Server: Deploy an open-source authorization server frontend that integrates with Authlete APIs to test live OAuth/OIDC flows.
Extra: OAuth/OIDC Processing
Let’s explore Authlete’s OAuth/OIDC protocol processing by testing a sample authorization request.Create a Client
A Client represents an application that interacts with the Authorization Server to request tokens, or with the Resource Server to access protected resources. Clients are managed within the context of a specific Authlete Service. On the Service page, click the Create Client button at the top-right of the screen.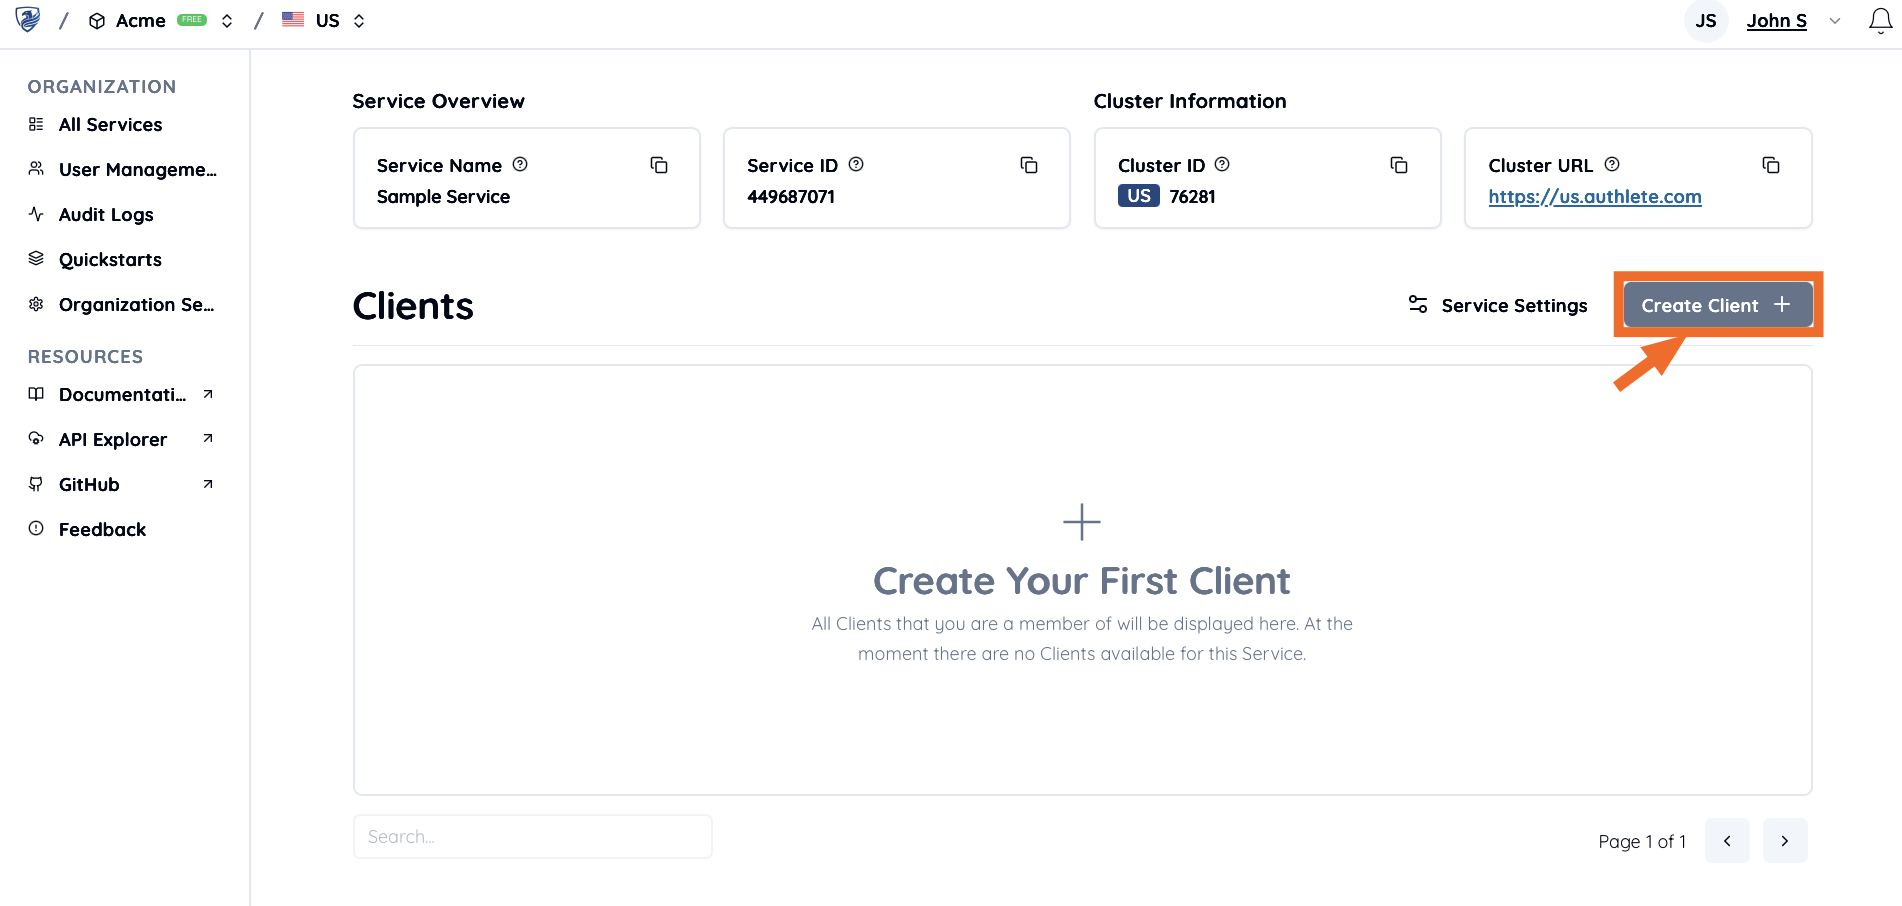
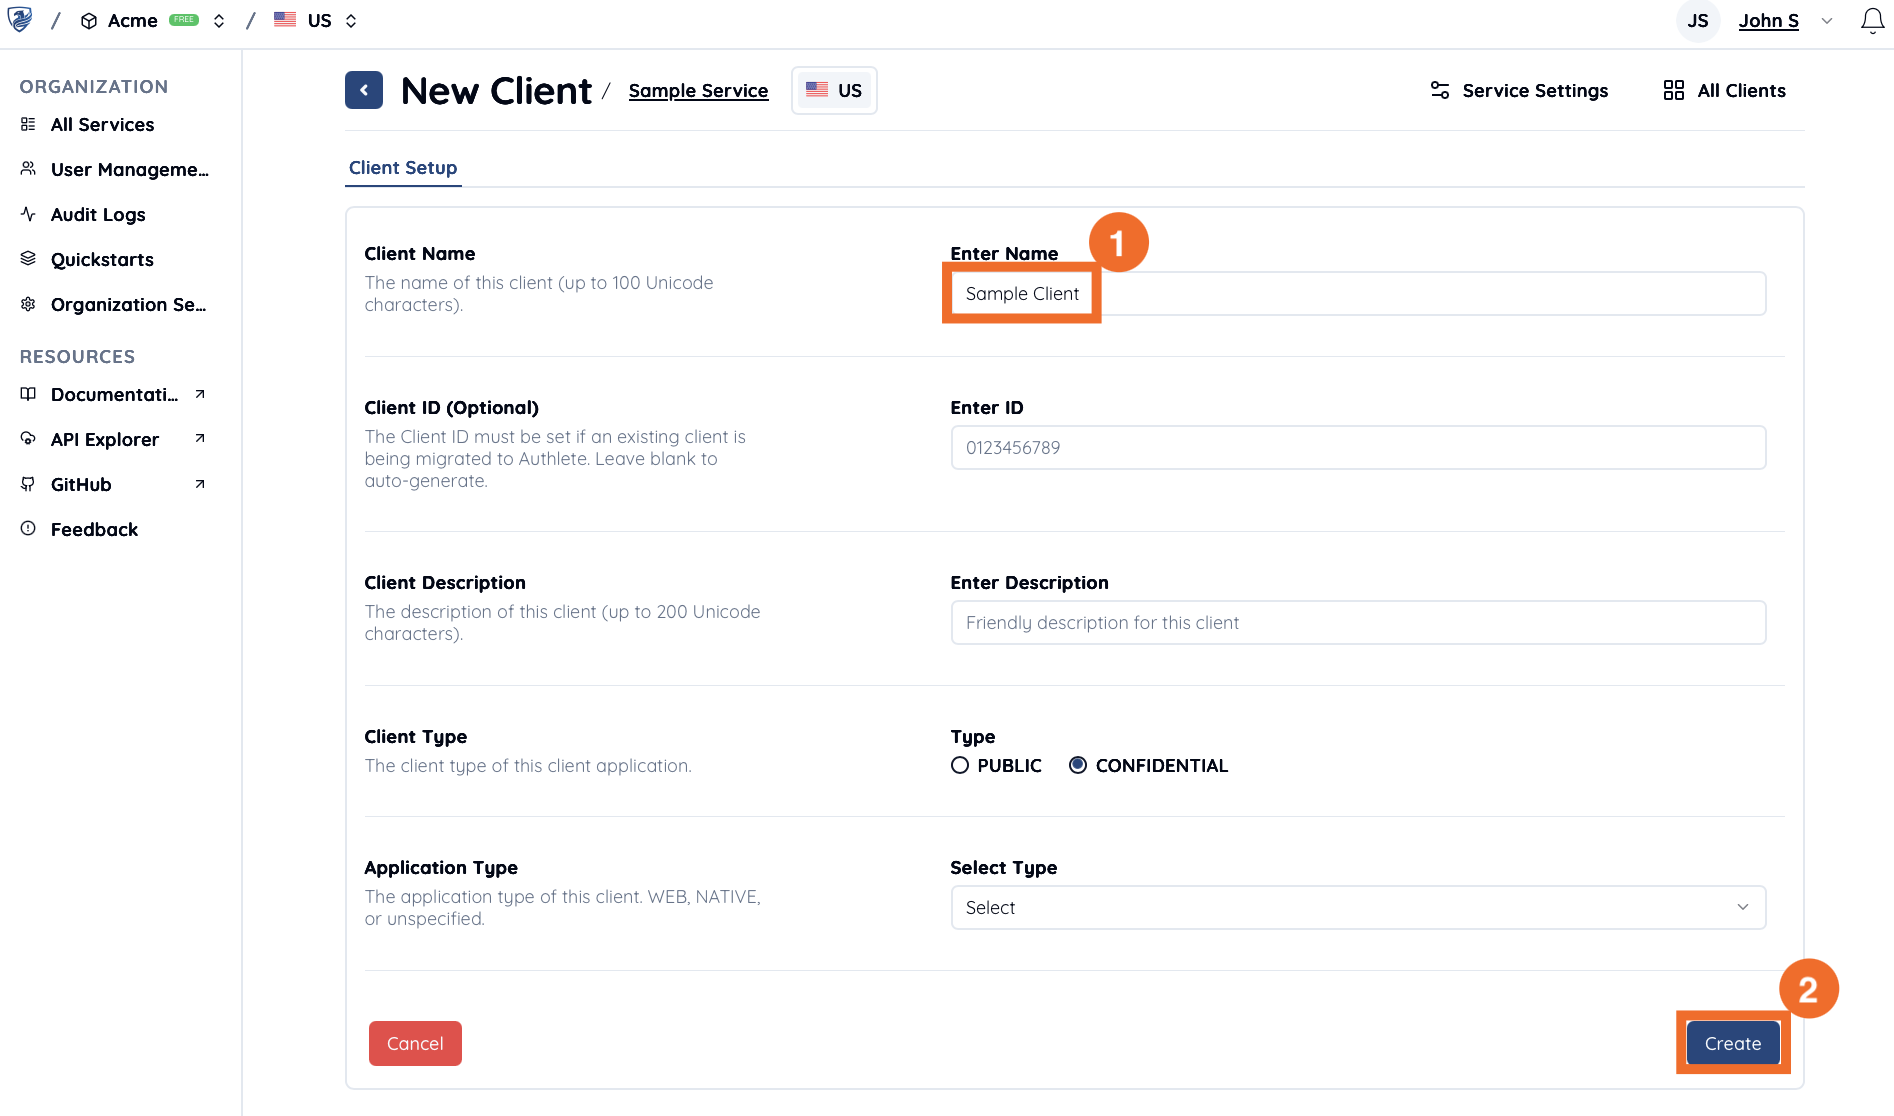
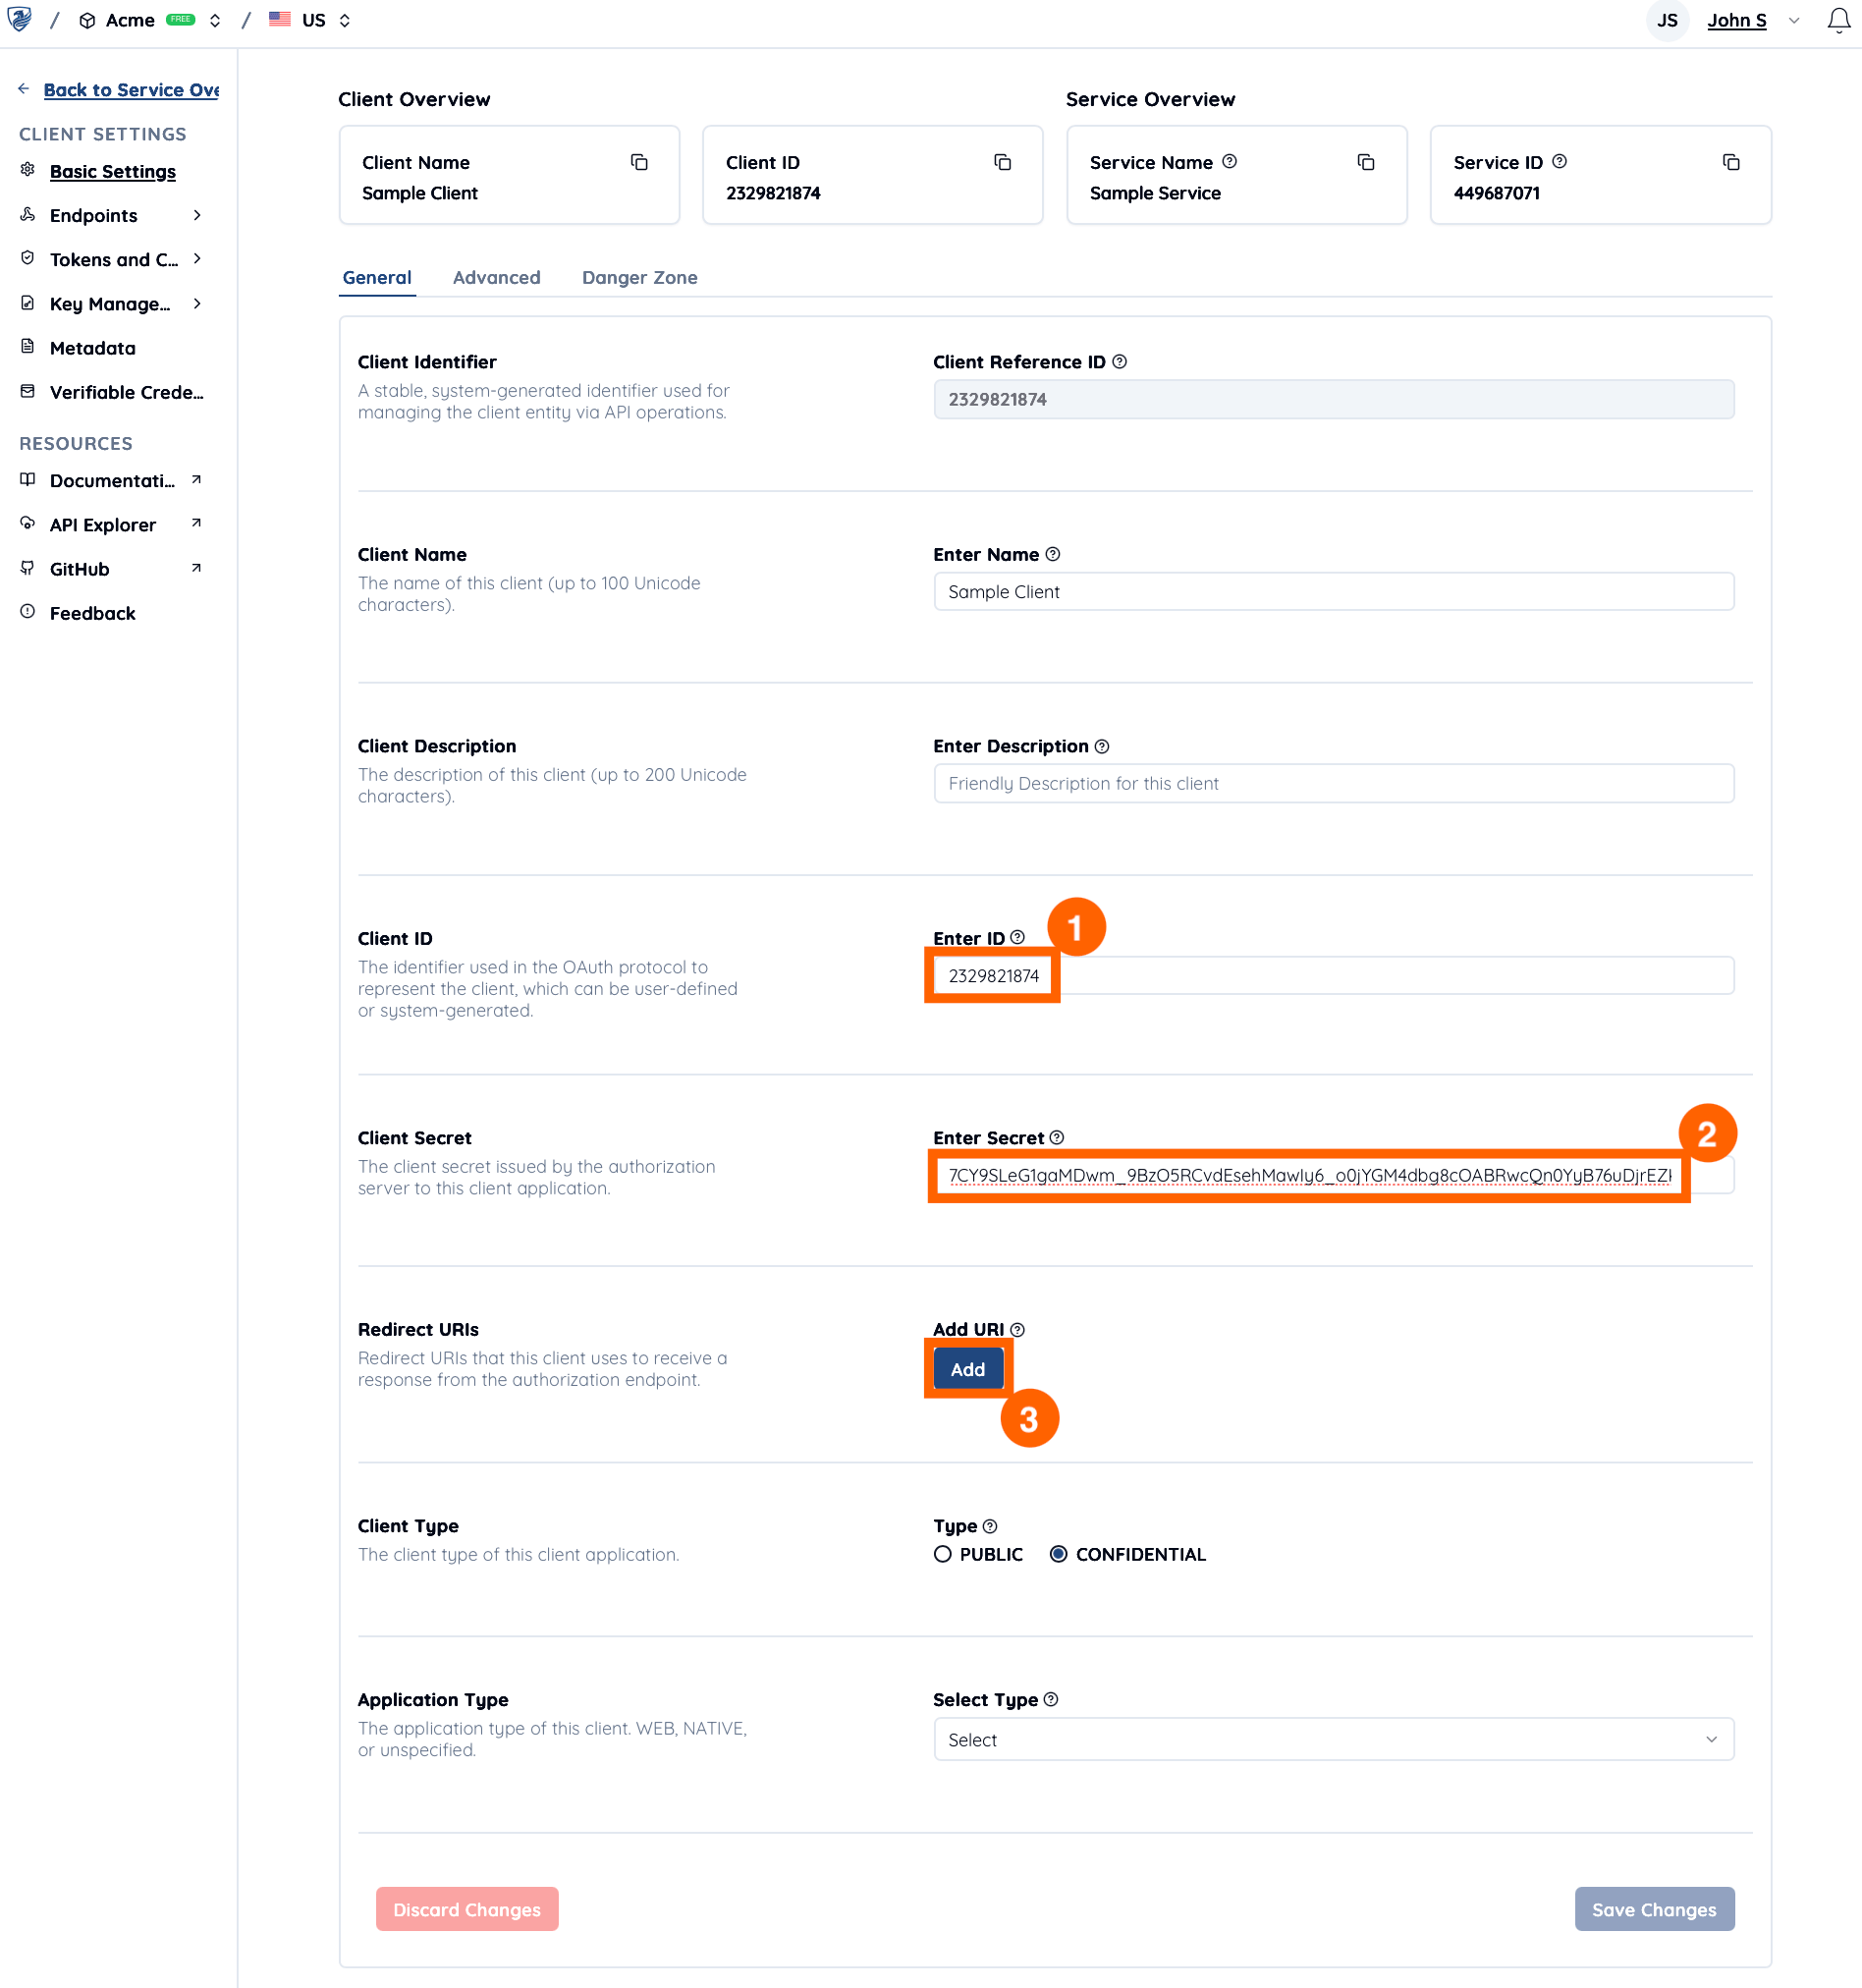
https://client.example.org/cb/example.com and click Save Changes.
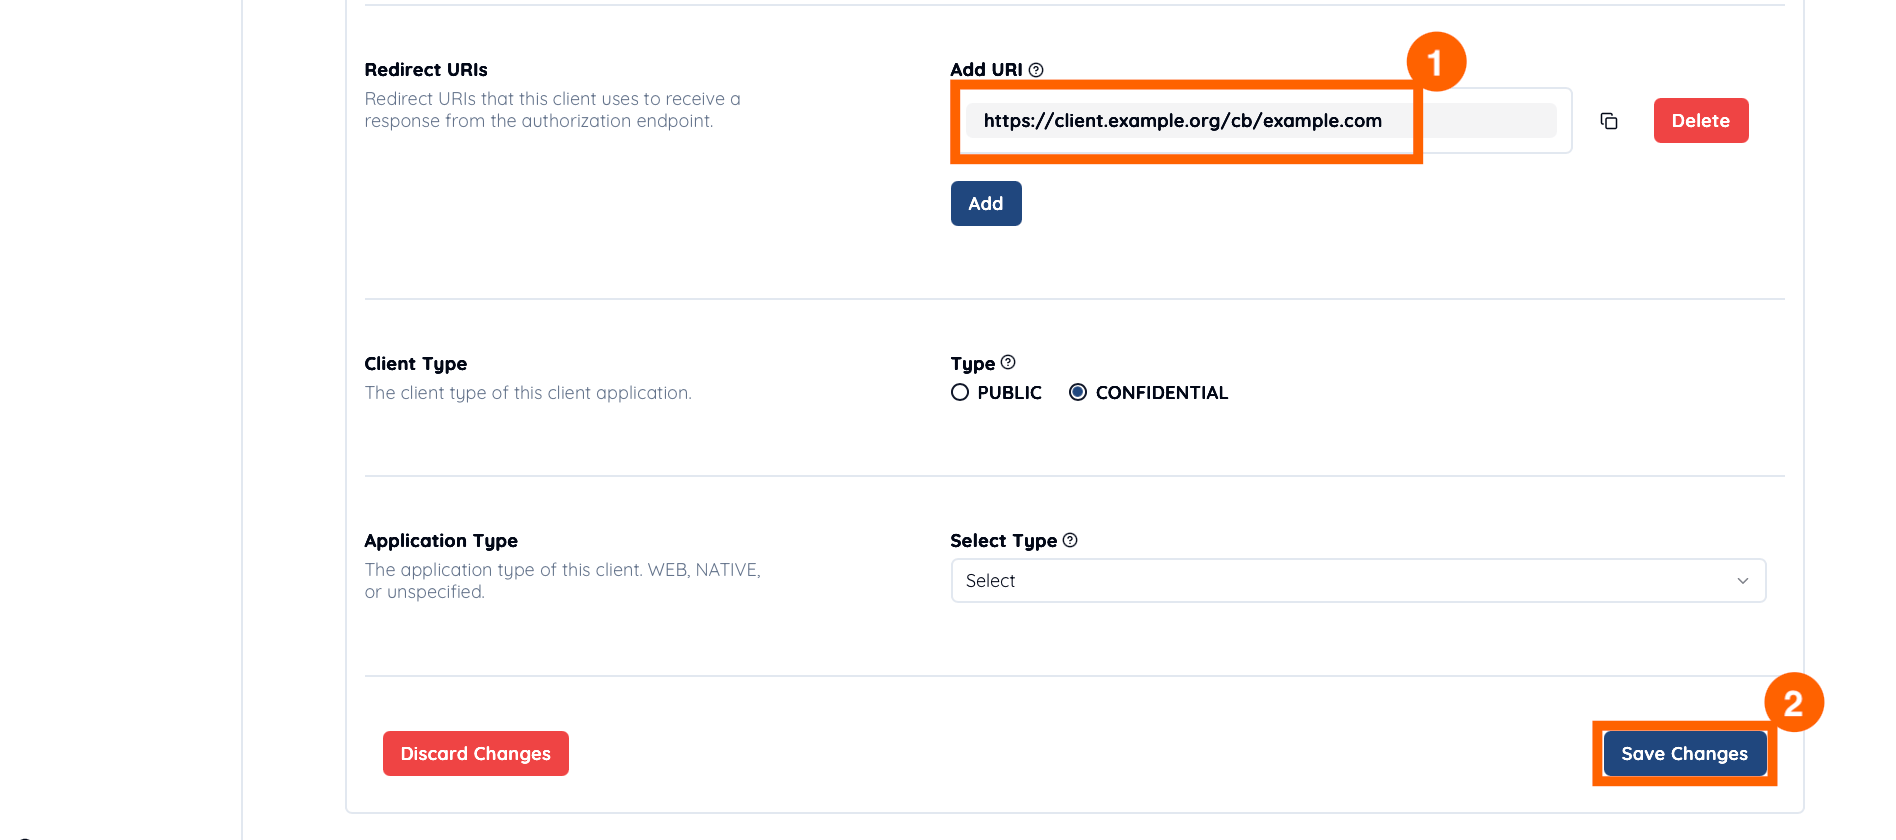
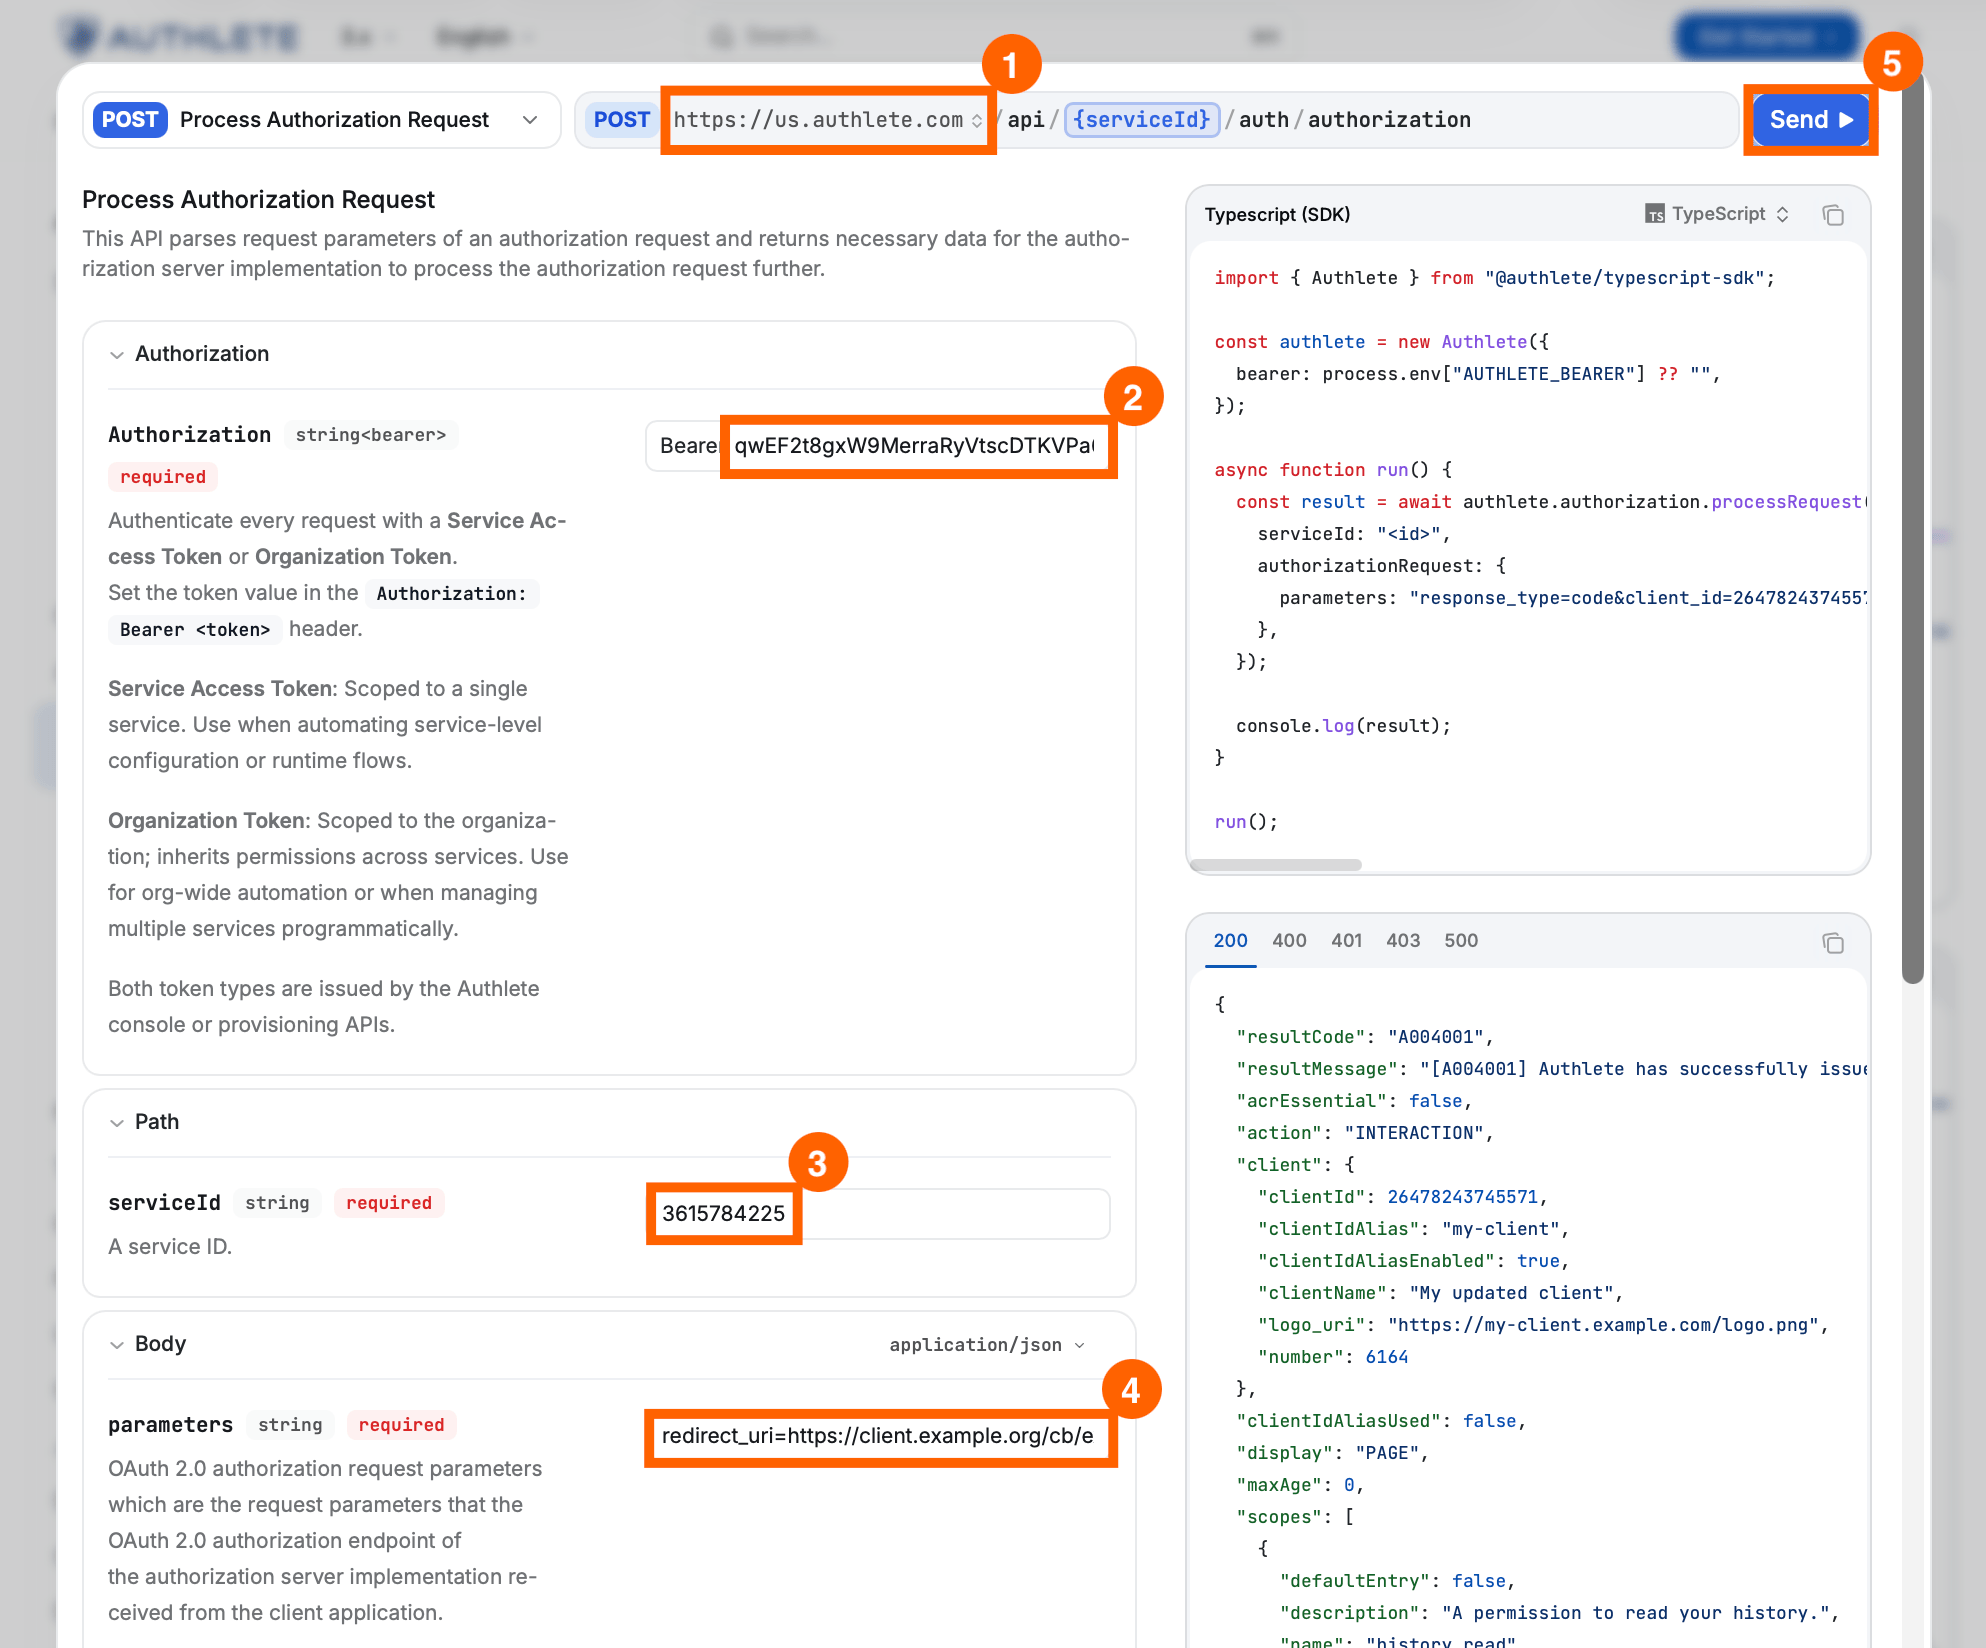
Call “Process Authorization Request” API
Navigate to the Try /auth/authorization API tool.- Choose the API Cluster Hostname.
- Enter the Service Access Token.
- Enter the Service ID.
- Enter the authorization request content below into the parameters field. Please note that you must replace the example
client_idvalue (2329821874) with the one you created in the previous step. - Click Send.