
This page is for Authlete 2.x. For 3.0, see Using Demo Authorization Server (3.0).
Sign-up to Authlete and Creating a Service (2.x)
Preface
These instructions describe how to sign up to Authlete, create a new 2.x service and register an OAuth/OIDC client to the service, then verify the setup by calling the Authlete/api/auth/authorization endpoint.
Instruction Steps
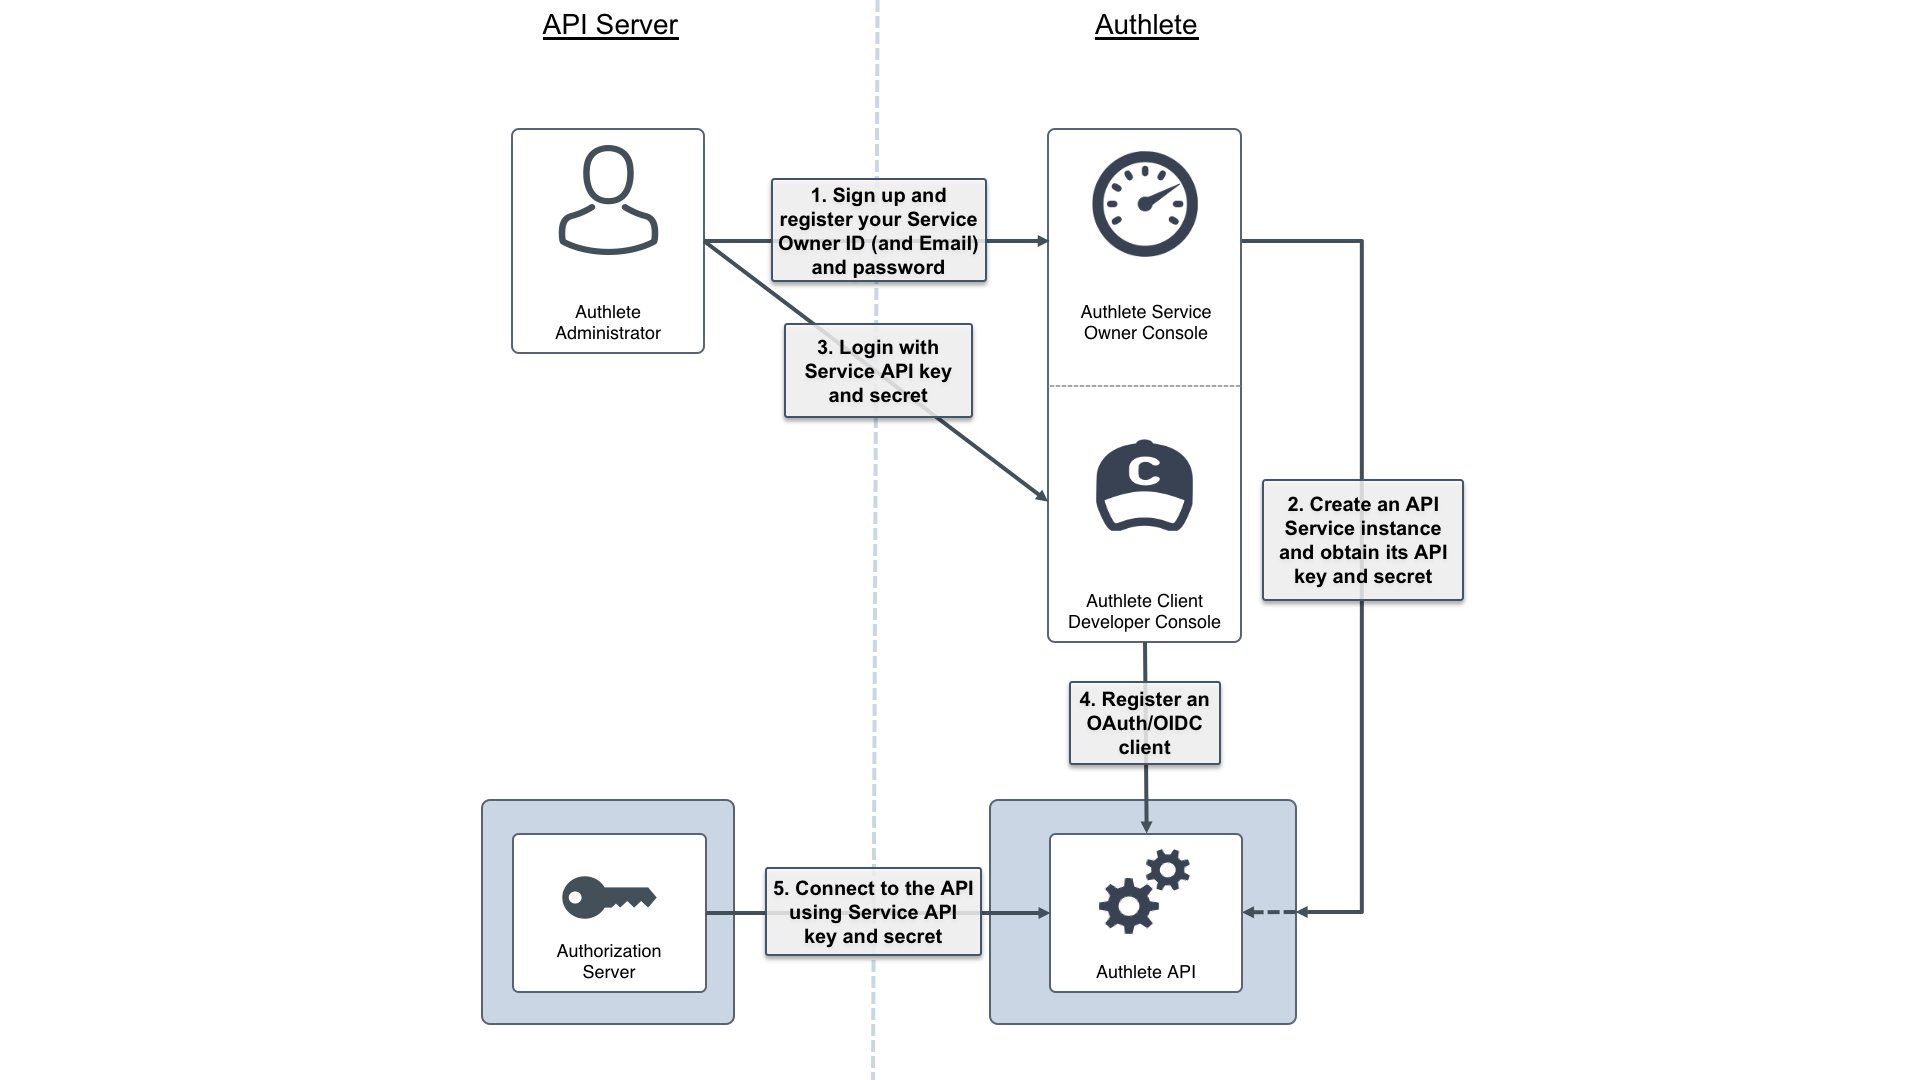
We will cover the following steps:- Sign up to Authlete
- Create an API service instance
- Log in to Developer Console
- Register an OAuth/OIDC Client
- Connect to the API
1. Sign up to Authlete
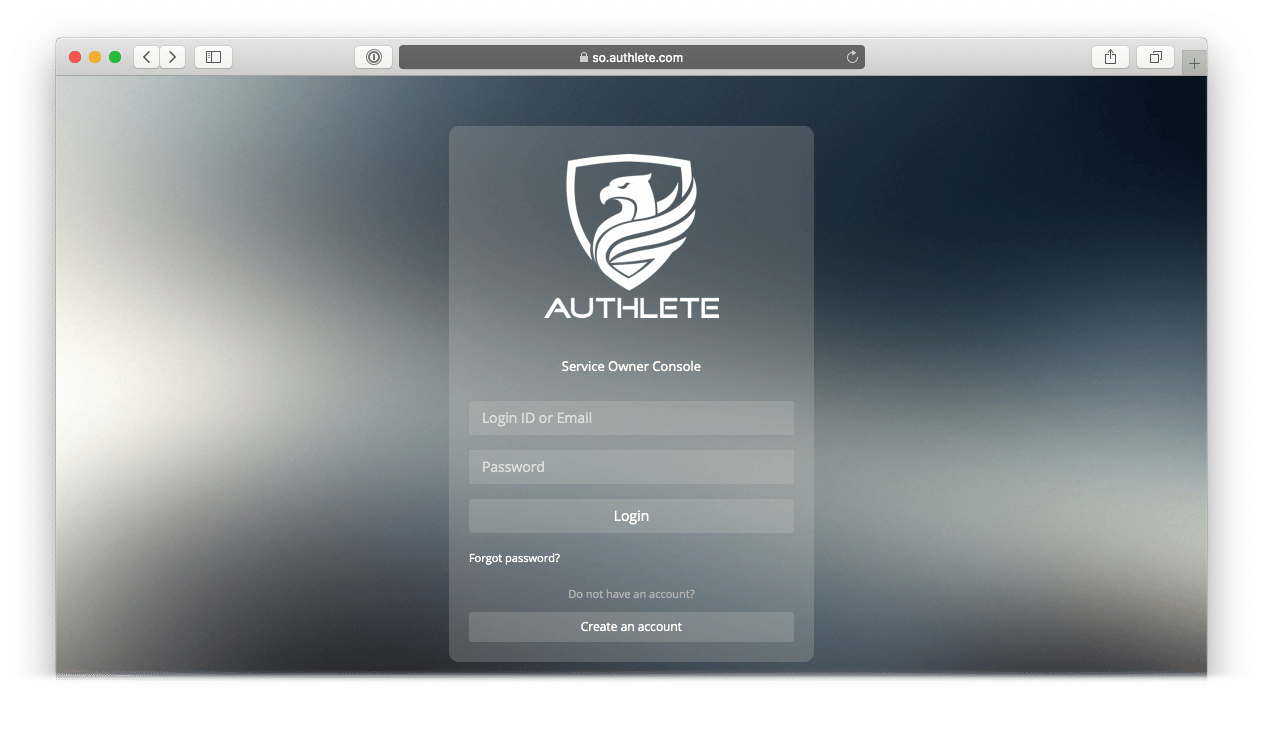
You need your own Service Owner account before using Authlete APIs as your authorization server backend.- Open the Authlete Service Owner signup page:
https://so.authlete.com/accounts/signup. - Complete the form and keep your Login ID and Password safe.
- After registration, log in to the Service Owner Console at
https://so.authlete.com/accounts/loginusing the same credentials.
2. Create an API service instance
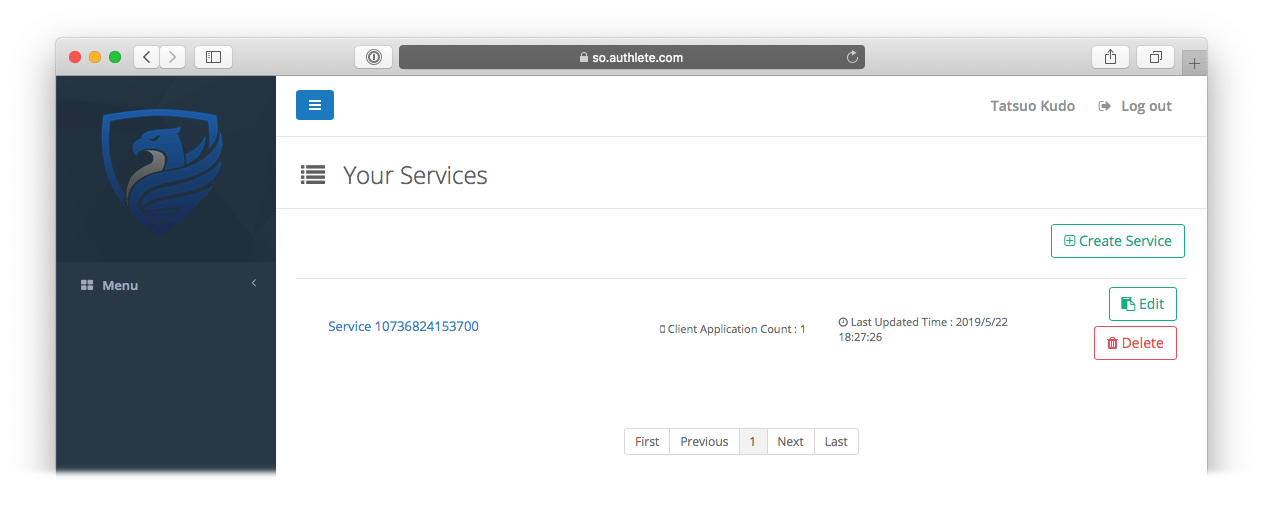
Next, create your first Authlete API service.- Log in to the Service Owner Console at
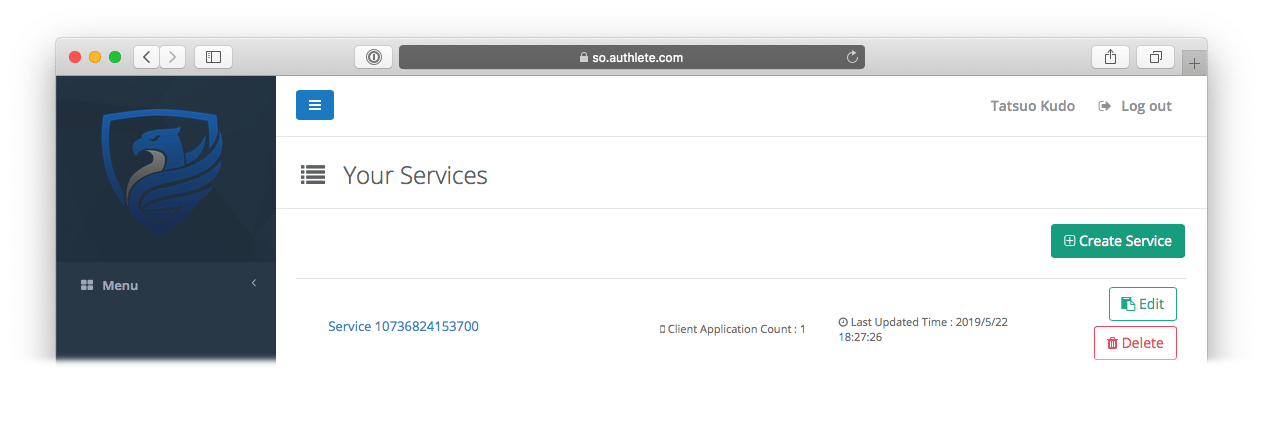
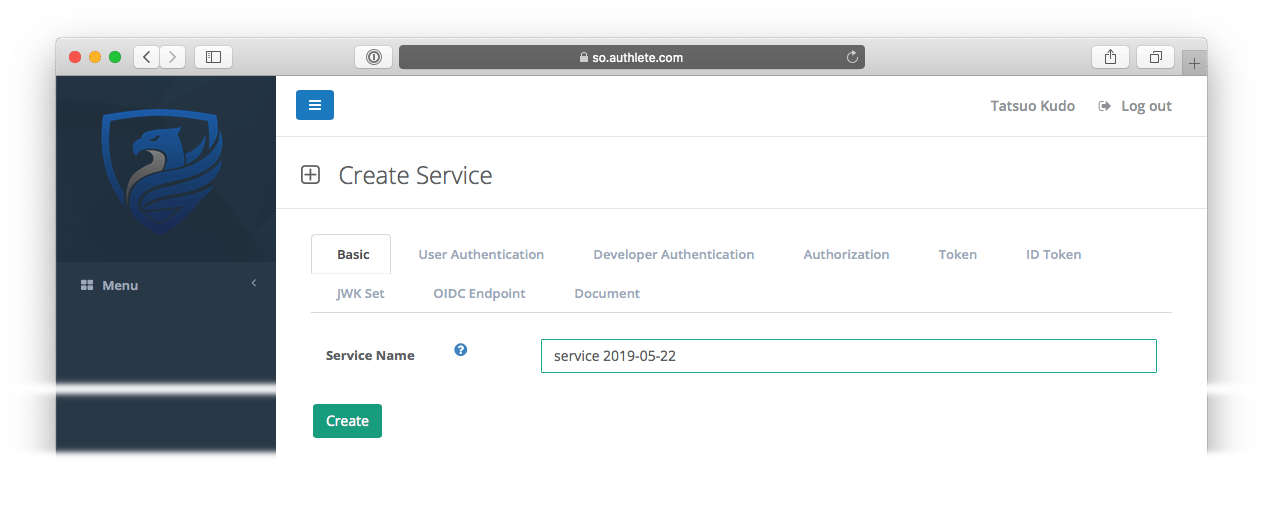
https://so.authlete.com/accounts/login. - Click Create Service.
- Enter an arbitrary name for the service and click Create.
- Confirm creation in the dialog.
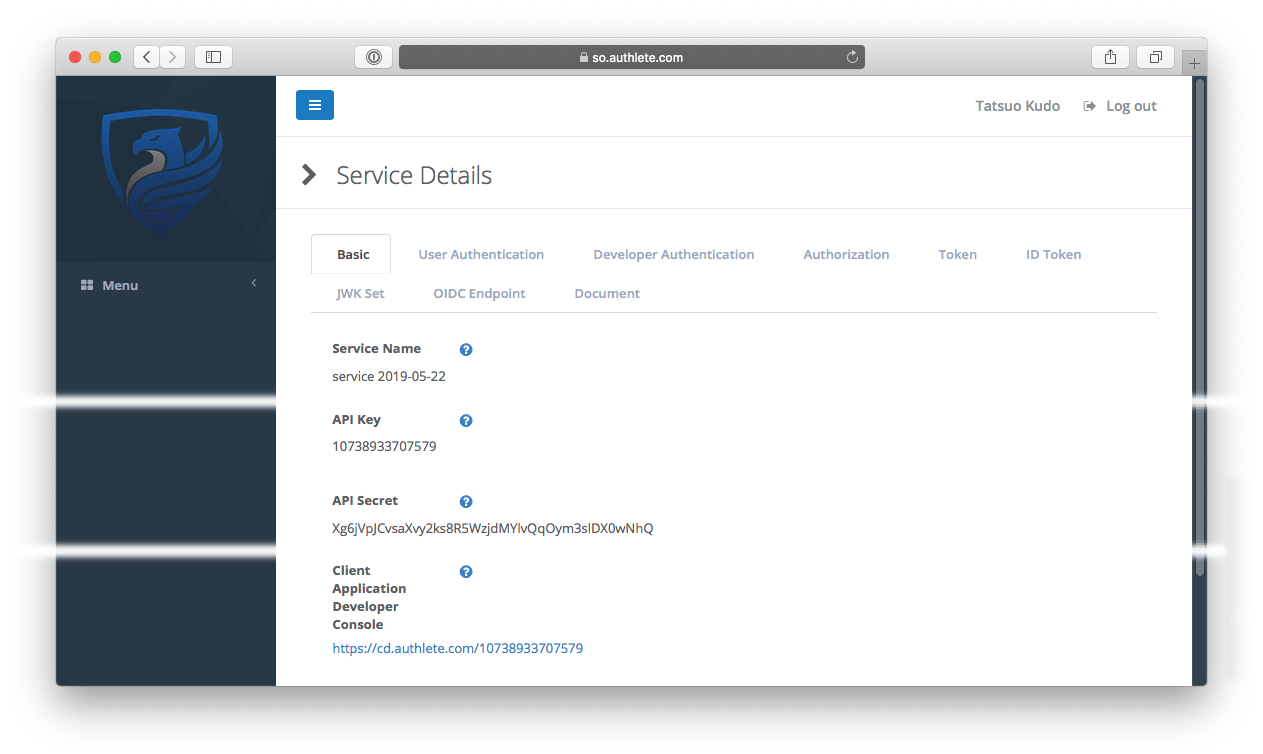
- The API Key and API Secret are used:
- As the Login ID and Password for the Developer Console.
- As credentials for your authorization server to call Authlete APIs.
- The Client Application Developer Console URL will be used in the next step.
3. Log in to Developer Console
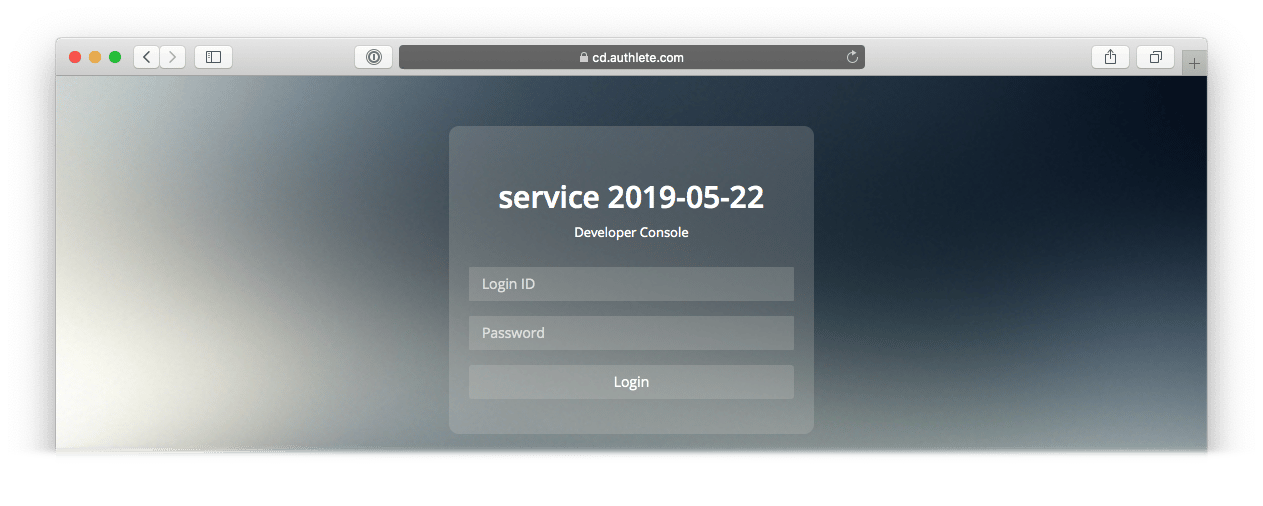
Now add client information to the new service.- Open the Developer Console URL for your service (for example,
https://cd.authlete.com/10738933707579). - Log in with:
- Login ID: your API Key (for example,
10738933707579) - Password: your API Secret (for example,
Xg6jVpJCvsaXvy2ks8R5WzjdMYlvQqOym3slDX0wNhQ)
- Login ID: your API Key (for example,
4. Register an OAuth/OIDC client
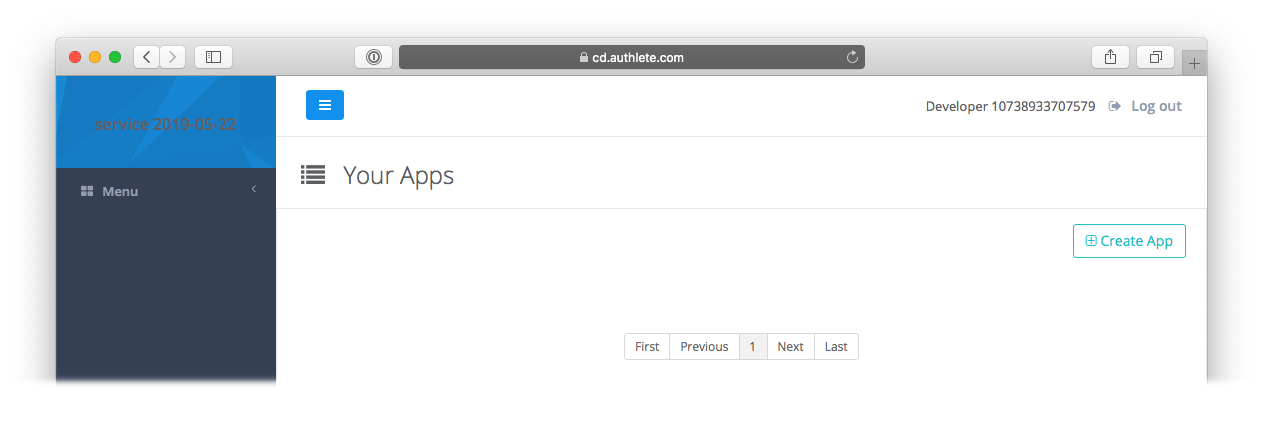
Once logged into the Developer Console:-
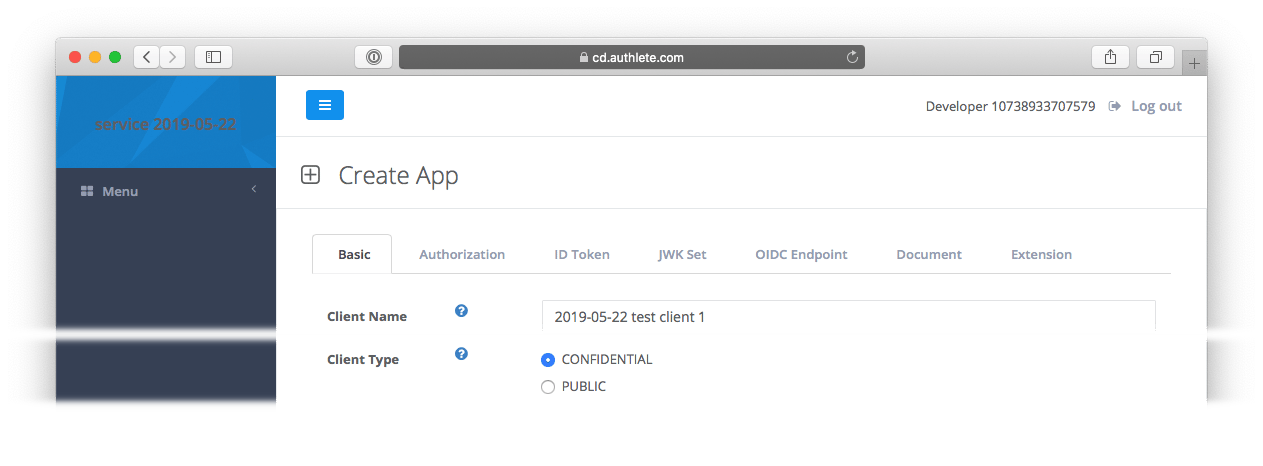
Click Create App.
-
On the Basic tab, enter:
- Client Name: any descriptive name.
- Client Type:
CONFIDENTIAL.
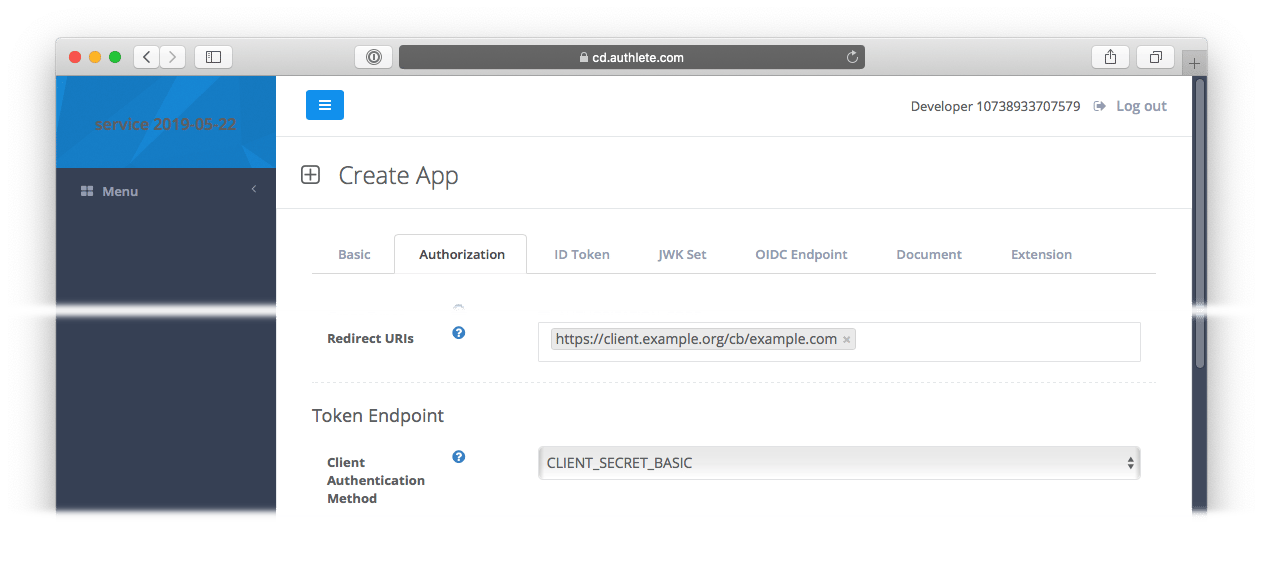
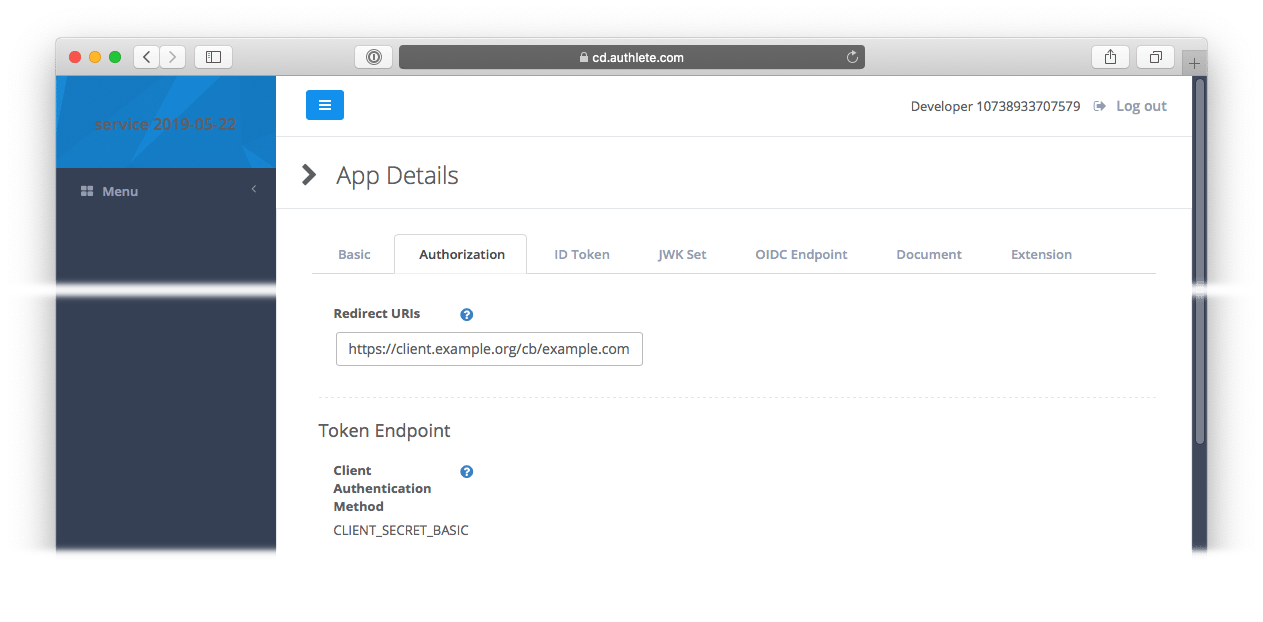
- Switch to the Authorization tab and configure:
- Click Create and confirm in the dialog.
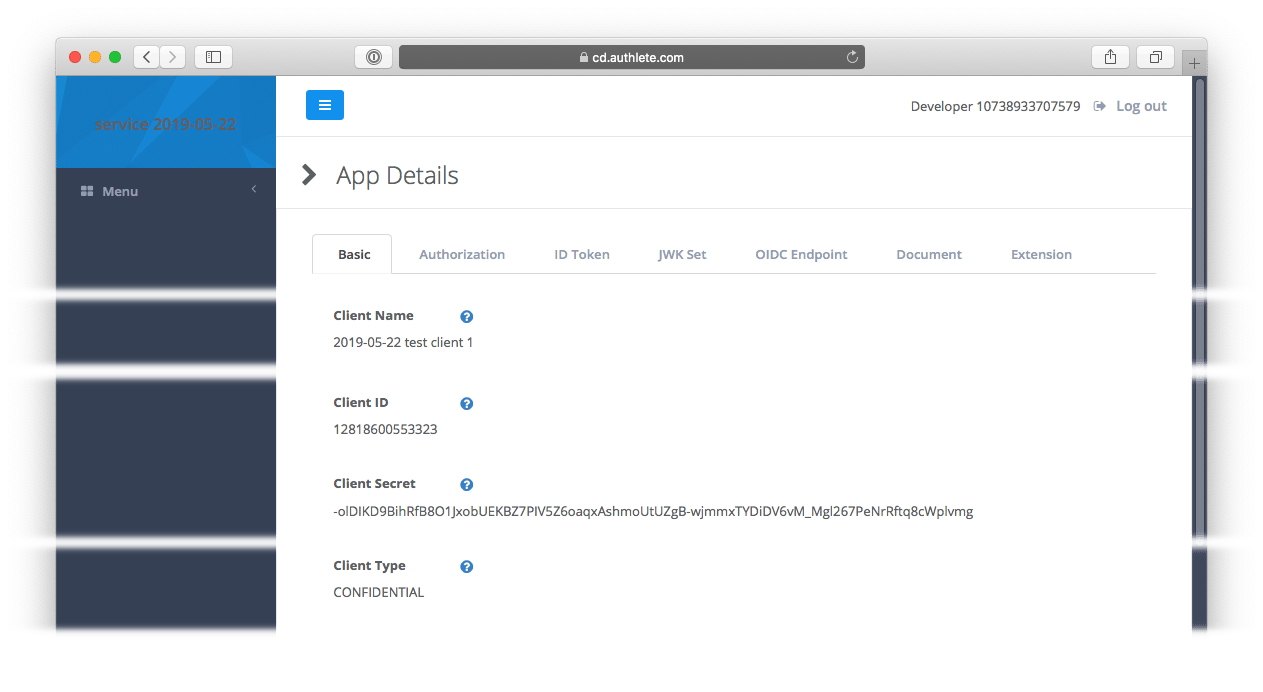
The Client ID and Client Secret will be used as
client_id and client_secret when your client calls the authorization server.
5. Connect to the API
Finally, verify that the environment works by calling Authlete’s/api/auth/authorization API, acting as the authorization server.

Linux/Mac example
Use the followingcurl command (replace API Key, API Secret, and Client ID with your own values):
Windows (PowerShell) example
On Windows 10, usecurl.exe, escape " characters, and use backticks for line continuation:
Conclusion and next steps
In this guide, you:- Signed up for an Authlete 2.x Service Owner account.
- Created an API service instance.
- Logged into the Developer Console and registered an OAuth/OIDC client.
- Verified connectivity by calling the
/api/auth/authorizationAPI.
- Read OAuth 2.0 Basics (2.x) to walk through the full authorization code flow using Authlete 2.x APIs: OAuth 2.0 Basics (2.x).
- Read OIDC Basics (2.x) to add OpenID Connect and ID tokens on top of OAuth 2.0: OIDC Basics (2.x).
- Explore sample authorization server implementations on GitHub: Authorization server implementations.