OIDC Best Practices
This page is for Authlete 3.0. For 2.x, refer to this page.
Getting Started
This quick introduction will help you create your Authlete account and provide an overview of the Authlete Management Console This tutorial contains:- Signing Up for an Authlete Account
- Authlete Management Console Overview
Signing Up to Authlete
Signing up for an Authlete account is a prerequisite for using the Management Console. Once you have created your account, you can leverage all Authlete product features using the new Management Console. Step 1: Sign Up for an Account Step 2: Enter Your Email or Continue with Social Login
Enter your email address or choose to proceed with social login via Google or GitHub.
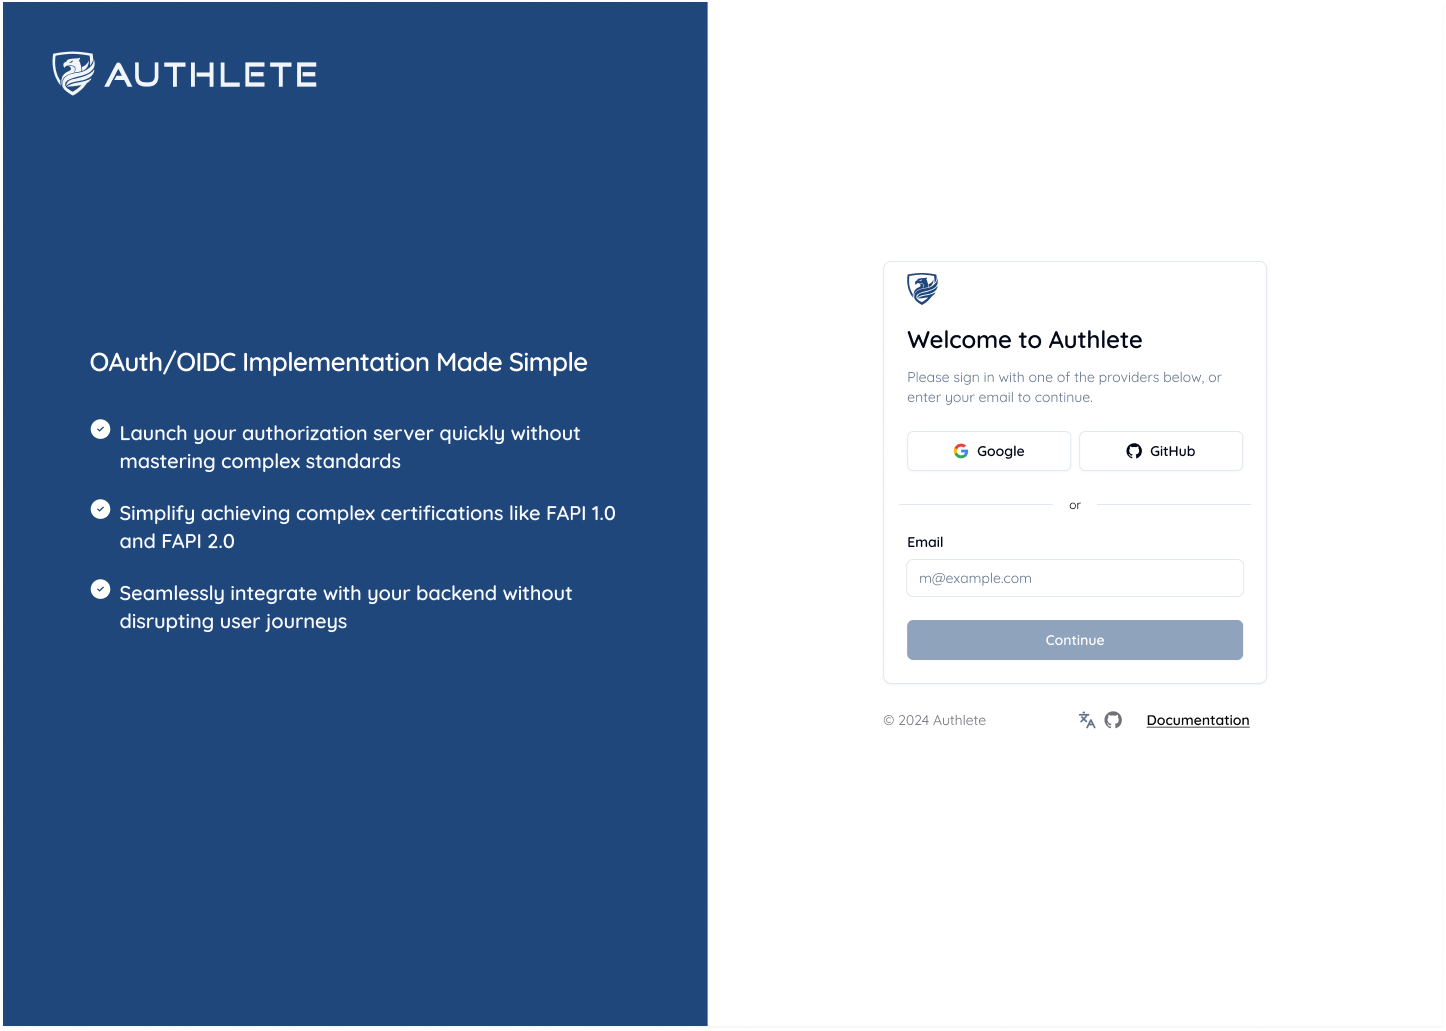
Step 2: Enter Your Email or Continue with Social Login
Enter your email address or choose to proceed with social login via Google or GitHub.
 Step 3: Verify Your Email Address (if not using Social Login)
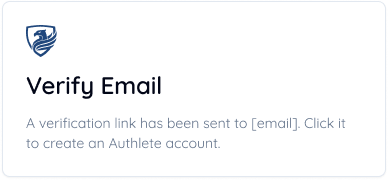 After providing your email, you will arrive at the following page
Check your inbox for a link to verify your email, and a manual code that you can enter on an alternate link provided within that email.
After providing your email, you will arrive at the following page
Check your inbox for a link to verify your email, and a manual code that you can enter on an alternate link provided within that email.
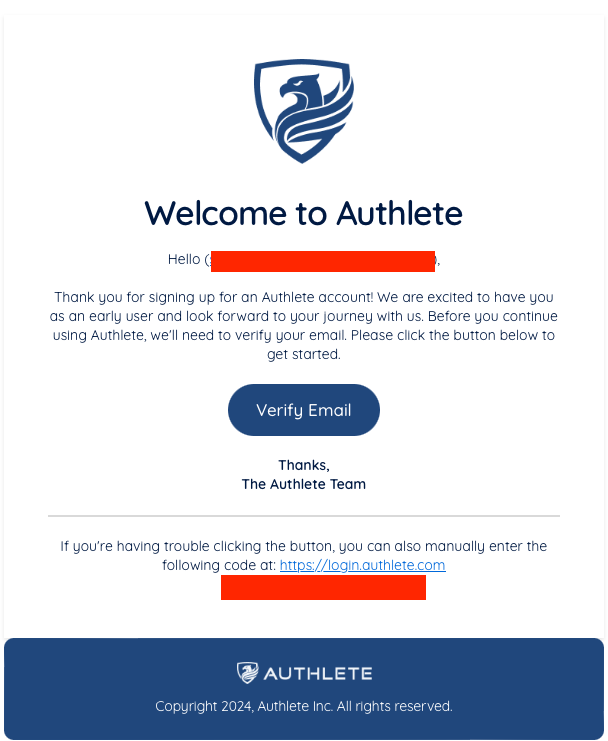 The email you will receive from Authlete to verify your email address
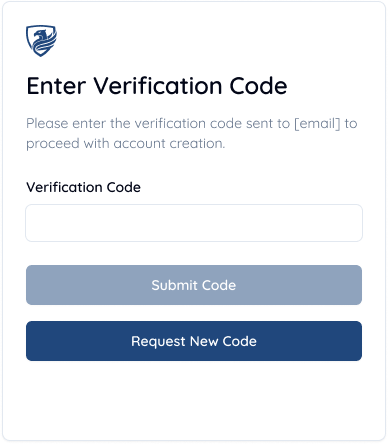 You can either enter the code you receive via email using the login link at the bottom, or click Verify Email button in the email to skip to this step
Step 4: Enter Your Personal Details
Provide some initial information about yourself, and set a password for your Authlete account.
You can either enter the code you receive via email using the login link at the bottom, or click Verify Email button in the email to skip to this step
Step 4: Enter Your Personal Details
Provide some initial information about yourself, and set a password for your Authlete account.
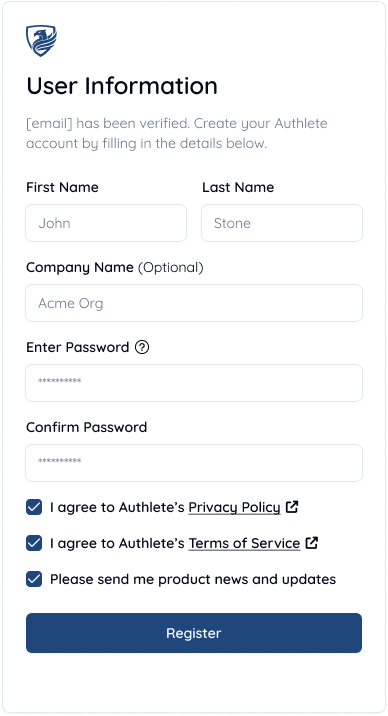 Input form for basic information we require from you to set up your account
Congratulations, you have successfully signed up for an Authlete Account and are ready to begin your journey!
Input form for basic information we require from you to set up your account
Congratulations, you have successfully signed up for an Authlete Account and are ready to begin your journey!
Authlete Console Overview
The Authlete Management Console is the primary dashboard for managing and configuring all aspects of Authlete’s product features. Once you’ve created an account and logged into the console, you will be able to leverage the functionality of the console to create, configure, and use Organizations, Services within those Organizations, and Clients within those Services.All Organizations Page
- All Organizations Page
The first page that any user sees in the console is the All Organizations page. An Organization is a group of users who have access to Service(s) created within the Organization. Any Service within an Organization runs on one or more API Servers (Clusters).
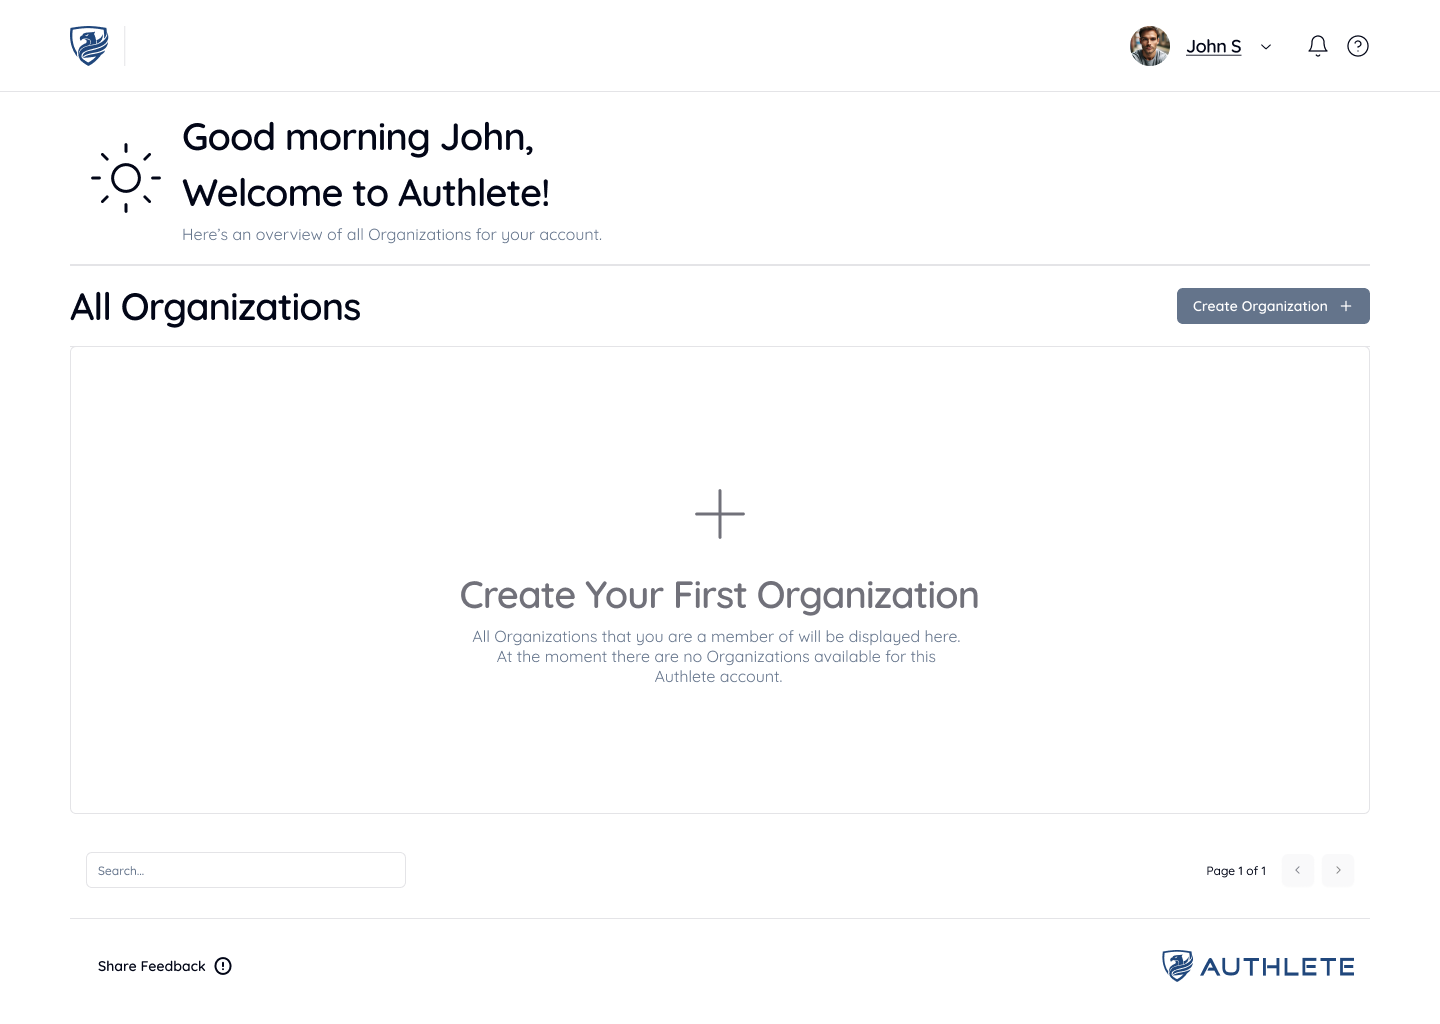 Any Organization that you have created or are a member of will be displayed on this page.
 - Create an Organization
For new users who are not part of any existing Organizations, it is essential to create a new Organization as a prerequisite to creating Services within it. Start by clicking the “Create Organization” button at the top-right of the screen.
 Enter an Organization Name (we are using “Acme Org” for this tutorial), or Import a copy of an Organization from Authlete 2.x to in just a few clicks. Press the “Create” button to create your new Organization.
 - Organization Settings
 In the “Basic Settings” section of Organization Settings, you can rename the Organization as well as use and create any number of Access Tokens.
 Since Organizations are groups of users sharing various access-levels to the Services and Clients within those Organizations, you may want to add users to an Organization so that they can use, modify, and configure services and clients within that Organization.
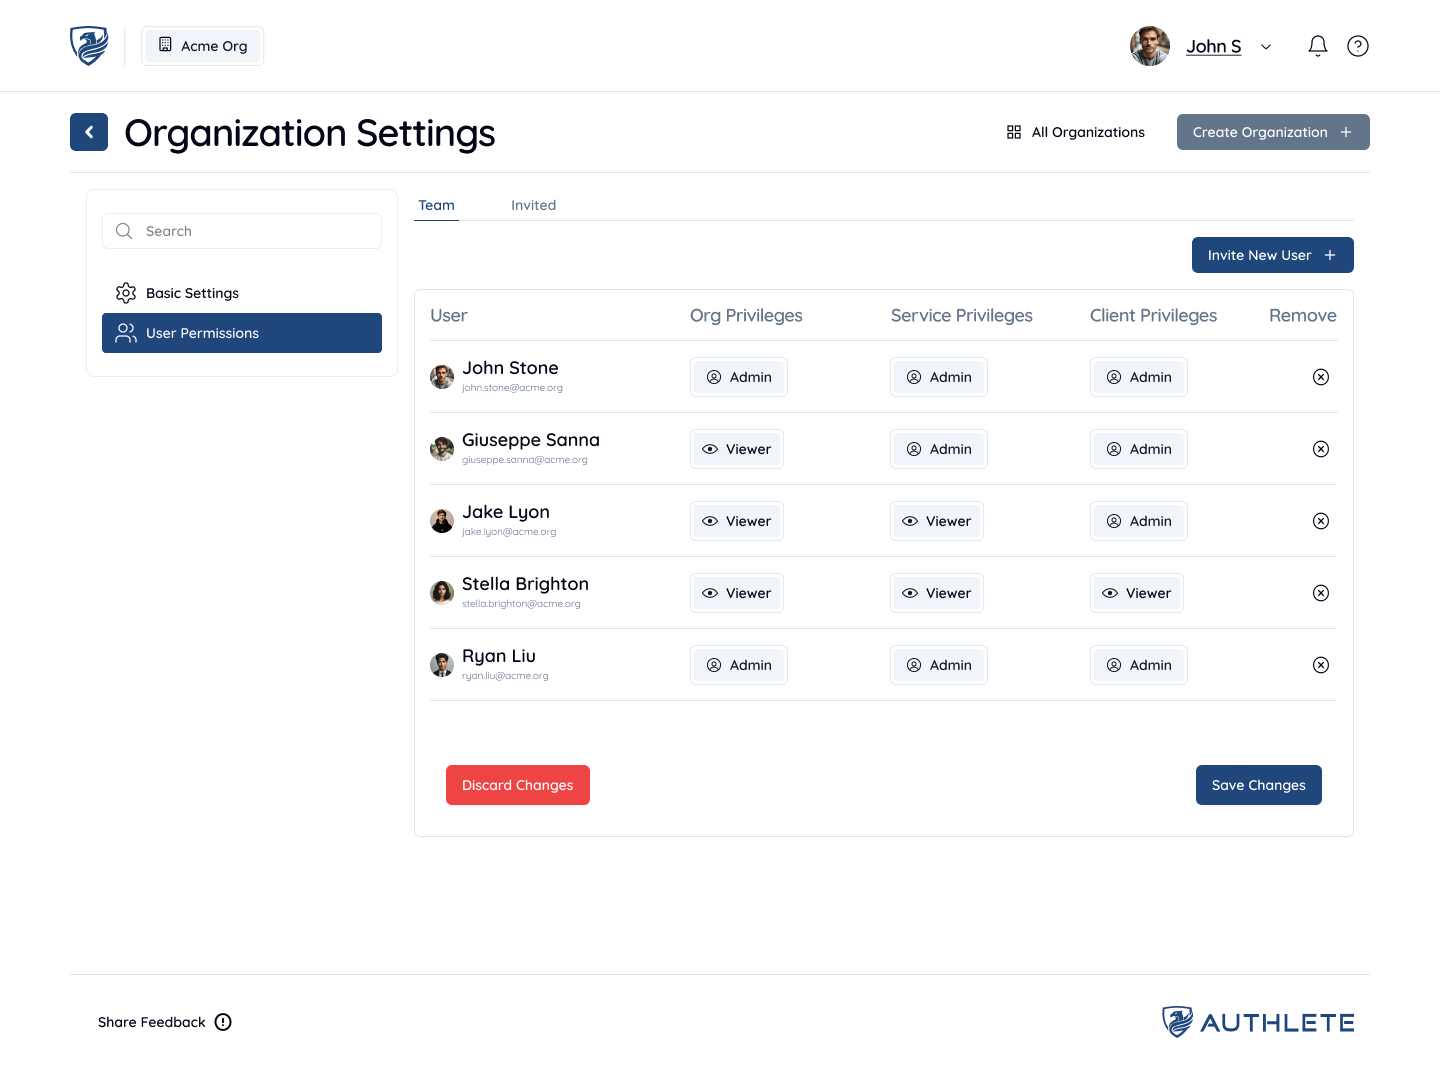
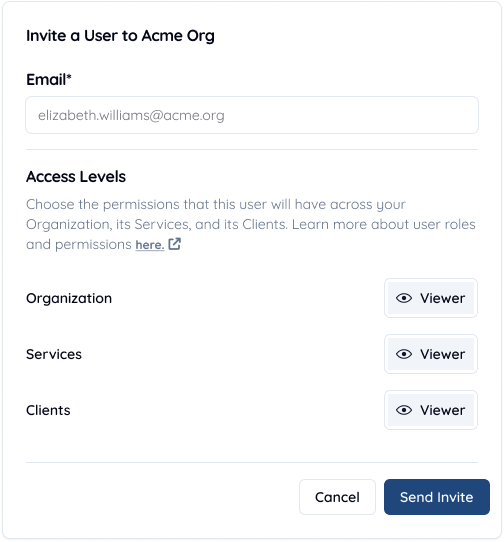 To add a new user, Navigate to the “User Permissions” sidebar item, and click “Invite New User” on the top-right section of the page. You will be prompted to enter the email address of the user and set access-level permissions for the invited user. By default, access-level permissions for invited users are set to “Viewer”. Once you have set your preferred permissions, press “Send Invite”. Users who have not yet accepted invites to join the Organization will be displayed in the “Invited” tab.
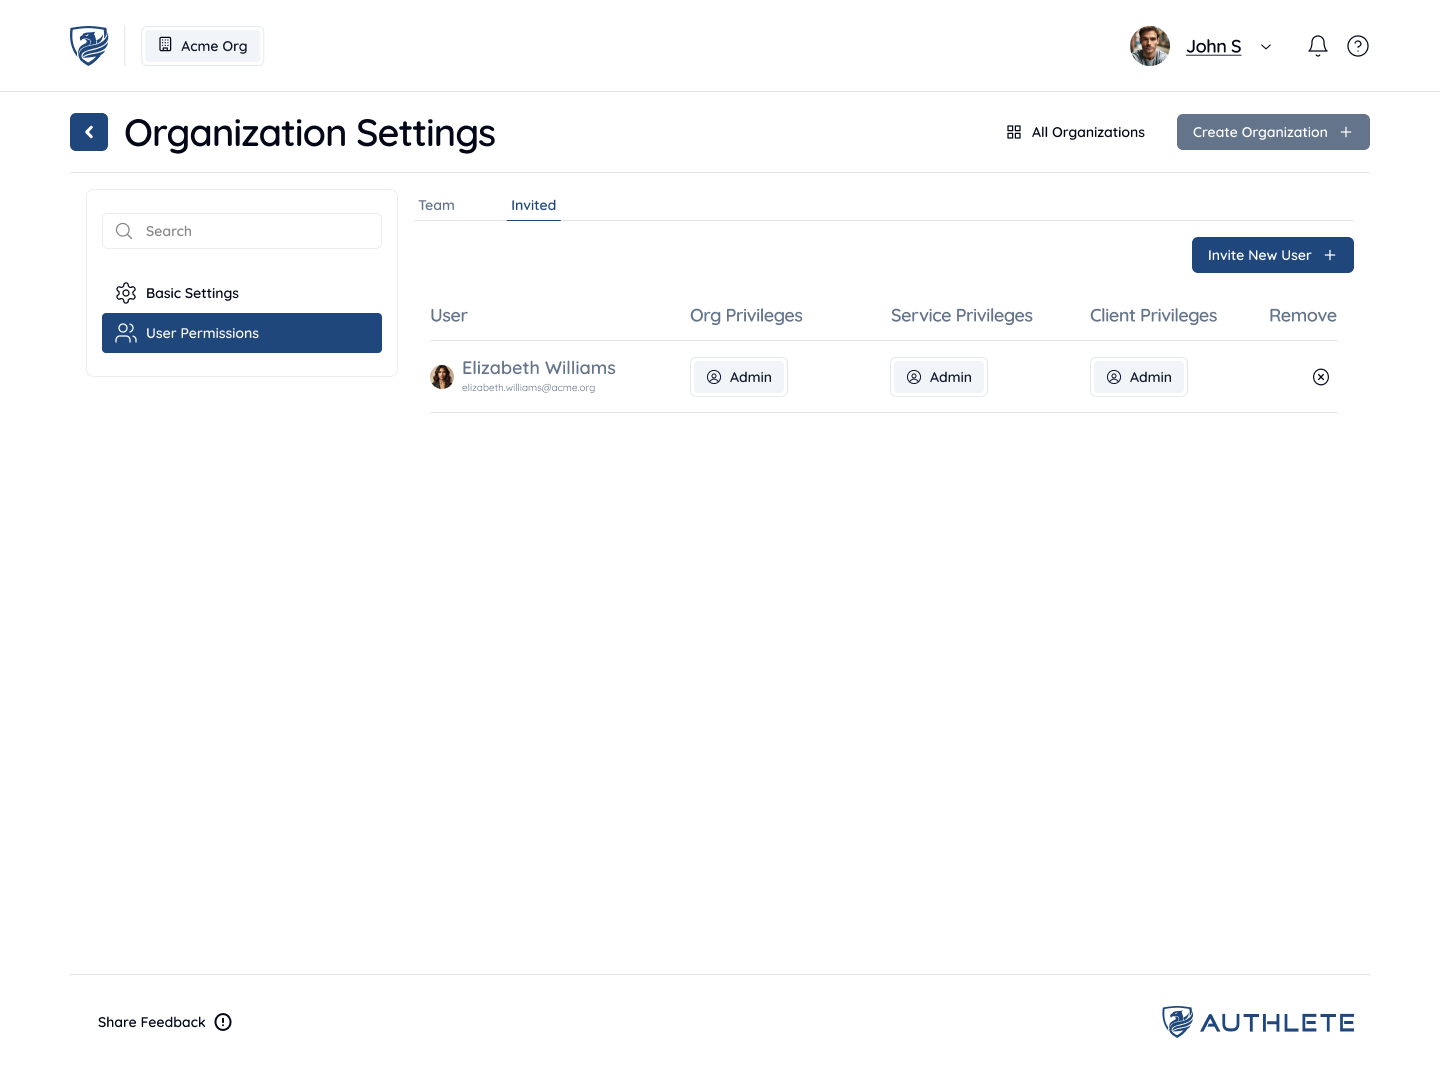 You can change the permissions allocated to users at any time using the table view selectors for Roles. Administrators can also remove users in Organizations by pressing the delete icon.
Important: On our Free Plan, we limit the number of users that can be invited into an Organization to 3 users.
You can change the permissions allocated to users at any time using the table view selectors for Roles. Administrators can also remove users in Organizations by pressing the delete icon.
Important: On our Free Plan, we limit the number of users that can be invited into an Organization to 3 users.
All Services Page
The first page that any user sees within an Organization is the All Services page. This page lists all Services created for your organization.- A Service represents the backend of your Authorization Server. It contains all the configurations needed to operate a production-grade authorization server, such as OAuth and OpenID Connect settings, token management, and other security settings.
- A Client refers to the registration of an OAuth client within your Authorization Server. This client represents an application that will request access tokens from your authorization server.
Authlete supports running Services across multiple API clusters, allowing you to select clusters based on your data residency requirements or to segregate environments (e.g., development, testing, and production).
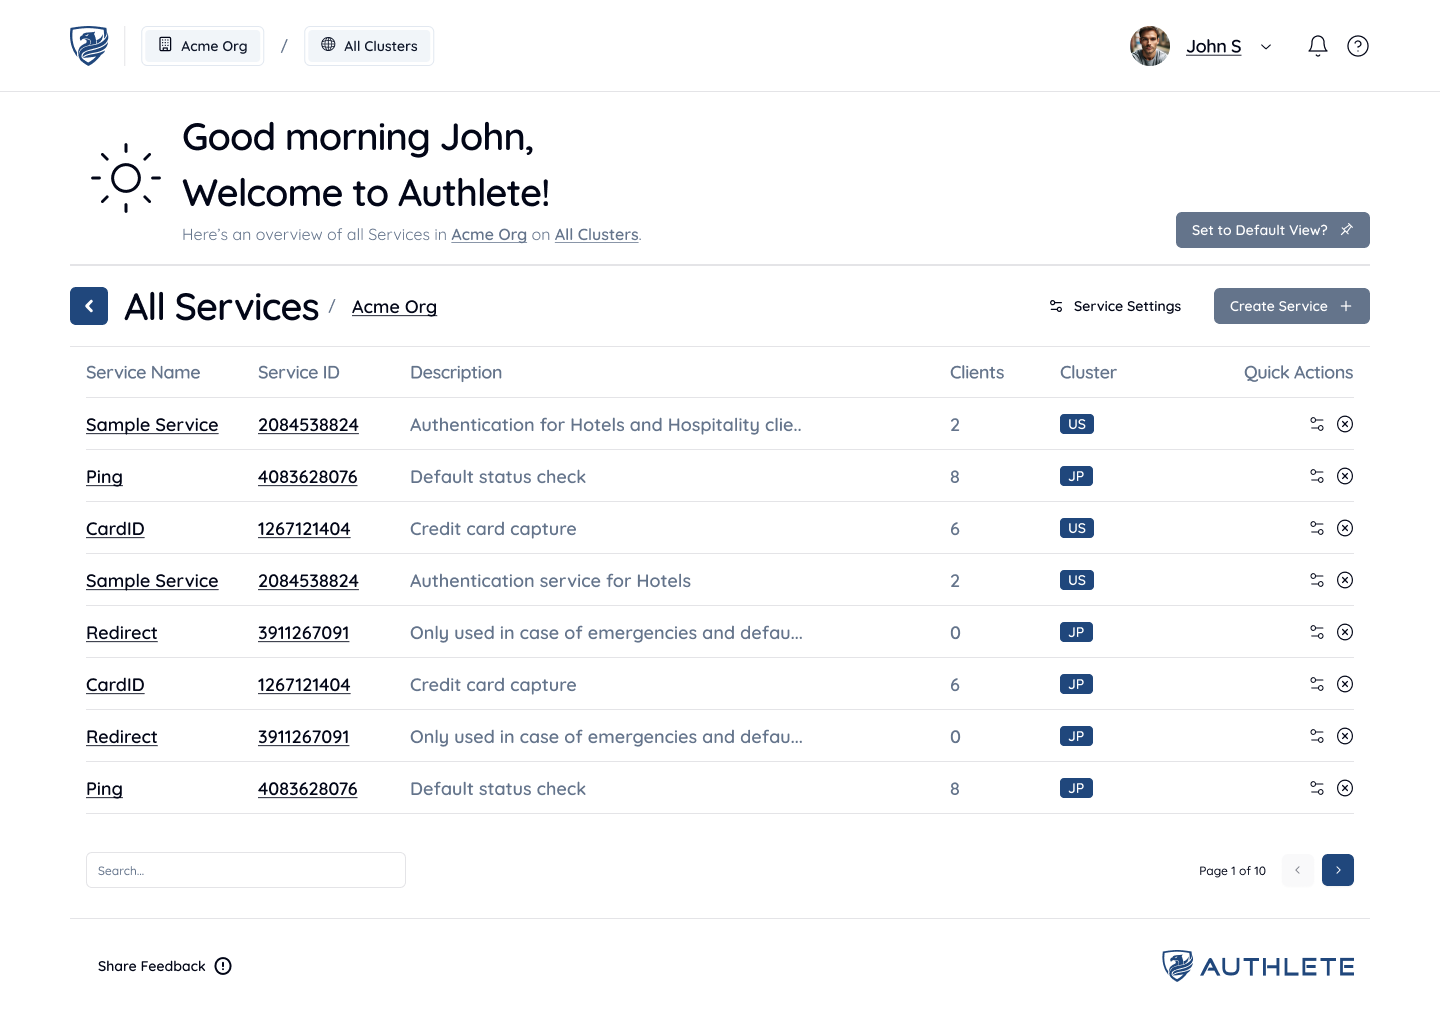 Any Services that you have created or you are a member of within this Organization will be displayed here. To switch between Organizations, you can use the navigation label that displays your Organization name and see available options, or go back to the previous page using the back button. You can also filter between Services on different API Clusters by clicking on the “All Clusters” label next to the Organization name.
Creating a New Service
To create a new Service, click the Create Service button located at the top-right of the screen. A Service is required if you want to run your own authorization server powered by Authlete.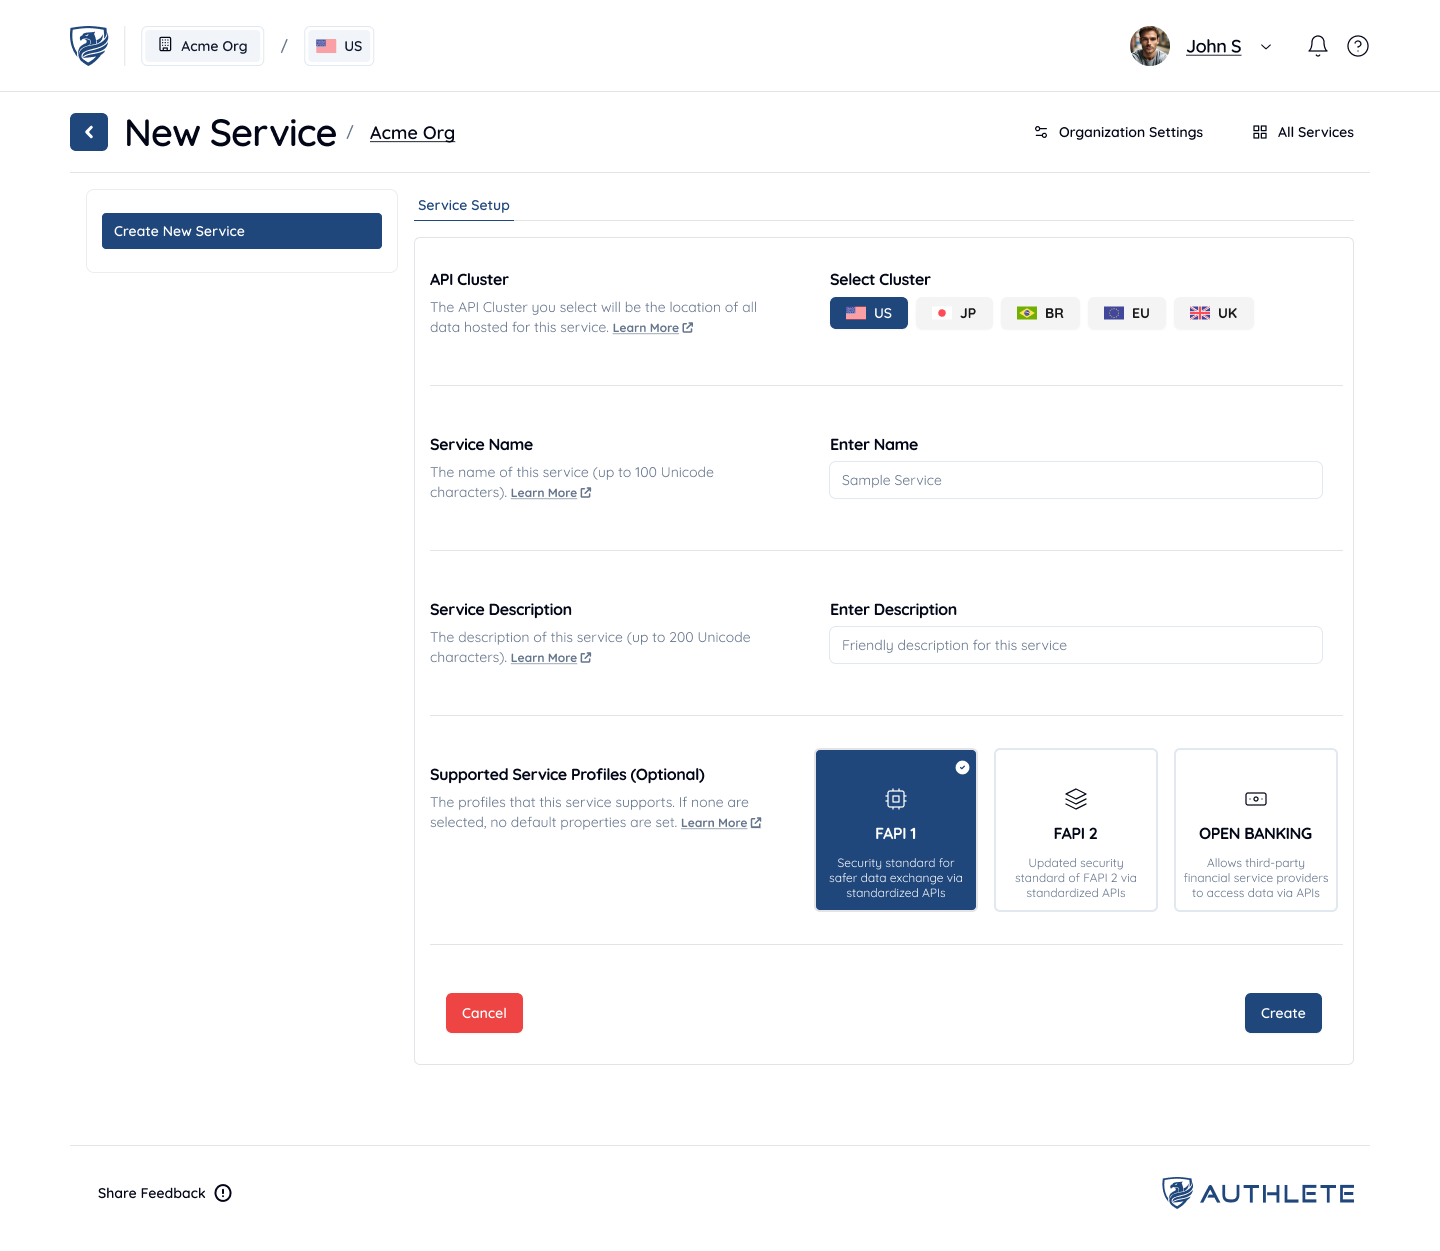 Depending on where you want to run your Service, select the appropriate API Cluster. This is an important decision, as all of your Service data will reside on the selected cluster. Next, enter a Service Name (e.g. “Sample Service” for this tutorial), an optional Service Description, and specify the Issuer Identifier URL. Optionally, you can also select a Supported Service Profile. Once done, click Create to set up your new Service.
Learn more about Clusters (Coming Soon)
Learn more about Supported Service Profiles (Coming Soon)
Depending on where you want to run your Service, select the appropriate API Cluster. This is an important decision, as all of your Service data will reside on the selected cluster. Next, enter a Service Name (e.g. “Sample Service” for this tutorial), an optional Service Description, and specify the Issuer Identifier URL. Optionally, you can also select a Supported Service Profile. Once done, click Create to set up your new Service.
Learn more about Clusters (Coming Soon)
Learn more about Supported Service Profiles (Coming Soon)
All Clients Page
The first page that any user sees within a Service is the All Clients page. A Client represents an application that interacts with the Authorization Server to request tokens or with the Resource Server to access protected resources. Clients are created and configured within the context of a Service, which represents the backend of the Authorization Server.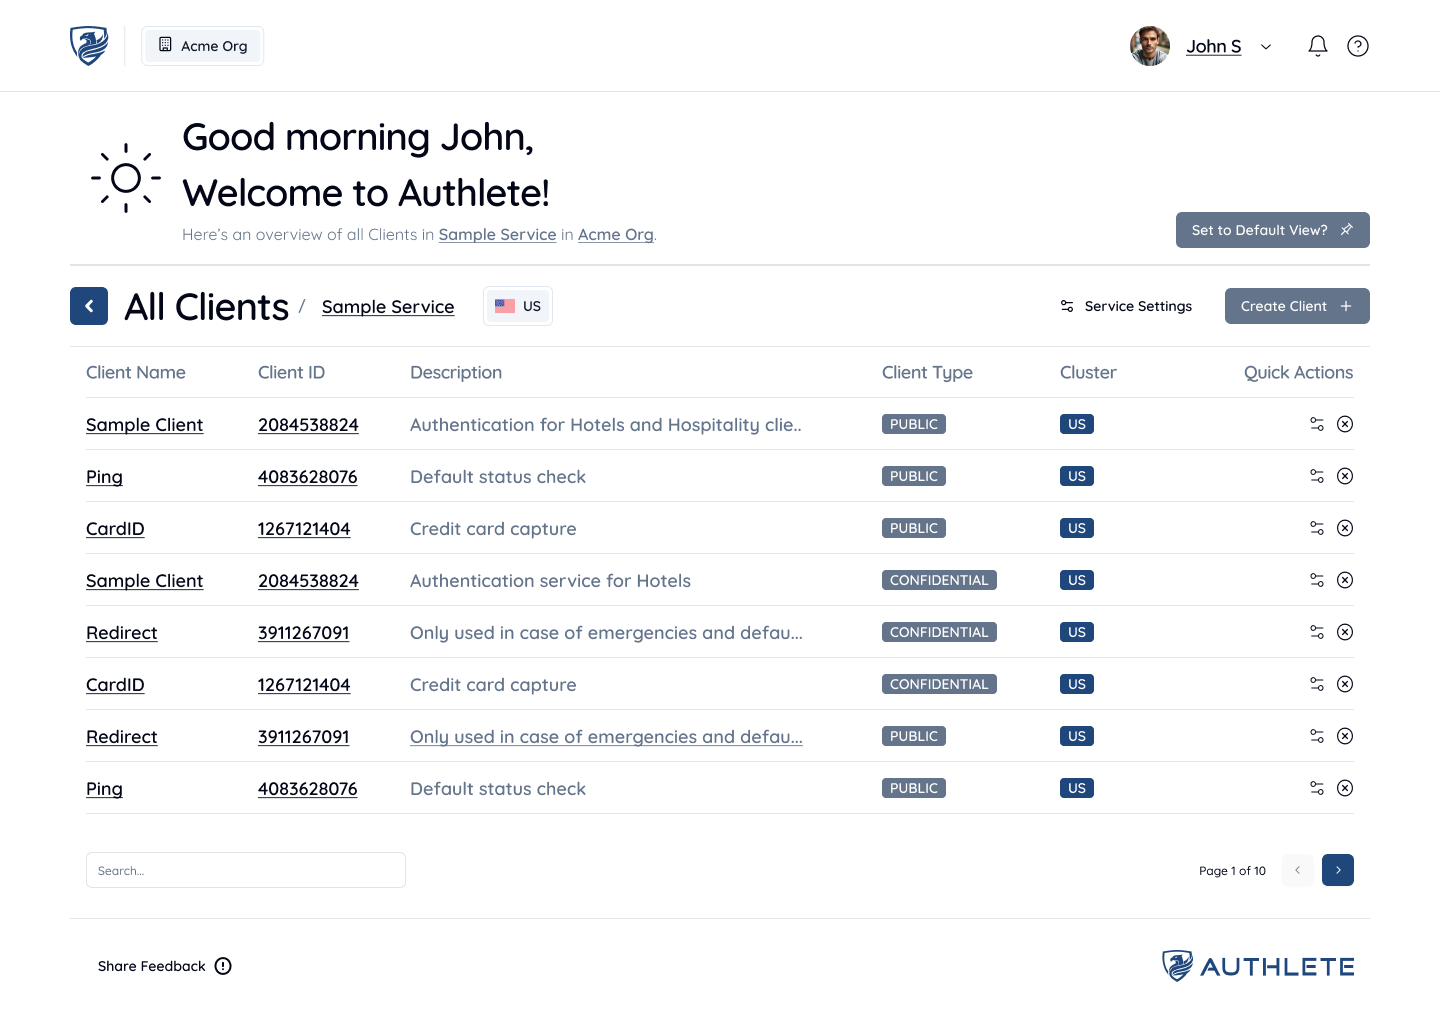 Any Clients that you have created or have access to within this Service will be displayed here. To switch between Services, you can use the back button to view all Services and choose a different Service (if applicable).
Creating a New Client
For Services that do not contain any Clients, you may want to create a Client. Start by clicking the “Create Client” button at the top-right of the screen. Enter a Client Name and an optional Client Description. Then, press the “Create” button to create your new Client.
Next Steps: Continue Your Journey
Now that you’ve set up your Authlete account and created a client, it’s time to take your setup further. - OAuth 2.0 Basics - API Tutorials: Call the Authlete APIs directly using the curl command etc. to learn the basics of how Authlete works.
- Using Demo Authorization Server: Deploy an authorization server that works as a frontend for the Authlete APIs and test the OAuth and OpenID Connect flows.
Ready to get started? Sign Up for an Authlete Account and unlock all the features of Authlete!
On this page
- Getting Started
- Signing Up to Authlete
- Authlete Console Overview All Organizations Page All Services Page Creating a New Service All Clients Page Creating a New Client
- Next Steps: Continue Your Journey